MAP1
Page 24 of 31
Installation Manual
June 2018 • Rev. 1.6
1.
Press and hold (4 to 8 seconds) the IP Reset PB2 pushbutton. Wait until the
internal MAP1 beeper sounds then release the button. Beeper stops sounding.
2.
The system will reboot. This will take 20 to 45 seconds after which the
controller will reset all of its configurations to factory default with DHCP
enabled. Existing database will not be reset or erased.
Note
:
The end of the reboot cycle is indicated by a MAP1 turning back on the associated
system LEDs and at the end it will emit a series of beeps to indicate its mode e.g.
First
Access
,
Cloud Lock
or
Webster
.
3.
Plug the MAP1 to the network with a DHCP server available.
4.
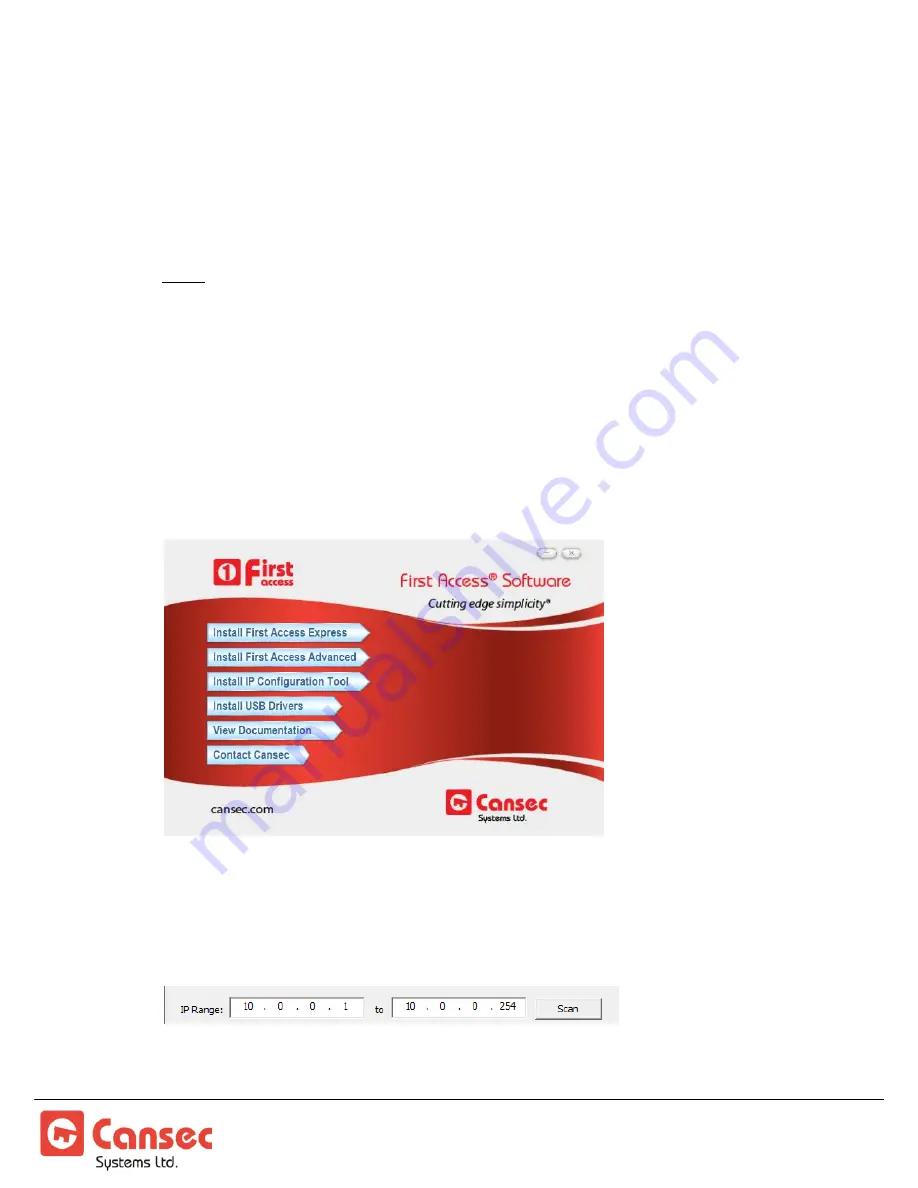
Install and launch
MAP1 IP Configuration Tool
from your computer. This tool
is available from the
First Access
software installation package, but is also
available as its own separate installation package which can be downloaded from
www.cansec.com/downloads.
5.
In most cases, the
IP Configuration Tool
will detect and display the default IP
address range ready to be scanned. However, the IP address range can be
manually modified accordingly.
6.
Click
Scan
to scan the network for all possible connected MAP1 panels.
Figure 15
Figure 16
Содержание MAP1
Страница 1: ...MAP1 Controller INSTALLATION MANUAL June 2018...
Страница 7: ...MAP1 Page 7 of 31 Installation Manual June 2018 Rev 1 6 MAP1 Controller Layout Figure 1...
Страница 13: ...MAP1 Page 13 of 31 Installation Manual June 2018 Rev 1 6 Figure 6 Non Supervised...
Страница 14: ...MAP1 Page 14 of 31 Installation Manual June 2018 Rev 1 6 Figure 7 Supervised...
Страница 17: ...MAP1 Page 17 of 31 Installation Manual June 2018 Rev 1 6 INPUT AND OUTPUT POINT WIRING General Layout Figure 10...


