13
9
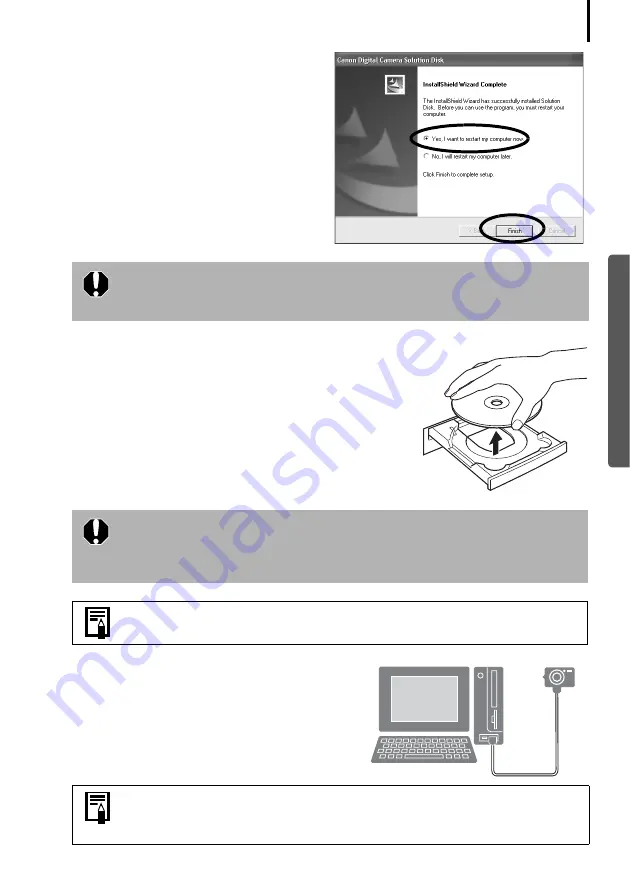
When the installation is over, select
[Yes, I want to restart my computer
now.] and click [Finish].
At this stage, do NOT remove the Solution
Disk from the CD-ROM drive yet.
10
Remove the disk from the CD-ROM drive when your
normal desktop screen appears after restarting.
This concludes the software installation.
Continue by connecting the camera to the computer so
that the USB driver can be utilized.
11
Attach the camera to the computer with the
interface cable and set the camera to the
correct mode for connecting.
Users of Windows XP and Windows 2000 must log in as an Administrator
(computer system administrator) after restarting to carry out the
subsequent procedures.
If you installed a USB driver, so far the required files have only been
copied to your computer. You must now connect the camera to the
computer with the interface cable to complete the installation and
prepare the driver for use.
See
Uninstalling the Software
(p. 84) to delete the installed programs.
Procedures for attaching the camera to the computer and placing the
camera in the correct mode for connecting vary between camera models.
See
Information about Your Camera
(p. 96).
Содержание PowerShot G6
Страница 1: ......
Страница 2: ......
Страница 3: ......
Страница 156: ...Print Settings DPOF Print Settings continued 148 ...
Страница 157: ......
Страница 216: ...Canon CDI E147 01O 0704CH10 2004 CANON INC PRINTED IN JAPAN ...
Страница 322: ...101 MEMO ...
Страница 323: ...102 MEMO ...
Страница 325: ...CDI E150 010 xx04xxxx 2004 CANON INC PRINTED IN JAPAN ...
Страница 327: ...Canon Direct Print User Guide Printing Using a Direct Camera Printer Connection ENGl2lSttI ...
Страница 362: ...Canon CDI M148 010 DPUG4 0704CH7 55 2004 CANON INC PRINTED IN JAPAN IMPRIME AU JAPaN ...
Страница 368: ...Canon PictBridge I hDIREG PRINT ...


