


4.
Adjust the amount of extension from the paper
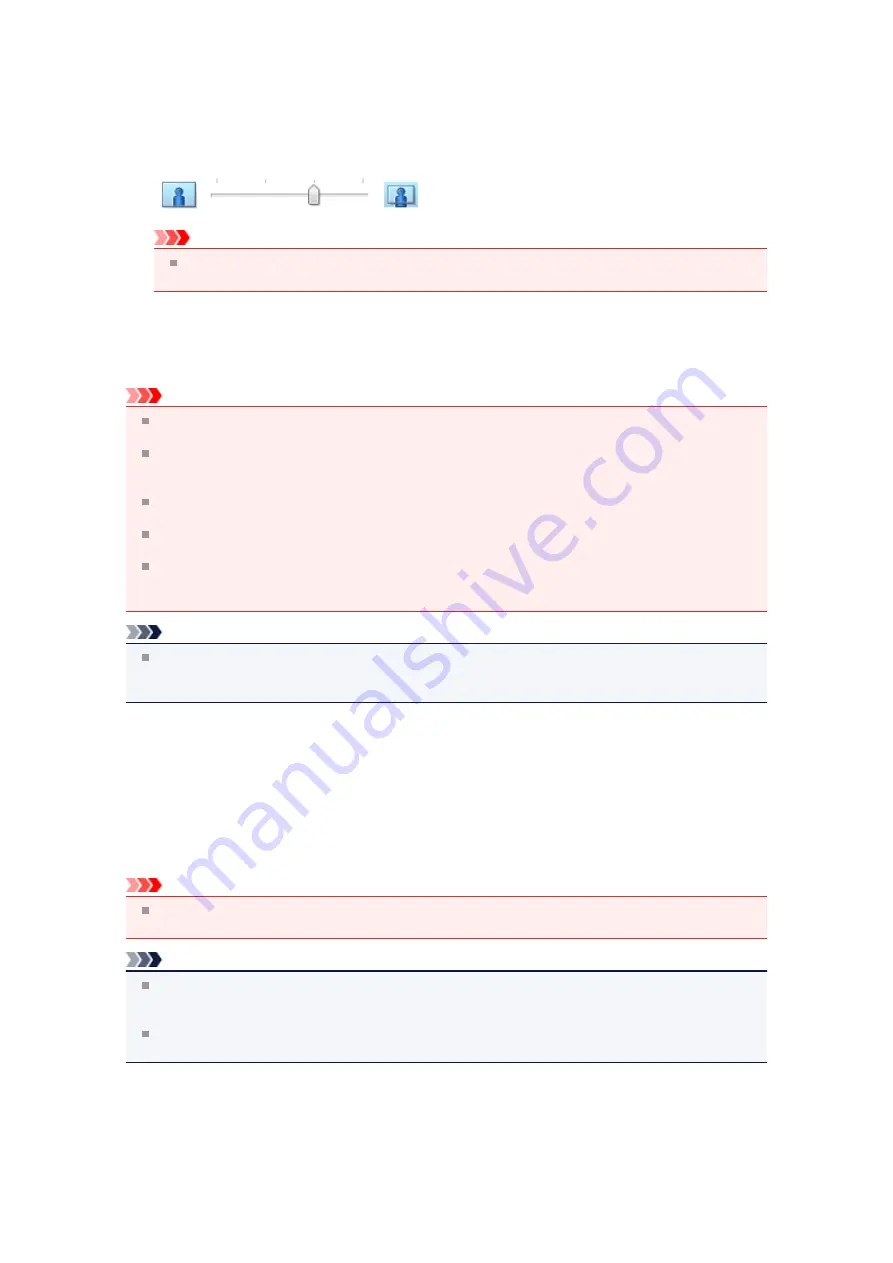
If necessary, adjust the amount of extension using the
Amount of Extension
slider.
Moving the slider to the right increases the amount extending off the paper, and moving the slider to
the left decreases the amount.
It is recommended to set the slider at the second position from the right for most cases.
Important
When the
Amount of Extension
slider is set to the rightmost position, the back side of the
paper may become smudged.
5.
Complete the setup
Click
OK
.
When you execute print, the data is printed without any margins on the paper.
Important
When a page size that cannot be used for borderless printing is selected, the size is automatically
changed to the valid page sizes for borderless printing.
When
Borderless
is selected, the
Printer Paper Size
,
Duplex Printing
,
Stapling Side
settings, and
the
Stamp/Background...
(
Stamp...
) button on the
Page Setup
tab appear grayed out and are
unavailable.
When
Envelope
,
High Resolution Paper
, or
T-Shirt Transfers
is selected from the
Media Type
list
on the
Main
tab, you cannot perform borderless printing.
Depending on the type of the media used during borderless printing, the print quality may deteriorate
at the top and bottom of the sheet or stains may form.
When the ratio of the height to the width differs from the image data, a portion of the image may not
be printed depending on the size of the media used.
In this case, crop the image data with an application software according to the paper size.
Note
When
Plain Paper
is selected for
Media Type
on the
Main
tab, borderless printing is not
recommended. Therefore, the message for media selection appears.
When you are using plain paper for test printing, select
Plain Paper
, and click
OK
.
Expanding the Range of the Document to Print
Setting a large amount of extension allows you to perform borderless printing with no problems. However,
the portion of the document extending off the paper range will not be printed and for this reason, the
subjects around the perimeter of a photo may not be printed.
Try borderless printing once. When you are not satisfied with the result of borderless printing, reduce the
amount of extension. The extension amount decreases as the
Amount of Extension
slider is moved to the
left.
Important
When the amount of extension is decreased, an unexpected margin may be produced on the print,
depending on the size of the paper.
Note
When the
Amount of Extension
slider is set to the leftmost position, image data will be printed in
the full size. If you set this when printing the address side of a postcard, the postal code of the sender
is printed in the correct position.
When
Preview before printing
is checked on the
Main
tab, you can confirm whether there will be
no border before printing.
Содержание PIXMA MX922
Страница 1: ...MX920 series Online Manual Printing Copying English ...
Страница 3: ...Printing from a Computer Printing with Application Software that You are Using Printer Driver ...
Страница 57: ...Adjusting Color Balance Adjusting Brightness Adjusting Intensity Adjusting Contrast ...
Страница 112: ...About Disc Label Printing Copying the Label Side of Disc ...
Страница 136: ...Printing from a Bluetooth Compliant Device Printing from Mobile Phone via Bluetooth Communication ...
Страница 140: ...Handling Precautions Shipping the Bluetooth Unit ...
Страница 142: ...Preparation to Use the Bluetooth Unit Bluetooth Unit Attaching to and Removing from the Printer ...
Страница 163: ...Bluetooth Settings Setting Bluetooth Printing Bluetooth settings Screen ...


