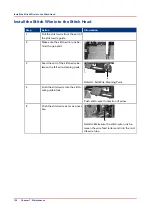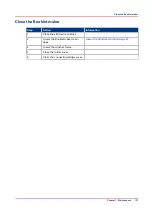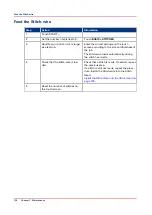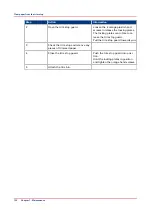
Feed the Stitch-wire
Step
Action
Information
1
Touch START .
2
Set the number of stitches to 6.
Touch
BASIC > STITCHES
.
3
Hand-feed or print an A4 or larger
size test job.
Enter the correct settings on the touch
screen according to the size and thickness of
the job.
The stitch-wire loads automatically during
the stitch head cycle.
4
Check that the stitch-wire is loa-
ded.
Check that a stitch is made. If needed, repeat
the previous step.
If a stitch is still not made, repeat the proce-
dure. Install the Stitch-wire into the Stitch
Head.
Install the Stitch Wire into the Stitch Head on
page 126
5
Reset the number of stitches on
the touch screen.
Feed the Stitch-wire
128
Chapter 7 - Maintenance
Содержание Oce BLM550+
Страница 1: ...Operation guide Océ BLM550 ...
Страница 5: ...Chapter 1 Preface ...
Страница 8: ...Notes for the reader 8 Chapter 1 Preface ...
Страница 9: ...Chapter 2 Introduction to the Booklet maker ...
Страница 16: ...The mains input panel of the optional Book Stacker 16 Chapter 2 Introduction to the Booklet maker ...
Страница 17: ...Chapter 3 How to run the Booklet maker ...
Страница 26: ...Run the job 26 Chapter 3 How to run the Booklet maker ...
Страница 27: ...Chapter 4 The User Interface ...
Страница 40: ...The MENU Window 40 Chapter 4 The User Interface ...
Страница 41: ...Chapter 5 Standard Tasks ...
Страница 59: ...Chapter 6 Error Conditions Problems and Solutions ...
Страница 108: ...Change the fuses of the optional Book Stacker 108 Chapter 6 Error Conditions Problems and Solutions ...
Страница 109: ...Chapter 7 Maintenance ...
Страница 131: ...Appendix A Specifications ...
Страница 134: ...Specifications 134 Appendix A Specifications ...
Страница 135: ...Appendix B Declaration of Conformity ...
Страница 137: ......


