0F40-001
Product Name
Safety regulations require the product's name to be registered.
In some regions where this product is sold, the following name(s) in parentheses ( ) may be registered instead.
LBP7100Cn/LBP7110Cw (F163600)
EMC requirements of EC Directive
This equipment conforms with the essential EMC requirements of EC Directive. We declare that this product conforms with
the EMC requirements of EC Directive at nominal mains input 230 V, 50 Hz although the rated input of the product is 220
to 240 V, 50/60 Hz. Use of shielded cable is necessary to comply with the technical EMC requirements of EC Directive.
Laser Safety
This product is certified as a Class 1 laser product under IEC60825-1:2007 and EN60825-1:2007. This means that the
product does not produce hazardous laser radiation.
Since radiation emitted inside the product is completely confined within protective housings and external covers, the laser
beam cannot escape from the machine during any phase of user operation. Do not remove protective housings or external
covers, except as directed by the equipment's manuals.
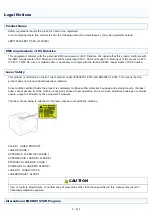
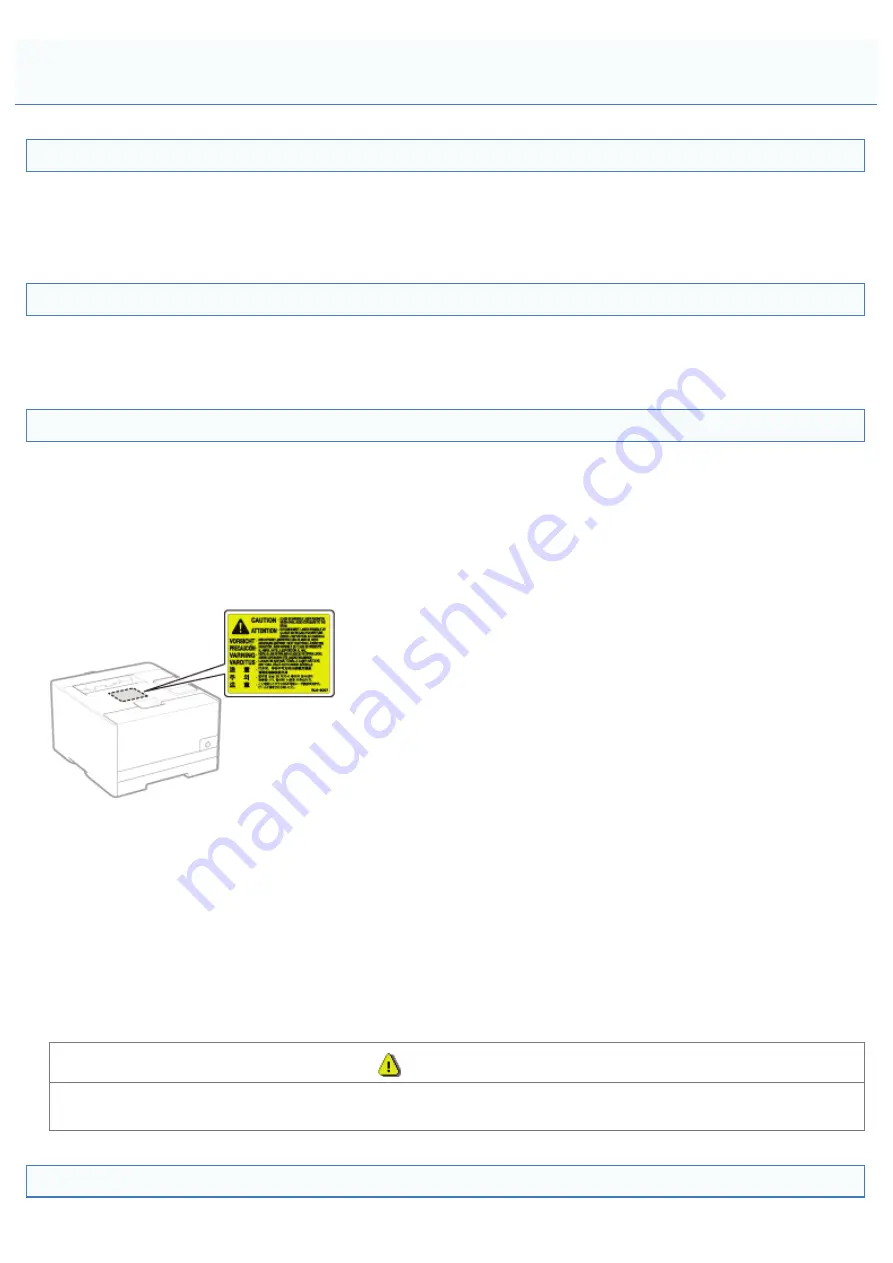
The label shown below is attached to the laser scanner unit inside the machine.
CLASS 1 LASER PRODUCT
LASER KLASSE 1
APPAREIL À LASER DE CLASSE 1
APPARECCHIO LASER DI CLASSE 1
PRODUCTO LÁSER DE CLASE 1
APARELHO A LASER DE CLASSE 1
LUOKAN 1 LASER-TUOTE
LASERPRODUKT KLASS 1
CAUTION
Use of controls, adjustments, or performance of procedures other than those specified in this manual may result in
hazardous radiation exposure.
International ENERGY STAR Program
Legal Notices
㻥㻌㻛㻌㻡㻝㻠
Содержание LBP7100Cn
Страница 1: ......
Страница 7: ...For Windows 8 Server 2012 Users 512 For Macintosh Users 513 Office Locations 514...
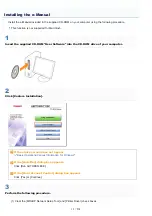
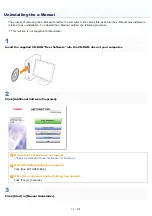
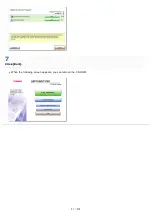
Страница 21: ...7 Click Exit When the following screen appears you can remove the CD ROM...
Страница 38: ...If the laser beam should escape and enter your eyes exposure may cause damage to your eyes...
Страница 81: ......
Страница 83: ...It takes approximately 60 seconds...
Страница 88: ......
Страница 102: ...Close the covers and insert the paper drawer after you finish checking Next install the printer Installing the Printer...
Страница 105: ...0F40 02E Installing the Printer Driver Uninstalling the Printer Driver Driver Installation...
Страница 119: ......
Страница 121: ...2 Click Next Proceed to the Printer Information Screen...
Страница 124: ......
Страница 132: ...17 Click Exit When the following screen appears you can remove the CD ROM...
Страница 153: ......
Страница 156: ...3 Click OK If you cannot cancel a job You cannot cancel the job whose pages are in the process of printing...
Страница 174: ...3 Click OK For details on the basic printing procedure see Basic Printing Procedure...
Страница 178: ...For details on the basic printing procedure see Basic Printing Procedure...
Страница 180: ...Click OK For details on the basic printing procedure see Basic Printing Procedure...
Страница 183: ...3 Click OK Then the Page Setup sheet reappears...
Страница 187: ...Color 3 Click OK For details on the basic printing procedure see Basic Printing Procedure...
Страница 196: ...3 Click OK For details on the basic printing procedure see Basic Printing Procedure...
Страница 198: ...4 Click OK For details on the basic printing procedure see Basic Printing Procedure...
Страница 204: ...Low...
Страница 214: ...changed 4 Confirm the settings then click OK The printer folder reappears...
Страница 223: ...If you do not know which port you are using see Basic Operations Various Information for Windows...
Страница 249: ......
Страница 255: ......
Страница 265: ...4 Click Edit 5 Specify the dedicated port settings 1 Specify the dedicated port settings 2 Click OK...
Страница 268: ...4 Click Edit 5 Specify the waiting time until connected to the network 1 Specify the waiting time 2 Click OK...
Страница 277: ...WPA WPA2 PSK Settings Displays the WPA WPA2 PSK setting WEP Settings Displays the WEP setting...
Страница 282: ...6 Click Close 7 Click Apply 8 Click OK NOTE...
Страница 286: ......
Страница 303: ...9 Click Finish...
Страница 317: ...2 Click OK...
Страница 319: ...4 Change the display language 1 Select a display language 2 Click OK...
Страница 323: ......
Страница 353: ......
Страница 355: ...4 Click Edit 5 Configure the SNMPv1 protocol...
Страница 362: ...4 Click Generate Key 5 Specify a key to be created...
Страница 366: ...4 Click Register Key and Certificate 5 Click Install...
Страница 370: ...1 Select Security Settings 2 Click CA Certificate Settings 4 Click Register CA Certificate 5 Click Install...
Страница 372: ...8 Click Register...
Страница 378: ......
Страница 384: ...4 Click Initialize 5 Click OK to initialize the key and certificate CA certificate...
Страница 389: ......
Страница 392: ...2 Click IEEE 802 1X Settings 4 Click Edit 5 Select the Use IEEE 802 1X check box...
Страница 393: ...6 Enter a login name 7 Select the Use TLS check box...
Страница 397: ...4 Click Edit 5 Select the Use IEEE 802 1X check box...
Страница 401: ......
Страница 429: ...3 Click Next 4 Manually specify the port using Port Printer Information Screen...
Страница 436: ...7 Disconnect the USB cable from the computer then restart Windows...


