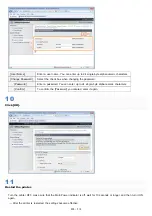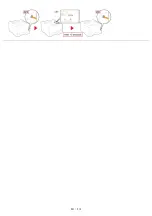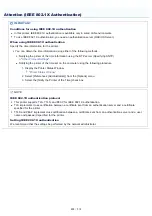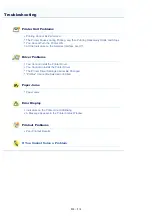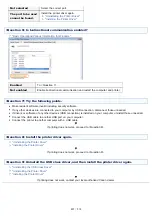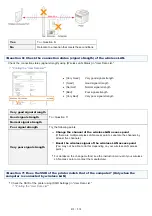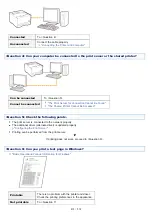
Connected
Try the following point.
If you are using a hub, connect the printer to the computer directly.
If you are using a long USB cable, replace it with the short one.
If you have another USB cable, use it.
If printing is not performed, proceed to <Question 4>.
Unconnected
Connect the cable properly.
"Connecting the Printer and Computer"
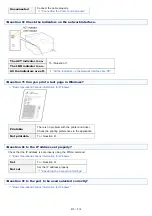
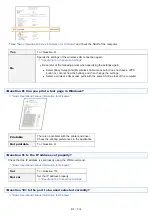
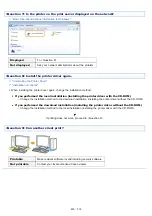
<Question 4> Can you print a test page in Windows?
"Basic Operations/Various Information for Windows"
Printable
There is no problem with the printer and driver.
Check the printing preferences in the application.
Not printable
To <Question 5>
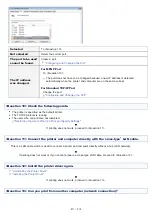
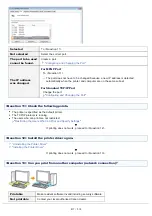
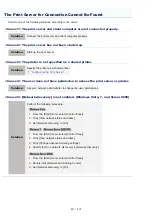
<Question 5> Is the port to be used selected correctly?
"Basic Operations/Various Information for Windows"
Selected
To <Question 6>
㻠㻜㻢㻌㻛㻌㻡㻝㻠
Содержание LBP7100Cn
Страница 1: ......
Страница 7: ...For Windows 8 Server 2012 Users 512 For Macintosh Users 513 Office Locations 514...
Страница 21: ...7 Click Exit When the following screen appears you can remove the CD ROM...
Страница 38: ...If the laser beam should escape and enter your eyes exposure may cause damage to your eyes...
Страница 81: ......
Страница 83: ...It takes approximately 60 seconds...
Страница 88: ......
Страница 102: ...Close the covers and insert the paper drawer after you finish checking Next install the printer Installing the Printer...
Страница 105: ...0F40 02E Installing the Printer Driver Uninstalling the Printer Driver Driver Installation...
Страница 119: ......
Страница 121: ...2 Click Next Proceed to the Printer Information Screen...
Страница 124: ......
Страница 132: ...17 Click Exit When the following screen appears you can remove the CD ROM...
Страница 153: ......
Страница 156: ...3 Click OK If you cannot cancel a job You cannot cancel the job whose pages are in the process of printing...
Страница 174: ...3 Click OK For details on the basic printing procedure see Basic Printing Procedure...
Страница 178: ...For details on the basic printing procedure see Basic Printing Procedure...
Страница 180: ...Click OK For details on the basic printing procedure see Basic Printing Procedure...
Страница 183: ...3 Click OK Then the Page Setup sheet reappears...
Страница 187: ...Color 3 Click OK For details on the basic printing procedure see Basic Printing Procedure...
Страница 196: ...3 Click OK For details on the basic printing procedure see Basic Printing Procedure...
Страница 198: ...4 Click OK For details on the basic printing procedure see Basic Printing Procedure...
Страница 204: ...Low...
Страница 214: ...changed 4 Confirm the settings then click OK The printer folder reappears...
Страница 223: ...If you do not know which port you are using see Basic Operations Various Information for Windows...
Страница 249: ......
Страница 255: ......
Страница 265: ...4 Click Edit 5 Specify the dedicated port settings 1 Specify the dedicated port settings 2 Click OK...
Страница 268: ...4 Click Edit 5 Specify the waiting time until connected to the network 1 Specify the waiting time 2 Click OK...
Страница 277: ...WPA WPA2 PSK Settings Displays the WPA WPA2 PSK setting WEP Settings Displays the WEP setting...
Страница 282: ...6 Click Close 7 Click Apply 8 Click OK NOTE...
Страница 286: ......
Страница 303: ...9 Click Finish...
Страница 317: ...2 Click OK...
Страница 319: ...4 Change the display language 1 Select a display language 2 Click OK...
Страница 323: ......
Страница 353: ......
Страница 355: ...4 Click Edit 5 Configure the SNMPv1 protocol...
Страница 362: ...4 Click Generate Key 5 Specify a key to be created...
Страница 366: ...4 Click Register Key and Certificate 5 Click Install...
Страница 370: ...1 Select Security Settings 2 Click CA Certificate Settings 4 Click Register CA Certificate 5 Click Install...
Страница 372: ...8 Click Register...
Страница 378: ......
Страница 384: ...4 Click Initialize 5 Click OK to initialize the key and certificate CA certificate...
Страница 389: ......
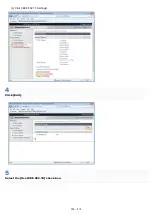
Страница 392: ...2 Click IEEE 802 1X Settings 4 Click Edit 5 Select the Use IEEE 802 1X check box...
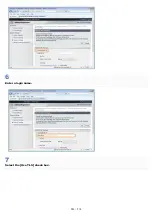
Страница 393: ...6 Enter a login name 7 Select the Use TLS check box...
Страница 397: ...4 Click Edit 5 Select the Use IEEE 802 1X check box...
Страница 401: ......
Страница 429: ...3 Click Next 4 Manually specify the port using Port Printer Information Screen...
Страница 436: ...7 Disconnect the USB cable from the computer then restart Windows...

