


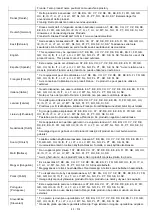
Although the power cord used in this manual is as the one in the following illustration, the form of the power cord may
differ depending on the country or region.
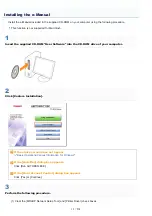
About the Supplied CD-ROM
Although the e-Manual states that this printer is supplied with CD-ROMs, in certain countries or regions the printer is
supplied with a DVD-ROM in place of CD-ROMs.
If your printer is supplied with a DVD-ROM, please take each mention of "the supplied CD-ROM" or "the supplied CD-
ROMs" in this manual as referring to "the supplied DVD-ROM."
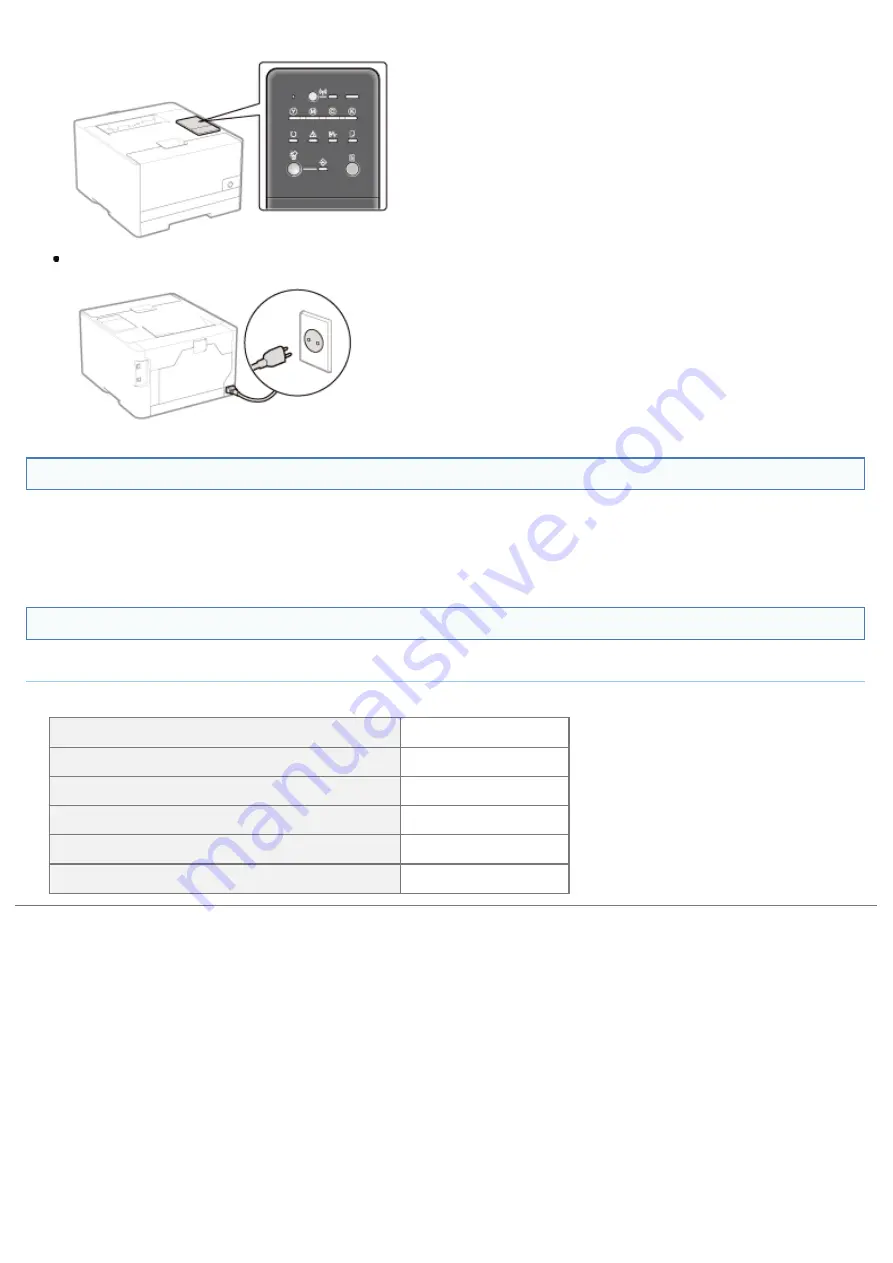
Abbreviations Used in the e-Manual
Abbreviations of Operating Systems
In the e-Manual, operating systems are abbreviated as follows.
Microsoft Windows XP operating system
Windows XP
Microsoft Windows Vista operating system
Windows Vista
Microsoft Windows 7 operating system
Windows 7
Microsoft Windows Server 2003 operating system
Windows Server 2003
Microsoft Windows Server 2008 operating system
Windows Server 2008
Microsoft Windows operating system
Windows
㻞㻥㻌㻛㻌㻡㻝㻠
Содержание LBP7100Cn
Страница 1: ......
Страница 7: ...For Windows 8 Server 2012 Users 512 For Macintosh Users 513 Office Locations 514...
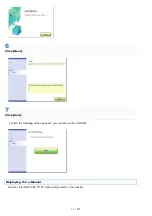
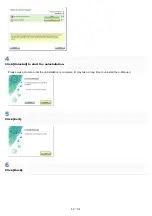
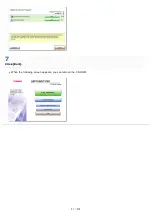
Страница 21: ...7 Click Exit When the following screen appears you can remove the CD ROM...
Страница 38: ...If the laser beam should escape and enter your eyes exposure may cause damage to your eyes...
Страница 81: ......
Страница 83: ...It takes approximately 60 seconds...
Страница 88: ......
Страница 102: ...Close the covers and insert the paper drawer after you finish checking Next install the printer Installing the Printer...
Страница 105: ...0F40 02E Installing the Printer Driver Uninstalling the Printer Driver Driver Installation...
Страница 119: ......
Страница 121: ...2 Click Next Proceed to the Printer Information Screen...
Страница 124: ......
Страница 132: ...17 Click Exit When the following screen appears you can remove the CD ROM...
Страница 153: ......
Страница 156: ...3 Click OK If you cannot cancel a job You cannot cancel the job whose pages are in the process of printing...
Страница 174: ...3 Click OK For details on the basic printing procedure see Basic Printing Procedure...
Страница 178: ...For details on the basic printing procedure see Basic Printing Procedure...
Страница 180: ...Click OK For details on the basic printing procedure see Basic Printing Procedure...
Страница 183: ...3 Click OK Then the Page Setup sheet reappears...
Страница 187: ...Color 3 Click OK For details on the basic printing procedure see Basic Printing Procedure...
Страница 196: ...3 Click OK For details on the basic printing procedure see Basic Printing Procedure...
Страница 198: ...4 Click OK For details on the basic printing procedure see Basic Printing Procedure...
Страница 204: ...Low...
Страница 214: ...changed 4 Confirm the settings then click OK The printer folder reappears...
Страница 223: ...If you do not know which port you are using see Basic Operations Various Information for Windows...
Страница 249: ......
Страница 255: ......
Страница 265: ...4 Click Edit 5 Specify the dedicated port settings 1 Specify the dedicated port settings 2 Click OK...
Страница 268: ...4 Click Edit 5 Specify the waiting time until connected to the network 1 Specify the waiting time 2 Click OK...
Страница 277: ...WPA WPA2 PSK Settings Displays the WPA WPA2 PSK setting WEP Settings Displays the WEP setting...
Страница 282: ...6 Click Close 7 Click Apply 8 Click OK NOTE...
Страница 286: ......
Страница 303: ...9 Click Finish...
Страница 317: ...2 Click OK...
Страница 319: ...4 Change the display language 1 Select a display language 2 Click OK...
Страница 323: ......
Страница 353: ......
Страница 355: ...4 Click Edit 5 Configure the SNMPv1 protocol...
Страница 362: ...4 Click Generate Key 5 Specify a key to be created...
Страница 366: ...4 Click Register Key and Certificate 5 Click Install...
Страница 370: ...1 Select Security Settings 2 Click CA Certificate Settings 4 Click Register CA Certificate 5 Click Install...
Страница 372: ...8 Click Register...
Страница 378: ......
Страница 384: ...4 Click Initialize 5 Click OK to initialize the key and certificate CA certificate...
Страница 389: ......
Страница 392: ...2 Click IEEE 802 1X Settings 4 Click Edit 5 Select the Use IEEE 802 1X check box...
Страница 393: ...6 Enter a login name 7 Select the Use TLS check box...
Страница 397: ...4 Click Edit 5 Select the Use IEEE 802 1X check box...
Страница 401: ......
Страница 429: ...3 Click Next 4 Manually specify the port using Port Printer Information Screen...
Страница 436: ...7 Disconnect the USB cable from the computer then restart Windows...


