


Output Method
Button
Click the button to open the
Output Method
dialog box.
In this dialog box, you can specify the object output method.
Note
•
To print after saving jobs in the temporary storage space, select
Save data before printing
.
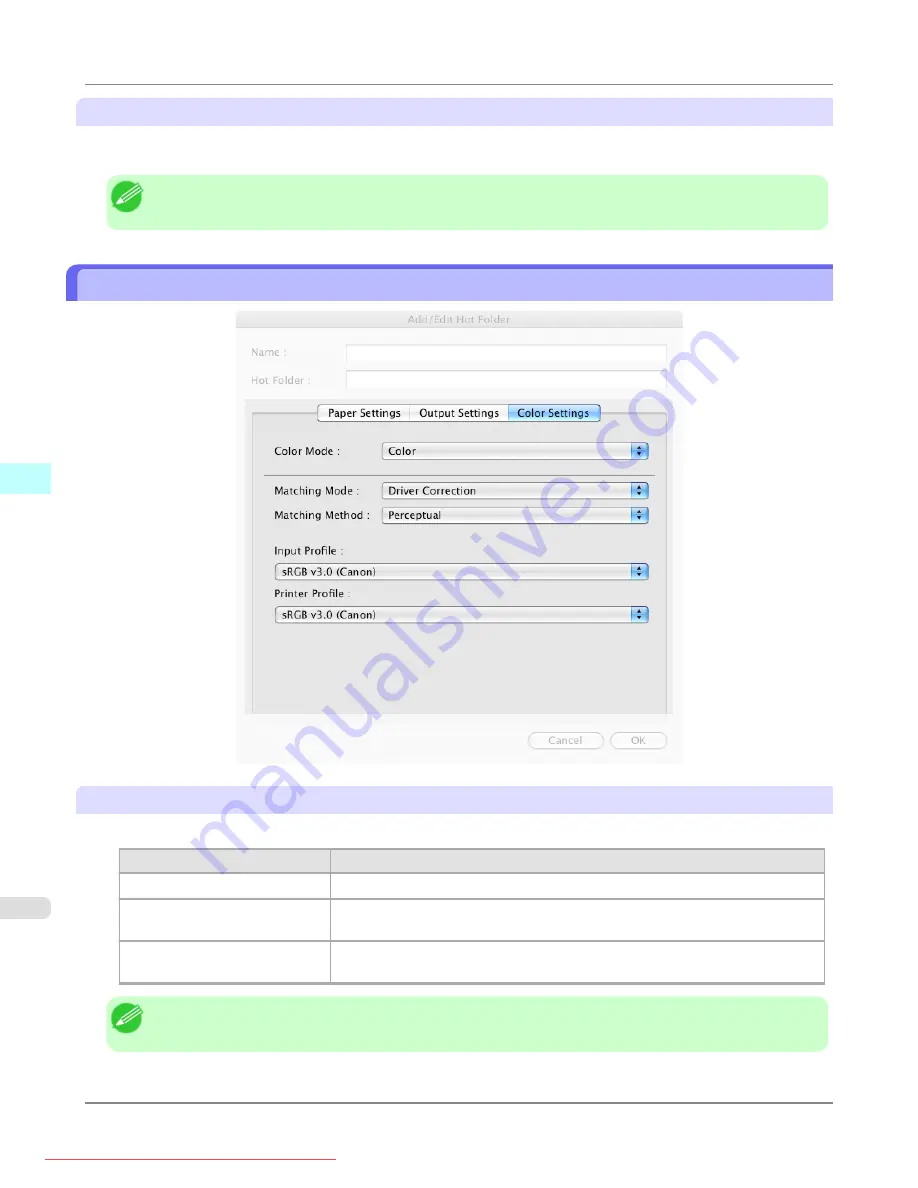
Color Settings Panel
Color Mode
You can select a color mode to suit the print job.
Setting
Details
Color
Enables color printing.
Monochrome (Photo)
Prints monochrome photo image data in a gray scale that is free of color casting
(phenomenon of grays that appear tinted).
Monochrome
Disables color printing and converts image from continuous color to grayscaled
monochrome.
Note
•
The availability of settings depends on the print priority and media type selections.
Mac OS X Software
>
Color imageRUNNER Enlargement Copy
>
Color Settings Panel
iPF8300
5
594
Содержание imagePROGRAF iPF8300
Страница 1139: ...WEEE Directive Appendix Disposal of the product iPF8300 WEEE Directive 14 1121 Downloaded from ManualsPrinter com Manuals ...
Страница 1140: ...Appendix Disposal of the product WEEE Directive iPF8300 14 1122 Downloaded from ManualsPrinter com Manuals ...
Страница 1141: ...Appendix Disposal of the product iPF8300 WEEE Directive 14 1123 Downloaded from ManualsPrinter com Manuals ...
Страница 1142: ...Appendix Disposal of the product WEEE Directive iPF8300 14 1124 Downloaded from ManualsPrinter com Manuals ...
Страница 1143: ...Appendix Disposal of the product iPF8300 WEEE Directive 14 1125 Downloaded from ManualsPrinter com Manuals ...
Страница 1144: ...Appendix Disposal of the product WEEE Directive iPF8300 14 1126 Downloaded from ManualsPrinter com Manuals ...
Страница 1145: ...Appendix Disposal of the product iPF8300 WEEE Directive 14 1127 Downloaded from ManualsPrinter com Manuals ...
Страница 1146: ...Appendix Disposal of the product WEEE Directive iPF8300 14 1128 Downloaded from ManualsPrinter com Manuals ...
Страница 1147: ...Appendix Disposal of the product iPF8300 WEEE Directive 14 1129 Downloaded from ManualsPrinter com Manuals ...
Страница 1149: ...U Utility Sheet 238 V Vacuum Strength 852 W When to replace 1000 Downloaded from ManualsPrinter com Manuals ...
Страница 1150: ... CANON INC 2010 Downloaded from ManualsPrinter com Manuals ...


