


S
ERVICE
P
ROCEDURES
29
T
O
REMOVE
THE
IMAGE
PASS
MOTHERBOARD
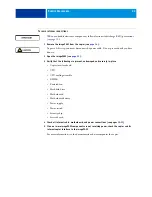
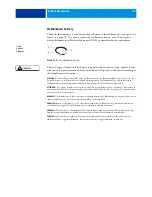
When you handle electronic components, follow electrostatic discharge (ESD) precautions
(see
1 Remove the imagePASS from the copier (see
As part of this step, you must disconnect the power cable. Do not proceed until you have
done so.
2 Open the imagePASS (see
3 Remove the copier interface board (see
4 Make note of the location of cable ties and how cables are draped, so that when you install
the new motherboard you can arrange cables correctly.
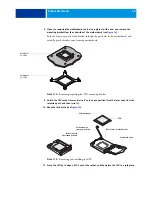
5 Carefully cut the cable ties that secure the power supply cables to the chassis.
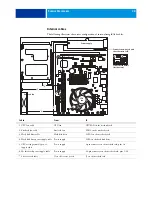
6 Disconnect the following cables from the motherboard (see
, and
).
• CPU fan cable
• Enclosed fan cable
• Hard disk drive cable
• Power supply cable for the hard disk drive
• Power supply cable for the CPU cooling assembly
• Power supply cable for the motherboard
• Hard disk drive cable
• Service board cable
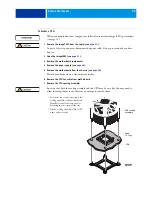
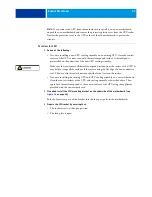
7 Remove the five screws that secure the imagePASS motherboard to the chassis.
8 Slide the motherboard away from the connector panel cutouts.
Make sure that you note the position of the metal prongs on the USB connectors so that you
can reposition them later.
9 Lift the motherboard off of the chassis and set it on a flat, antistatic surface.
As you remove the motherboard, be careful to avoid stressing it or any nearby cables.
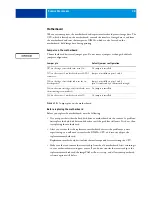
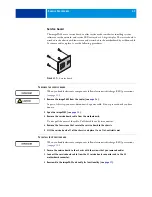
10 If you plan to install a replacement motherboard, remove the following from the
motherboard:
• DIMMS (see
• Security chip (
• CPU and CPU cooling assembly (see


