


Machine Settings
12-2
Machine Settings
You can adjust the machine settings from the Setting Menu to customize the way the
machine works. To see the list of current settings, print out USER DATA LIST.
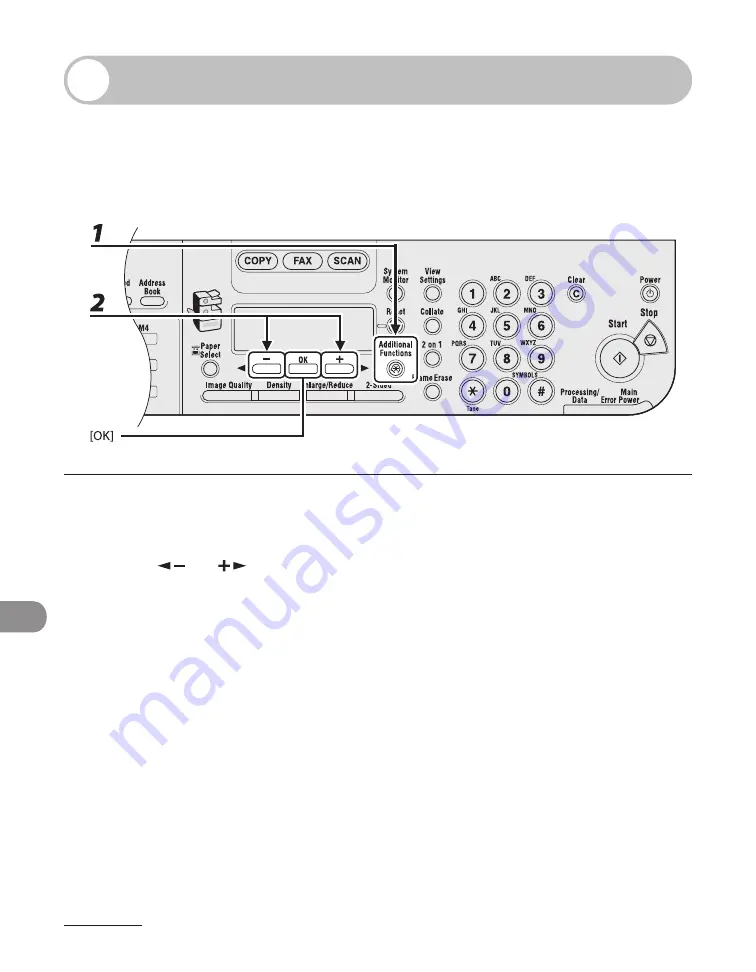
Printing USER DATA LIST
1
Press [Additional Functions].
2
Press [
] or [
] to select <REPORT SETTINGS>, then press [OK].
Содержание imageCLASS MF6540
Страница 35: ...What Can I Do with This Machine xxxiv...
Страница 39: ...Before Using the Machine 1 4 Operation Panel Main Operation Panel MF6595cx MF6595 MF6590 MF6540 MF6520...
Страница 59: ...Document and Paper 2 4 Loading Documents On the Platen Glass 1 Lift up the ADF 2 Place your document face down...
Страница 92: ...3 17 Copying 2 to 2 Sided Copying 2 to 1 Sided Copying...
Страница 101: ...Copying 3 26...
Страница 141: ...Sending Faxes 4 40...
Страница 149: ...Receiving Documents 5 8...
Страница 154: ...6 5 Printing 4 For Finishing select Collate then click OK 5 On the Print dialog box click Print or OK...
Страница 155: ...Printing 6 6 2 on 1 Combination 2 on 1 combination automatically reduces two documents to fit on the selected paper size...
Страница 158: ...6 9 Printing Two Sided Printing Two sided printing enables you to make two sided printouts...
Страница 160: ...6 11 Printing 4 For Print Style select 2 sided Printing then click OK 5 On the Print dialog box click Print or OK...
Страница 163: ...Printing 6 14...
Страница 168: ...PC Faxing 8 PC Faxing MF6595cx MF6595 MF6590 Only PC Faxing 8 2...
Страница 171: ...PC Faxing 8 4...
Страница 172: ...Remote UI 9 Remote UI MF6595cx MF6595 MF6590 MF6540 Only Remote UI 9 2...
Страница 175: ...Remote UI 9 4...
Страница 203: ...Maintenance 10 28...
Страница 225: ...Troubleshooting 11 22...
Страница 268: ...13 11 Appendix V View Settings key 1 5 Z Zoom ratio Preset zoom 3 7 Zoom designation 3 9...
Страница 269: ...Appendix 13 12...


