3.
CAUTION:
Identify the sensor card installed on the motherboard.
(p. 30) shows the
BaroVUE 10 with the installed sensor card. Before removing the sensor card, carefully
study the device, note its orientation, and read the following description:
l
Sensor card plugs into the silver card socket mounted on the motherboard.
l
Correct sensor-card orientation is with card notch facing down (towards the
motherboard).
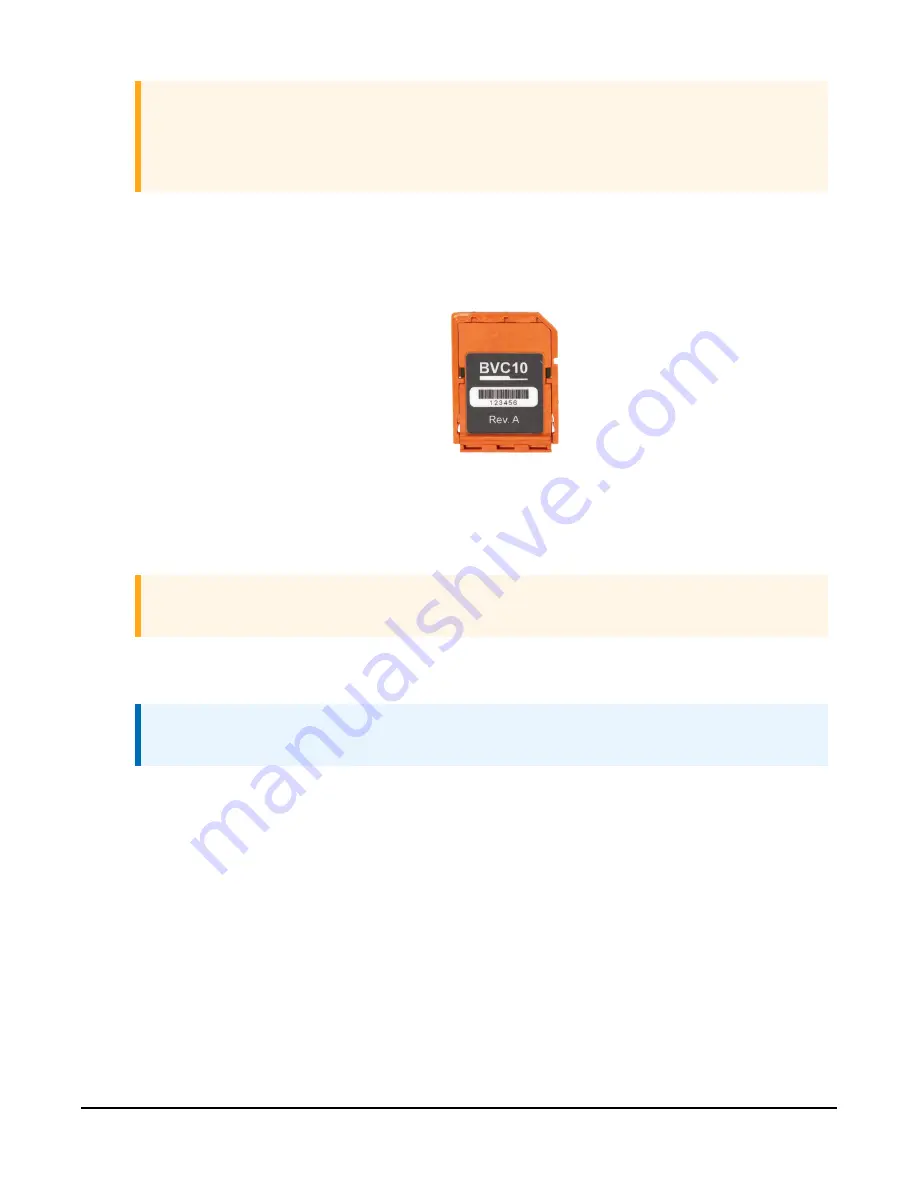
FIGURE 9-2. Card notch in top right corner
l
(p. 30) shows the correct orientation of the card. The card revision
number should be visible.
CAUTION:
If the sensor card is oriented incorrectly, it will not work.
4. To remove the sensor card, push the card in towards the socket then release. Spring
tension pushes the sensor card out of the socket.
NOTE:
The card can be safely removed while the BaroVUE 10 is connected to power.
5. Once the sensor card is protruding from the socket, hold the motherboard body with one
hand and with the other hand, clasp the card body between your fingertips and pull the
card out of the socket.
6. Store the old sensor card in an electrostatic protective package and return it to Campbell
Scientific for recalibration or general servicing.
7. With the old sensor card removed, check the socket and use a damp cloth to clean dirt,
corrosion, or salt on the socket.
BaroVUE™10 Digital Barometer
31


