2
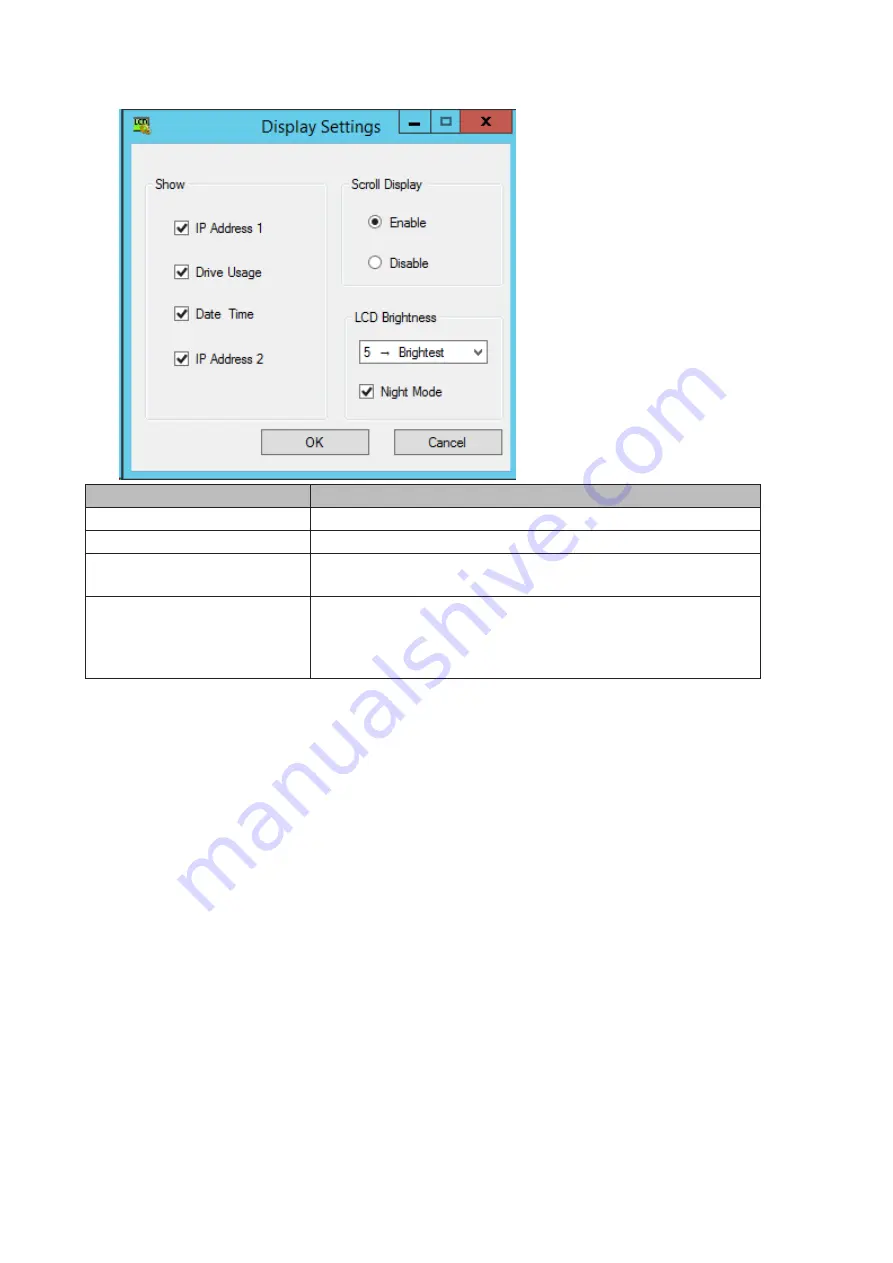
Configure the desired settings and click
OK
.
Items
Descriptions
Show
Select the item(s) to be displayed on the LCD panel.
Scroll Display
If enabled, the LCD scrolls through display items at a regular interval.
LCD Brightness
Change the brightness of the LCD panel from level 1 (darkest) to 5
(brightest).
Night Mode
If checked, the LCD brightness will be set at level 2 (dark) from 6 pm
to 8:59 am the next day.
Note:
If the LCD brightness is already set to level 1 (darkest) or level 2
(dark), night mode will be grayed out and cannot be selected.
91
Содержание TeraStation WS5200DN2
Страница 5: ...Chapter 1 Getting Started Diagrams WS5600DN2 WS5600DR2 WS5400DN2 WS5400DR2 4...
Страница 23: ...4 Click Next 5 Enter the volume size that you want to create and click Next 22...
Страница 26: ...2 Click Disk Management 3 Right click the volume that you want to format and select Format 25...
Страница 39: ...4 Click Next 38...
Страница 40: ...5 Select Custom and click Next 39...
Страница 41: ...6 Click Add Items 7 Select the backup source folders or drives and click OK 40...
Страница 42: ...8 Click Next 41...
Страница 43: ...9 Specify the schedule to run the backup and click Next 42...
Страница 46: ...3 Right click on Local Backup and click Recover The recovery wizard will start 4 Click Next 45...
Страница 47: ...5 Select the date when backing up the data and click OK 46...
Страница 51: ...2 Click Change 3 Select Domain enter a domain name and click OK 50...
Страница 53: ...Installing DFS 1 In Server Manager click Dashboard Add roles and features 2 Click Next 52...
Страница 54: ...3 Select Role based or feature based installation and click Next 4 Click Next 53...
Страница 56: ...7 Click Next 8 Click Install 9 Click Close to finish 55...
Страница 57: ...Creating Namespaces 1 In Server Manager click Tools DFS Management 2 Click Namespaces New Namespace 56...
Страница 58: ...3 Enter a hostname for the namespace server and click Next 57...
Страница 59: ...4 Enter a name for the namespace and click Next 58...
Страница 63: ...2 Click Replication New Replication Group 62...
Страница 64: ...3 Select the type of replication group and click Next 63...
Страница 65: ...4 Enter a name for the replication group and click Next 64...
Страница 66: ...5 Enter the hostname of the file server for the replication source and click Next 65...
Страница 67: ...6 Click Add 66...
Страница 68: ...7 Enter the path of the replication source and click OK 67...
Страница 69: ...8 Click Next 68...
Страница 70: ...9 Enter the hostname of the file server for the replication target and click Next 69...
Страница 77: ...3 Right click the user whose password will be changed and click Set Password 4 Click Proceed 76...
Страница 80: ...3 Right click Groups and choose New Group 4 Enter a group name and click Add 79...
Страница 81: ...5 Click Advanced 6 Click Find Now 80...
Страница 82: ...7 Select the users to be registered to the group then click OK 8 Click OK 81...
Страница 86: ...8 Choose Everyone and check Allow for Change 85...
Страница 87: ...9 In the Security tab click Edit Add 10Enter Everyone under Enter the object names to select then click OK 86...
Страница 109: ...For Customers in China CCC A For Customers in Taiwan BSMI For Customers in Korea KC A 108...


