36
Note:
Adter changing the RAID mode, create a shared dolder.
Configuring a Hot Spare
Id you have a hot spare condigured and an array dails, the TeraStation immediately switches over to the hot spare. To use a
hot spare, you need an extra drive that’s not part od any array and a RAID 1, RAID 10, RAID 5, RAID 51, RAID 6, or RAID 61
array.
Note:
All data on the hot spare drive is deleted when it is condigured as a hot spare and again when it changes drom
a spare to a drive in the array.
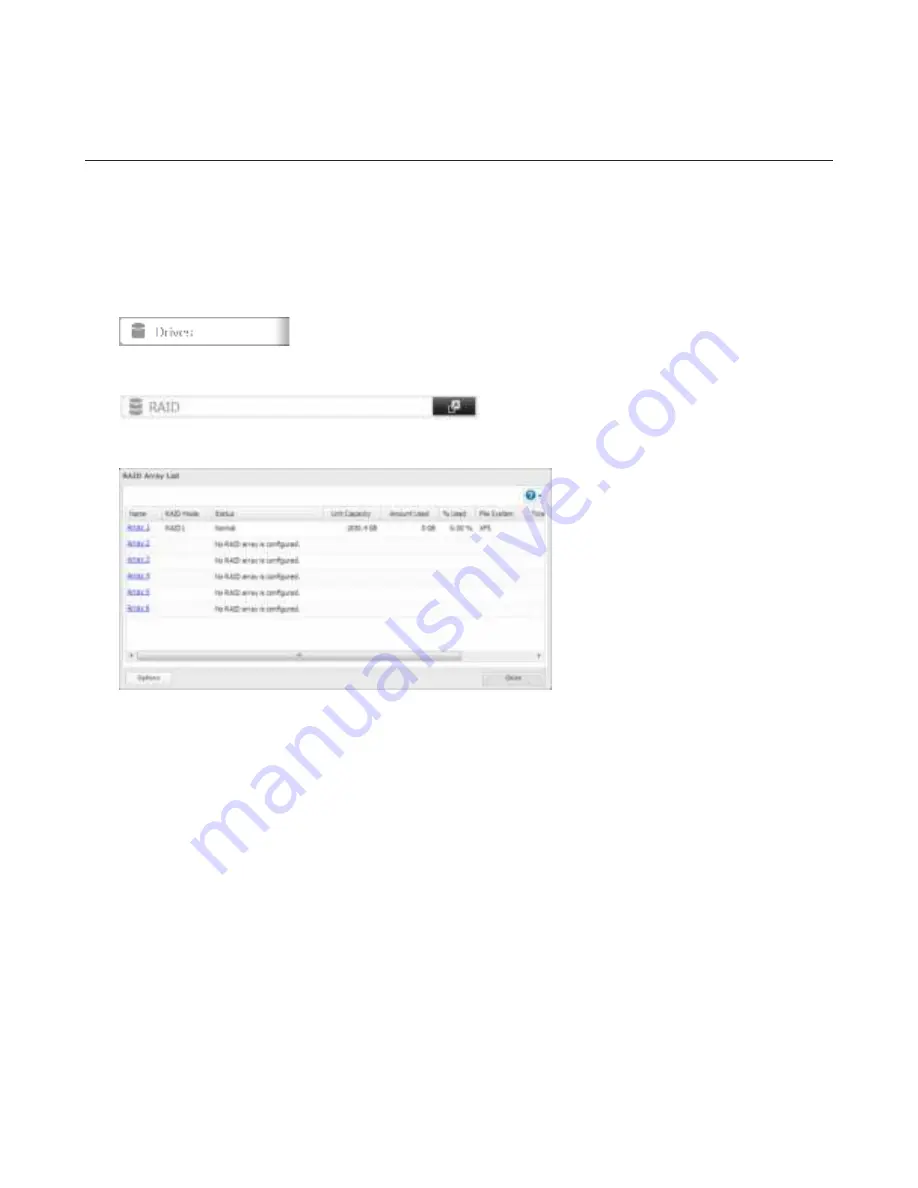
1
In Settings, click
Drives
.
2
Choose
RAID
.
3
Choose a RAID array.
4
Click
Set as a hot spare
.
5
Step through the wizard.
6
When the “Condirm Operation” screen opens, enter the condirmation number and click
OK
.
Notes:
• To turn the hot spare back into a normal disk, choose
Set as a normap disk
.
Id a drive dails in the RAID array bedore it is rebooted, the hot spare will not automatically replace the dailed drive.
In this case, dollow the steps below to repair the array.
(1) In Settings, navigate to
Drives
-
Drives
.
(2) Select the drive that was condigured as a hot spare, then click
Dismount Disk
.
(3) Click
Rediscover Disk
.
(4) Navigate to
Drives
-
RAID
.
(5) Select the RAID array to repair.
(6) Select the drive that was previously condigured as a hot spare, then click
Recover RAID Array
.
This will rebuild the RAID array.
• Adter the hot-spare drive replaces a dailed drive and the RAID array dinishes rebuilding, the hot-spare drive status
may still show “Hot Spare / Dismounted/ Plugged”. Check the drive status LED. Id it has changed drom red to blue,
the RAID array has dinished rebuilding and is ready dor use. This bug will be dixed in a duture dirmware update.


