LinkStation User Manual
4
Chapter 1
Setup
LinkNavigator Setup (LS-XHL, LS-CHL)
To initially configure your LinkStation from your computer, run the installation program on
your Utility CD. This will also install the NAS Navigator2 utility, which makes it easy to use and
administer your LinkStation.
Follow the steps below to initially configure your LinkStation and install NAS Navigator2.
1
Insert the Utility CD in your computer’s CD drive. LinkNavigator will launch.
Notes: If you are using Windows 7 or Vista, the autoplay screen may appear. Click [Run LSNavi.
exe].
If “Do you want to allow the following program to make changes to this computer ?” is
displayed in Windows 7, please click [Yes].
If “Your permission is necessary to continue program” is displayed in Windows Vista,
please click [Continue].
For Mac OS, double-click on the LinkNavigator icon in the utility CD.
If you have problems installing, temporarily disable your anti-virus software and
software firewall. After setup is complete, re-enable the software.
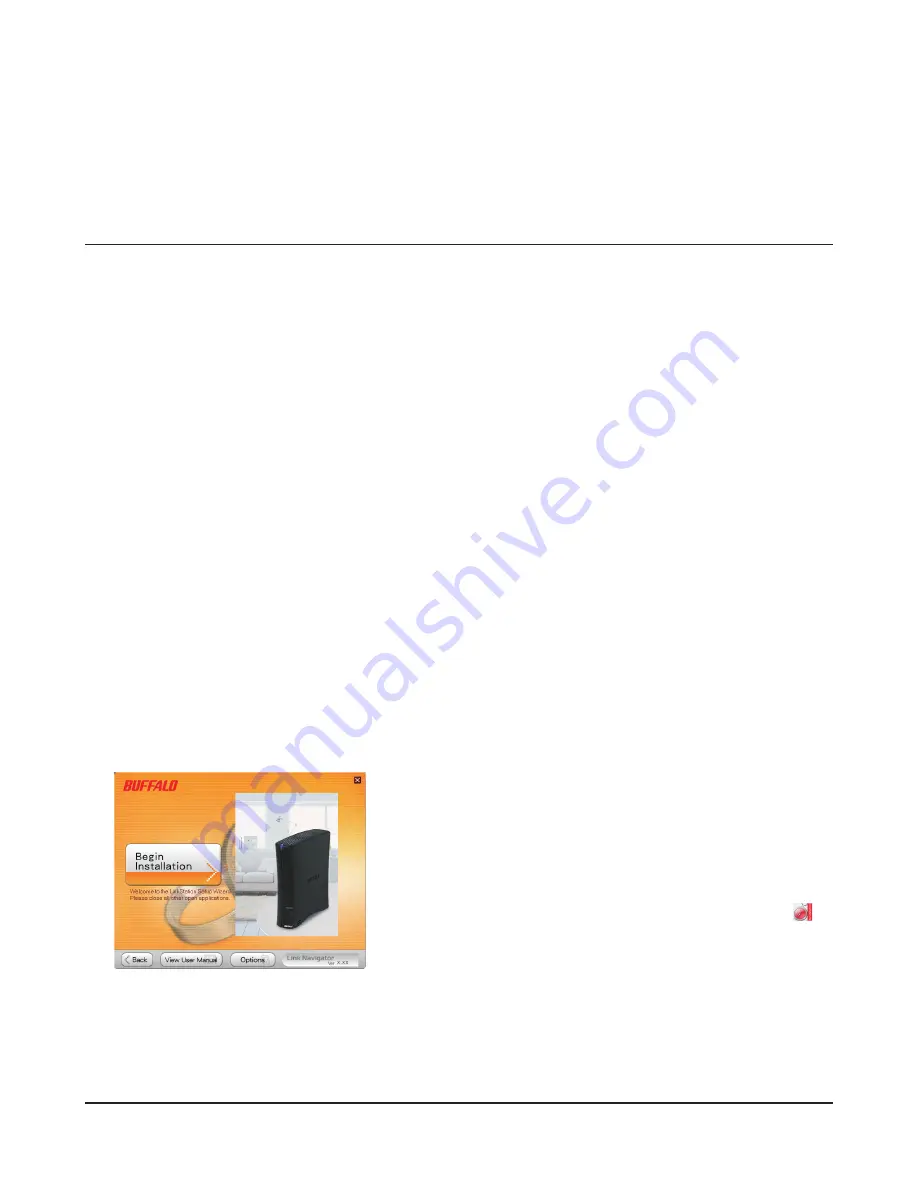
2
Click [Begin Installation].
Notes: This example shows a LS-XHL LinkSxtation. The LS-
CHL looks slightly different.
If the installer doesn’t open automatically, open the
LinkNavigator CD and click on LSNavi.exe, which has a
icon.


