158
Manually Creating Embroidery Patterns From Images (Design Center)
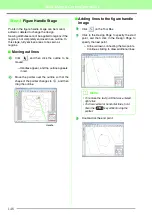
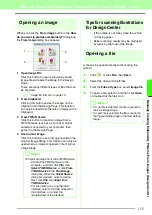
Figure Handle Stage
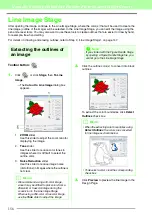
After creating the outline, which is simply a collection of dots (or pixels) in the Line Image Stage, continue to
the Figure Handle Stage, where the dots are automatically connected to create lines that can be edited. In the
Figure Handle Stage, you can use the Point Edit tool to move, delete and insert points, or you can use the Line
tool to draw lines.
Changing settings for
converting to outlines
Toolbar button:
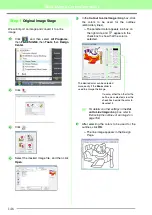
1.
Click ,
or
click
Stage
, then
To Figure
Handle
.
2.
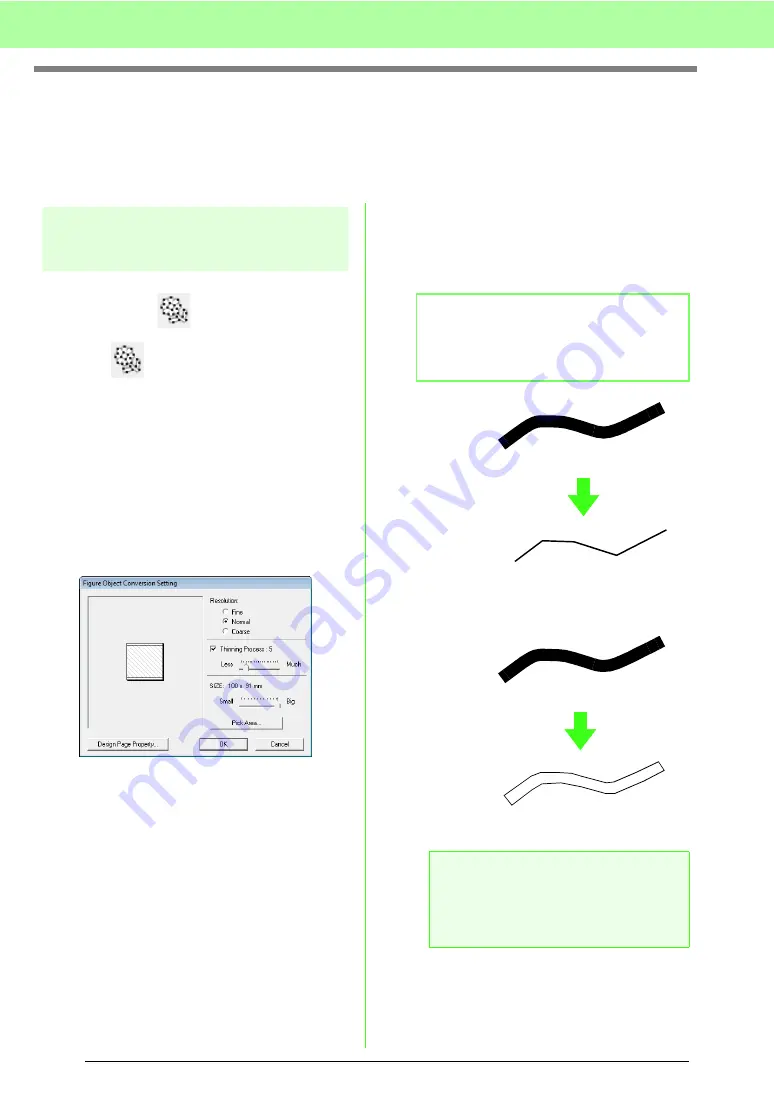
Select a setting under
Resolution
.
In general,
Normal
provides a sufficient
resolution without making the file too large.
If selecting
Coarse
gives a satisfactory result
for a particular image, select this setting in
order to keep the file as small as possible.
Select
Fine
only if the image contains many
small details, and the
Normal
setting does not
give a satisfactory result.
3.
To replace the black outlines with figure
handle lines along the center of the outlines,
select the
Thinning Process
check box, and
then use the slider to select the degree of
detail.
To replace the black lines with figure handle
lines following the border of the outlines, clear
the
Thinning Process
check box.
4.
Use the
SIZE
slider to set the size.
b
Memo:
When the slider is set to
Much
, even very
thick black lines will be replaced with a line
along the center.
a
Note:
You will not be able to enlarge the image
beyond the limits of the Design Page area. If
necessary, click
Design Page Property
,
and then change the Design Page size.
ON
OFF
Содержание PE-Design 8
Страница 1: ...Instruction Manual ...
Страница 146: ...144 Arranging Embroidery Designs Layout Editing ...
Страница 200: ...198 Managing Embroidery Design Files Design Database ...
Страница 218: ...216 Creating Custom Stitch Patterns Programmable Stitch Creator ...
Страница 244: ...242 Tips and Techniques ...
Страница 269: ...English ...


