73
Arranging Embroidery Designs (Layout & Editing)
A
rr
a
ng
in
g Embr
oide
ry
D
e
s
igns
(
L
a
y
out
& E
d
iting)
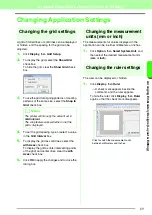
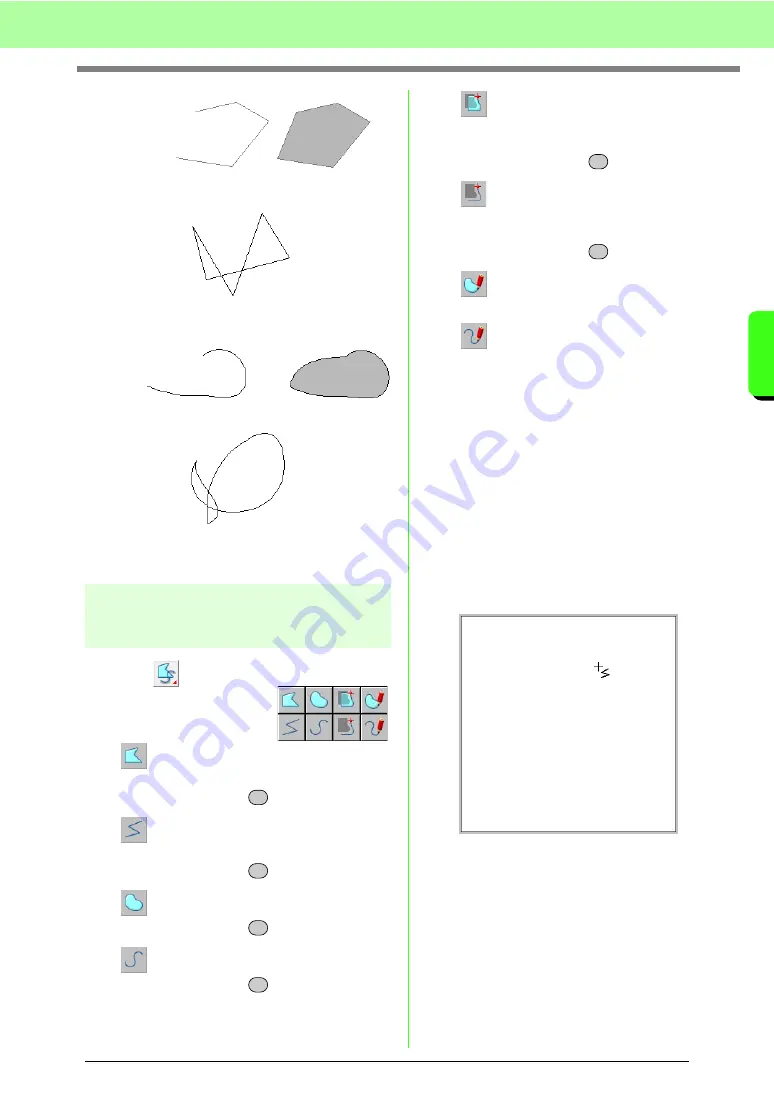
Drawing straight line and
curve
1.
Click
on the Tool Box.
→
Eight buttons appear:
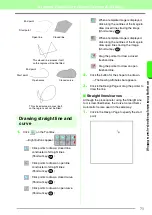
: Click points to draw a closed line
constructed of straight lines.
(Shortcut key:
)
: Click points to draw an open line
constructed of straight lines.
(Shortcut key:
)
: Click points to draw a closed curve.
(Shortcut key:
)
: Click points to draw an open curve.
(Shortcut key:
)
: When a template image is displayed,
click along the outlines of the image to
draw closed lines tracing the image.
(Shortcut key:
)
: When a template image is displayed,
click along the outlines of the image to
draw open lines tracing the image.
(Shortcut key:
)
: Drag the pointer to draw a closed
freehand line.
: Drag the pointer to draw an open
freehand line.
2.
Click the button for the shape to be drawn.
→
The Sewing Attributes bar appears.
3.
Click in the Design Page or drag the pointer to
draw the line.
■
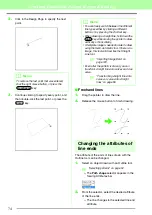
Straight lines/curves
Although the procedure for using the Straight Line
tool is described below, the Curve tool and Semi-
Automatic tool are used in the same way.
1.
Click in the Design Page to specify the start
point.
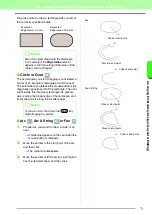
End point
Start point
Open line
Closed line
This closed line crosses itself,
so the regions will not be filled.
End point
Start point
Open curve
Closed curve
This closed curve crosses itself,
so the regions will not be filled.
Z
Z
X
X
C
C
Содержание PE-Design 8
Страница 1: ...Instruction Manual ...
Страница 146: ...144 Arranging Embroidery Designs Layout Editing ...
Страница 200: ...198 Managing Embroidery Design Files Design Database ...
Страница 218: ...216 Creating Custom Stitch Patterns Programmable Stitch Creator ...
Страница 244: ...242 Tips and Techniques ...
Страница 269: ...English ...


