Boris Calligraphy
81
•
•
•
•
•
•
8.
Choose
Boris
from the
Generator
menu
in the Viewer. Then choose
Vector Shape
from
the submenu.
9.
Drag the backdrop from the Viewer to the Canvas. When the Edit Overlay appears,
position the image in the Superimpose section and release the mouse button. The clip
appears in the Timeline.
10.
Make sure that the Title 3D
Þ
lter is above the Vector Shape
Þ
lter in the timeline.
11.
Select the Vector Shape track and click the Controls tab in the Viewer window.
12.
Choose the shape that you want from the
Shape Primitive menu
.
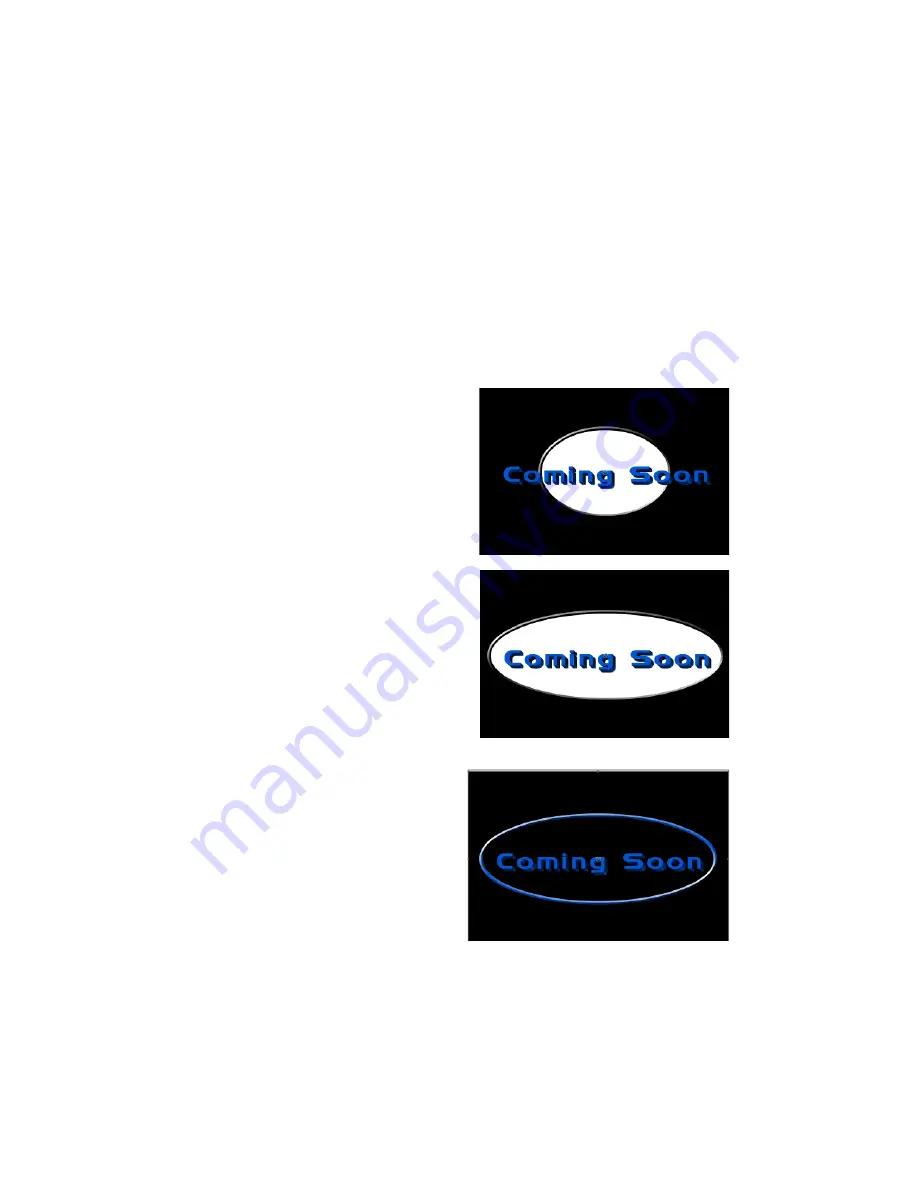
The illustrations in this exercise use the
Oval
shape, but you can use whichever
shape you like.
13.
Adjust the
Shape
Left
,
Shape Top
,
Shape
Right
, and
Shape Bottom
parameters until
the shape appears behind your text.
These parameters set the positions of the
corners of a rectangle in which the oval is
inscribed. These values are scaled as
percentages of the width and height of
the Canvas window.
The illustrations show
Shape Left
set to
5.00
and
Shape Right
to
95.00
, but you can
use whatever parameters you like.
14.
In the Border 1 parameter group, use
the Eyedropper tool to set the border
Color
to the same color as your text
Þ
ll.
15.
In the Shape Fill parameter group, click
to deselect the
Shape Fill checkbox
.
This creates an un
Þ
lled backdrop.
16.
Preview your effect. Now you will
animate the backdrop.
17.
Move the playhead to the
Þ
rst frame in
the effect.
Содержание Boris Calligraphy Vresion 2.0
Страница 1: ...1 User Guide Version 2 0...


