


Video Format
Your Blackmagic MultiView 4 can be set to Ultra HD or HD output at either 29.97 or 25 frames
per second. Use this setting to cycle through the available resolution and frame rate options.
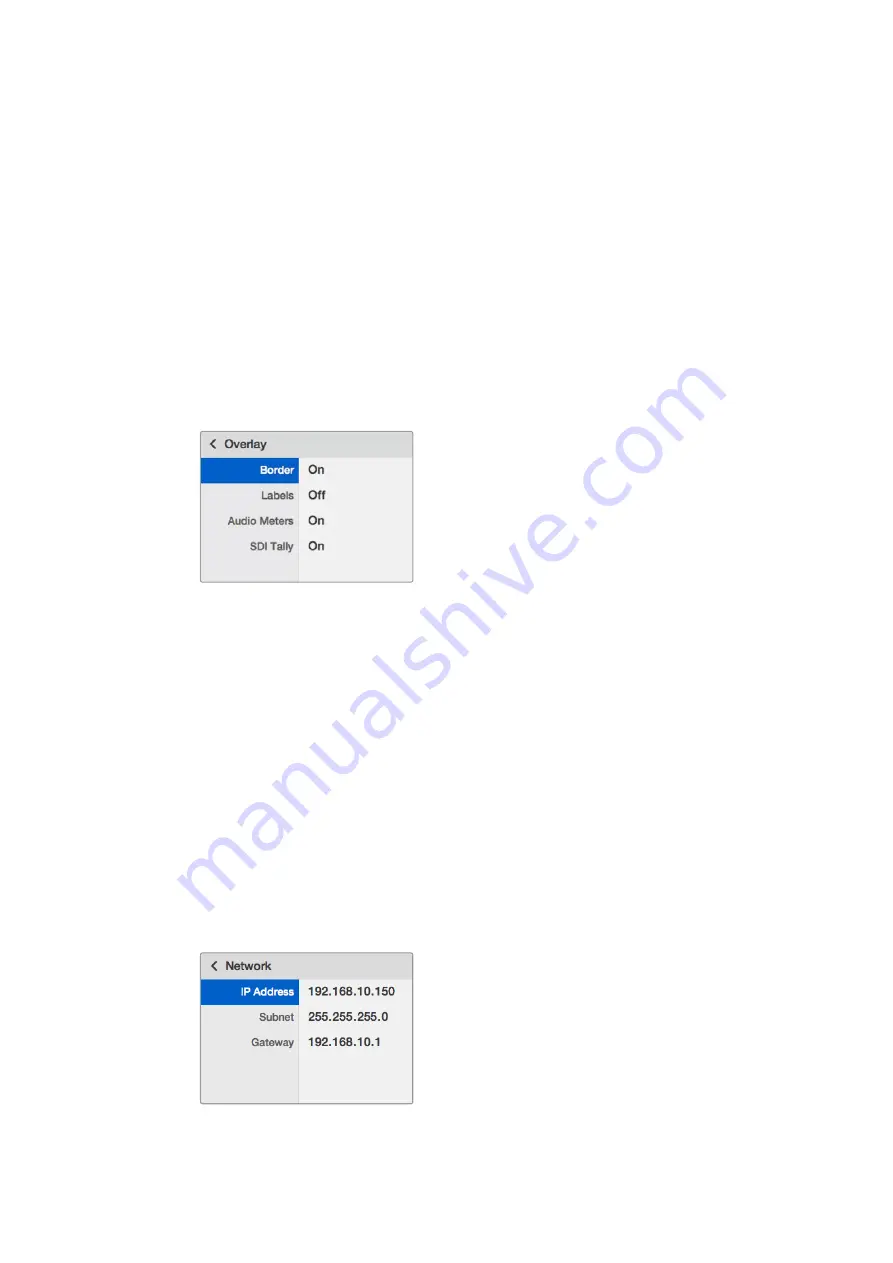
Overlay
The overlay submenu lets you set the appearance of overlay features on or off.
Overlay features are:
Borders
– Lets you separate each view in a grid like pattern.
Labels
– Makes ‘view’ labels visible or hidden. Labels can be changed using
Blackmagic MultiView Setup.
Audio Meters
– Turns audio VU meters on or off for all the views. The first 2 channels
embedded in each SDI signal are displayed in each view, which means you can monitor
audio levels together with the picture.
Network
The ‘network’ settings let you set the IP, Subnet and Gateway addresses for your Blackmagic
MultiView 4 when connecting to a network.
To set your Blackmagic MultiView 4’s IP address:
1
Press the ‘menu’ button on the front control panel and use the rotary knob to highlight
the ‘networking’ tab on the LCD menu.
2
Press the ‘set’ button to enter the network settings screen.
3
Turn the rotary knob to select the “IP address” tab.
4
Press the ‘set’ button to highlight the first field of the IP address. Use the rotary knob to
change values.
5
Press ‘set’ to confirm the first field, then repeat the above step for the next three fields.
If you need to assign the subnet and gateway address, they can be set using the
same method.
6
Press the menu button twice to return to the home screen.
Use the rotary knob or the “1” and “2” buttons
on Teranex Mini Smart Panel to assign values to
your Blackmagic MultiView 4 network settings
18
Teranex Mini Smart Panel


