


36
1.877.877.2269
BLACKBOX.COM
NEED HELP?
LEAVE THE TECH TO US
LIVE 24/7
TECHNICAL
SUPPORT
1.877.877.2269
4.4 CONFIGURING LED INDICATORS
When the optional Freedom LED Monitor indicator kit is used, there are several configuration options available that allow you to cus-
tomize behavior and these are set using the Glide and Switch configuration application. See 4.2 Glide and Switch configuration.
4.4.1 ADJUSTING COLOR AND BRIGHTNESS FOR ALL INDICATORS
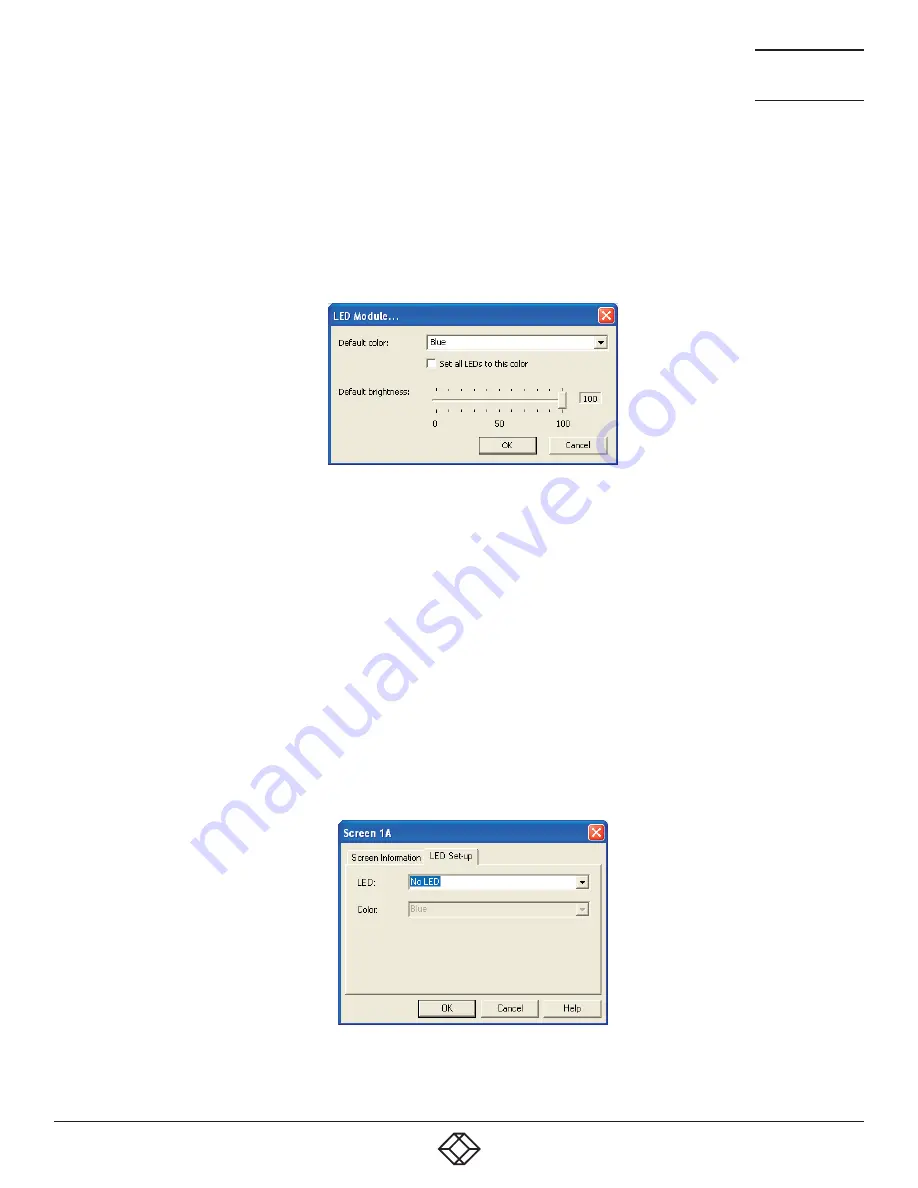
If necessary, you can impose default color and brightness settings upon all connected LED monitor indicators. Choose the Configure
> LEDs... menu item to display the following popup. See Figure 4-13.
Figure 4-13. Configuring LED default color and brightness for all indicators
To impose a default color on all connected indicators, choose the required Default color and then tick the option Set all LEDs to this
color.
Use the Default brightness option to determine the intensity of all indicators.
Click OK to exit and apply the required settings.
Note: Once default settings have been made you can optionally change any or all indicators individually as required using the steps
outlined below.
4.4.2 ADJUSTING INDIVIDUAL INDICATORS
For each installed video display screen, you have the opportunity to add and configure an LED monitor indicator.
4.4.2.1 TO ADJUST DETAILS FOR AN INDIVIDUAL INDICATOR
1. Double-click on a screen representation (or right click on a screen representation and then choose Properties) to display the
screen popup.
2. Click the LED Set-up tab to display the indicator details. See Figure 4-14.
Figure 4-14. The LED Setup dialog


