22
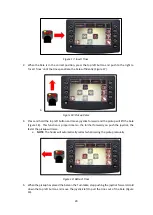
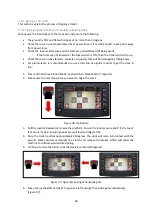
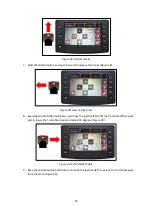
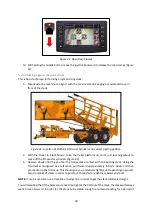
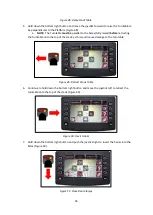
Figure 22: Auto Stack with Tie
1.
Move the joystick backwards and release it (Figure 22). The machine will place the first line of
bales on the platform against the forks and return to its home position in this sequence.
a.
NOTE:
To cancel the sequence at any point, move the joystick backwards and the auto
stack sequence will stop immediately.
b.
NOTE
: If the side gates are not open enough, you can open the left and right-side gate
by pushing the joystick left and right direction while the auto stack function is
operating.
c.
NOTE
: If you wish to clamp the bales, press and hold the bottom left button and push
the joystick left and right, you can also close the gates while the auto stack function is
operating.
5.3.6 Auto Stack with No Tie Operation
When building a stack, the easiest way is to incorporate
‘
No Tie
’
layers in the first couple of stacks to
make it stable and give you a solid stack to tip against.
1.
To do an
‘
Auto Stack with No Tie
’
, all the checks must be don
e again for an ‘Auto Stack
with
Tie’.
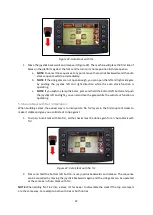
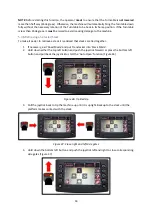
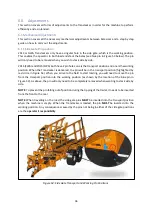
Figure 23: Auto Stack with No Tie
2.
Press and hold the bottom left button, move joystick backwards and release. The sequence
can be cancelled by moving the joystick backwards again and the side gates can be operated
as the same as in
‘
Auto Stack with Tie
’
.
NOTE
: When adding
‘
No Ties
’
into a stack, it’s far easier to dissemble the stack if the top two layers
are the same way. For example, both with ties or both no ties.
Содержание Transtacker
Страница 7: ...7 3 0 Machine Overview Figure 1 Transtacker Overview...
Страница 43: ...43 Figure 59 Auto Settings Screen...
Страница 57: ...57 8 1 Auto Pickup Sequence Figure 69 Auto Pickup Diagram...
Страница 58: ...58 8 2 Auto Stack Sequence both with and without tie Figure 70 Auto Stack Diagram...
Страница 59: ...59 8 3 Auto Lower Turntable Figure 71 Auto Lower Turntable Diagram...
Страница 60: ...60 8 4 Auto Open Sequence Figure 72 Auto Open Diagram...
Страница 61: ...61 8 5 Auto Tip Bed Down Sequence Figure 73 Auto Tip Bed Down Diagram...
Страница 62: ...62 8 6 Road Mode Sequence Figure 74 Road Mode Diagram...

