29
29
PUSH STICK
The proper use of a push stick will reduce the risk
of injury by keeping your hands away from the
blade while cutting.
Whenever your hands will get within 12" of the
blade a push stick should be used.
To maintain control when cutting large workpieces,
start the cut by feeding with your hands then use
push sticks to finish the cut, so your hands are not
on the end of the workpiece as it passes through
the blade.
Plan and Practice.
With the power to the saw OFF, place the push stick(s) in a position where they will be easy to
reach without reaching over the saw blade or losing control of the workpiece.
MITER GAUGE
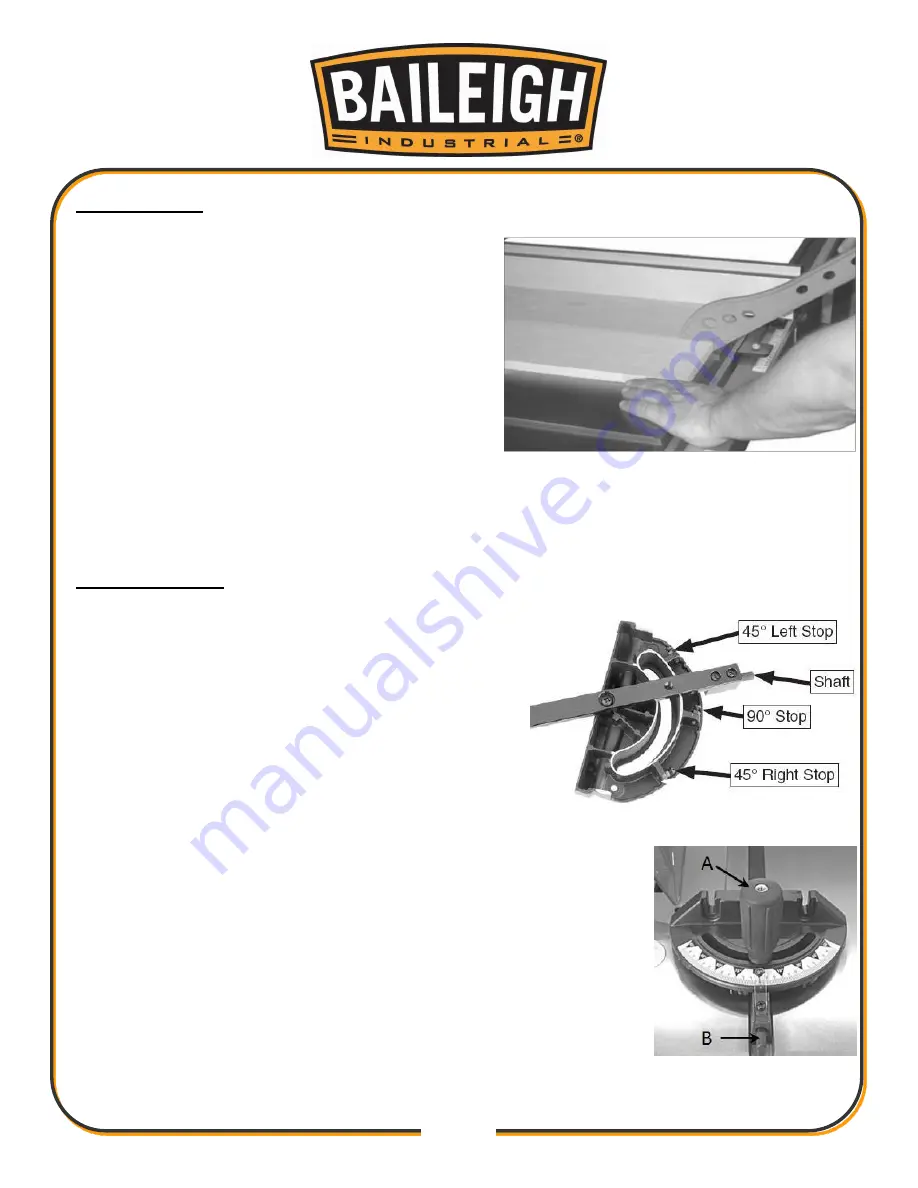
The miter gauge is equipped with stop screws that
allow you to easily adjust the miter gauge from 45° to
the left, 90° (centered) and 45° to the right.
The stop screws contact the stop shaft to stop the
gauge at the three most common positions.
The stop shaft moves in to contact the stop screws or
out to allow the gauge to swing past the stop.
For adjustments slide the miter gauge into the T-slot on
the table, and then push the sliding shaft all the way
into the miter gauge.
To use a setting other than 90°, loosen the lock knob (A) by turning it
counter-clockwise, pull the stop-lock pin (B) and rotate the miter head
to 45°, or any angle shown on the numerical guide.
Turn the lock knob (A) clockwise to tighten and secure the miter head.
To check the accura
cy of the miter gauge’s settings, set it at 90° and
check it with an L-square or T-square. To verify the setting, make a
test cut in scrap stock and then use a square to check the cut piece.
Repeat adjustment if necessary.
If the miter gauge needs adjusting, manually turn the head so the
pointer is where you think it ought to be, tighten the lock knob and
loosen the nut.
Содержание TS-1044H
Страница 58: ...55 55 TABLE SAW PARTS DIAGRAMS...
Страница 59: ...56 56...
Страница 60: ...57 57...
Страница 61: ...58 58...


