4-18
4.6 Maintenance
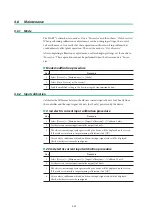
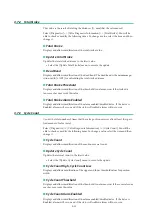
4.6.1 Mode
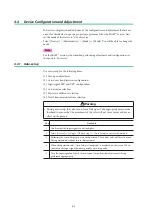
The HART
®
version has two modes. One is “In service” and the other is “Out of service.”
When performing calibration or adjustment, or when changing settings, the control
valve will move, so first verify that these operations will not result in problems that
could adversely affect plant operation. Then set the mode to “Out of service.”
After completing calibration or adjustment, or after changing settings, set the mode to
“In service.” These operations cannot be performed when the device mode is “In ser-
vice.”
■
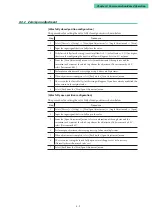
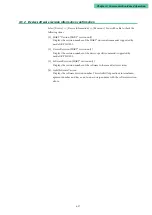
Mode modification procedure
Step
Procedure
1
Select [Device] >> [Maintenance] >> [Mode]
2
Select [Out of Service] or [In Service].
3
Send the modified setting to the device using the transmission button.
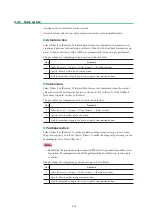
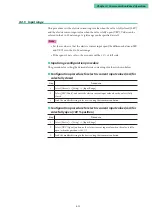
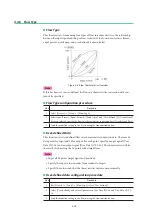
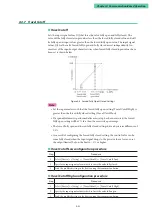
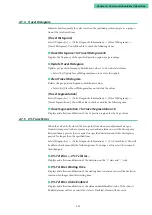
4.6.2 Input calibration
Calibrates the difference between the electric current input of 4 mA (or 20 mA) from
the controller and the input signal of 4 mA (or 20 mA) perceived by the device.
■
4 mA electric current input calibration procedure
Step
Procedure
1
Select [Device] >> [Maintenance] >> [Input Calibration] >> [Calibrate 4 mA].
2
Set the electric current input (controller output) to 4 mA.
3
The electric current input value perceived by the device will be displayed on the screen.
If that value is satisfactory for performing calibration, click [OK].
4
After a while, calibration will end, and then the input signal value will be displayed.
Check whether it is correctly configured.
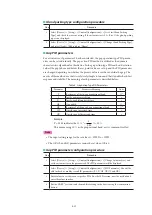
■
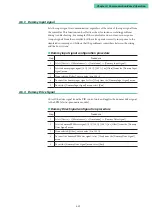
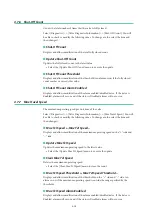
20 mA electric current input calibration procedure
Step
Procedure
1
Select [Device] >> [Maintenance] >> [Input Calibration] >> [Calibrate 20 mA].
2
Set the electric current input (controller output) to 20 mA.
3
The electric current input value perceived by the device will be displayed on the screen.
If that value is satisfactory for performing calibration, click [OK].
4
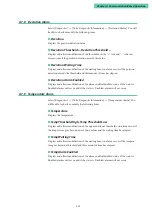
After a while, calibration will end, and then the input signal value will be displayed.
Check whether it is correctly configured.
Содержание AVP200
Страница 30: ......
Страница 66: ...2 28...
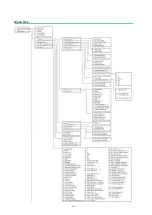
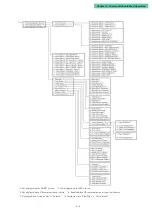
Страница 80: ...4 4 Menu Tree...
Страница 120: ...5 16...
Страница 128: ...6 8 For models those date of manufacture are before September 2017...
Страница 129: ...6 9 Chapter 6 Cautions regarding Explosion Proof Models For models those date of manufacture are before September 2017...
Страница 130: ...6 10 For models those date of manufacture are before September 2017...
Страница 131: ...6 11 Chapter 6 Cautions regarding Explosion Proof Models For models those date of manufacture are before September 2017...
Страница 132: ...6 12 For models those date of manufacture are before September 2017...
Страница 133: ...6 13 Chapter 6 Cautions regarding Explosion Proof Models For models those date of manufacture are after October 2017...
Страница 135: ...6 15 Chapter 6 Cautions regarding Explosion Proof Models For models those date of manufacture are after October 2017...
Страница 136: ...6 16 For models those date of manufacture are after October 2017...
Страница 138: ...6 18 For models those date of manufacture are after October 2017...
Страница 139: ...6 19 Chapter 6 Cautions regarding Explosion Proof Models For models those date of manufacture are after October 2017...
Страница 184: ...Appendix A Specifications A 25...
Страница 185: ......
Страница 188: ......
Страница 190: ......

