


Chapter 3: Basic Operations
21
Chapter 3: Basic Operations
Viewing and Selecting Channels and Servers
Your AutoView may be operated in either a non-secure (no password required) or
secure (password required) mode. All units ship defaulted to the non-secure mode.
For more information on security, see
Setting User Station Security
in this chapter.
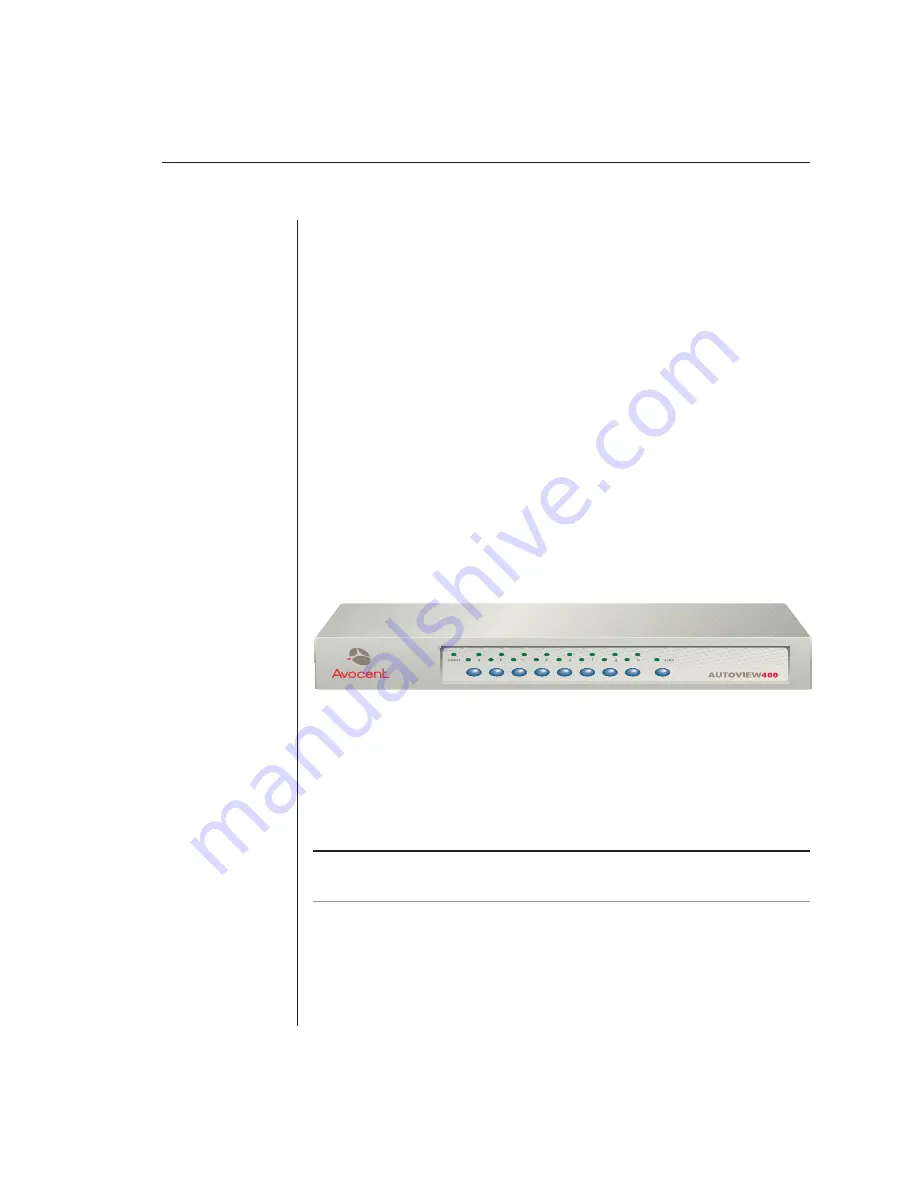
Front panel LEDs and push-buttons
Once the green LED over a channel lights, the attached server can be selected
via the On-Screen Display menu or, if you are in non-secure mode, channel
push-buttons, the Scan button or keyboard hotkey sequence. The amber LED
will light at the active computer.
The Scan push-button has one LED over it. Press the button momentarily to
switch to the next computer in sequence. The LED will turn amber briefly
during the channel switch. Press and hold the button for one second to initiate
channel scanning. The LED will turn green while you are in scan mode.
The status LED lights red if an internal failure occurs. The LED will blink
green for several seconds during power up while the system performs a
self-diagnostic. After initialization, the LED remains green during normal
operation and blinks only when you are in Command Mode.
Figure 3.1: The AutoView Front Panel LEDs and Push-buttons
On-Screen Display
When you launch the on-screen display, you will first see the OSD Administrator
Channel List. This menu lists all the servers in the system, the associated
addresses and the status of each port. From here, you can you can select servers
and access OSD configuration options.
NOTE:
The OSD interface colors differ slightly between the AutoView 200 and 400 models.
We have used AutoView 400 screen shots for the User Guide. The few feature differences
are noted in the text.
To access the OSD Administrator Channel List:
1.
Press the keyboard
Control
key twice within one second.
2.
In non-secure mode, the Administrator Channel List appears.
-or-
In secure mode, the User Login window appears. Type in your user name
Содержание AutoView 200
Страница 1: ...AutoView 200 400 Installer User Guide...
Страница 6: ......
Страница 7: ...Contents 1 Product Overview Features and Benefits 3 Compatibility 6 Safety Precautions 6...
Страница 8: ......
Страница 14: ......
Страница 24: ...18 AutoView 200 400 Installer User Guide...
Страница 26: ......
Страница 42: ...36 AutoView 200 400 Installer User Guide...
Страница 43: ...Contents Multiuser Operation 39 Keyboard Translation AutoView 400 only 40 4 Advanced Operations...
Страница 44: ......
Страница 48: ...42 AutoView 200 400 Installer User Guide...
Страница 50: ......
Страница 57: ...Appendices 51...
Страница 58: ...52 AutoView 200 400 Installer User Guide...