Installing the Driver Software in Windows 2000
FRITZ!Card – 2 Installing FRITZ!Card PCMCIA
15
4.
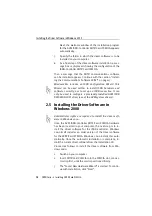
In the next window, confirm the “European ISDN
(DSS1)” setting for the D-channel protocol with “Next”.
5.
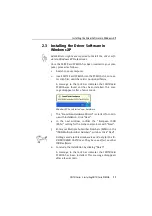
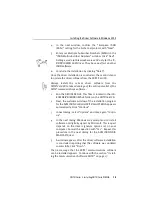
Enter your Multiple Subscriber Numbers (MSNs) in the
“ISDN Multisubscriber Numbers” window. Click “Next”.
Settings made in this window are valid only for the IS-
DN NDIS WAN CAPI Driver. They have no effect on other
ISDN software.
6.
Conclude the installation by clicking “Finish”.
Once the driver installation is concluded, the second step is
to update the driver software from the FRITZ!Card CD.
Always install the current driver software from the
FRITZ!Card CD to take advantage of the entire potential of the
FRITZ! communications software.
1.
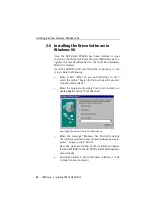
Run the SETUP.EXE FILE. This files is located in the <CD-
ROM DRIVE>\WINDOWS.2K folder on the FRITZ!Card CD.
2.
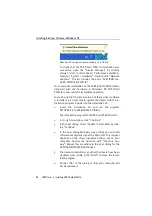
Next, the welcome window of the installation program
for the AVM ISDN-Controller FRITZ!Card PCMCIA appears
automatically. Click “Continue”.
3.
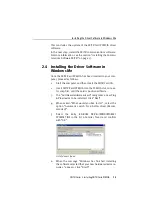
In next dialog, select “Update” and once again “Contin-
ue”.
4.
In the next dialog Windows may prompt you to install
software not digitally signed by Microsoft. This request
depends on the driver signature options set on your
computer. Answer the question with “Yes”. Repeat this
procedure in the next dialog for the AVM ISDN NDIS
WAN CAPI Driver.
5.
A window appears after the driver software installation
is concluded reporting that the software was updated
successfully. Click “Finish”.
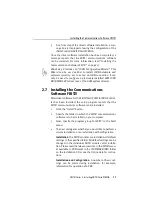
Then a message that the FRITZ! communications software
can be installed appears. Continue with the section “Install-
ing the Communications Software FRITZ!” on page 17.
Содержание FRITZ!Card PCMCIA
Страница 1: ......

