Chapter 3
User Guide
140
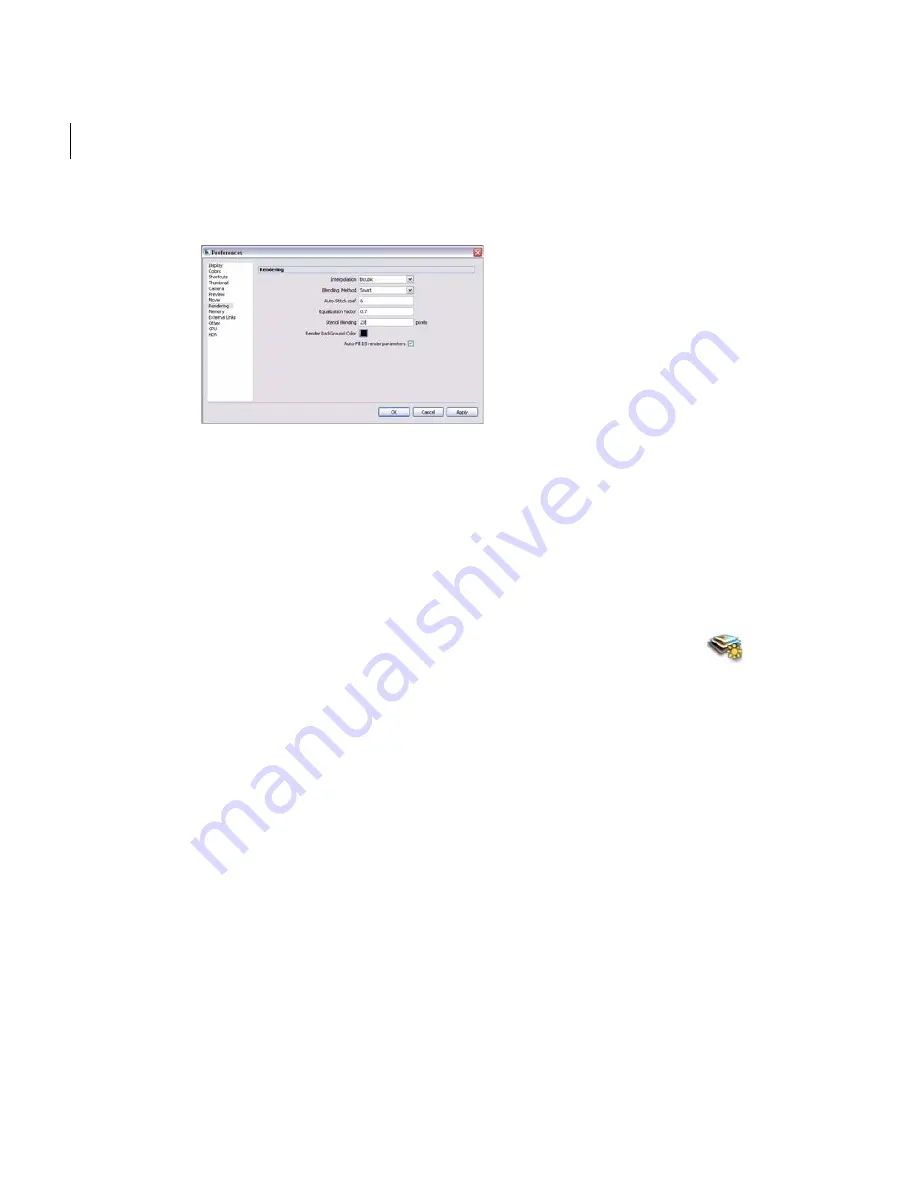
2
Select
Rendering
.
3
Enter an
Equalization Factor
value between 0 and 1. The smaller the number, the
closer the brightness is to the original level. The larger the number, the more
equalized the images, but the images may look overexposed when you apply the
equalization in the next steps. Achieving the level you would like is a matter of
preference, and you may need to readjust the number later in this process.
4
Click
OK
.
5
Select
Render > Equalize All Images
from the main menu, or click
.
6
If you are satisfied with the effect of the equalization, you can render the project. If
equalization has produced little effect or if images are too bright or too dark, click
Render
>
Reset equalization
to reset the images to the original level of brightness.
NOTE
Any small, blurry zones that appear in the images in the
Stitching Window
will be
corrected during the rendering process.
Содержание 551A1-05B111-1001 - Stitcher Unlimited 2009
Страница 1: ...User Guide Autodesk Stitcher Unlimited 2009 ...
Страница 11: ...1 Introduction ...
Страница 12: ......
Страница 23: ...2 Quick Start to Stitcher Projects ...
Страница 24: ......
Страница 52: ...Chapter 2 Quick Start to Stitcher Projects 42 ...
Страница 53: ...3 User Guide ...
Страница 54: ......
Страница 135: ...StitcherTM User Guide 125 Cylindrical preview Spherical preview Cubical preview ...
Страница 147: ...StitcherTM User Guide 137 TIP Press G Windows or Command G Mac to toggle the grid ...
Страница 162: ...Chapter 3 User Guide 152 snapshot cylindrical spherical cubical ...
Страница 210: ...Chapter 3 User Guide 200 ...


