Chapter 3
User Guide
100
2
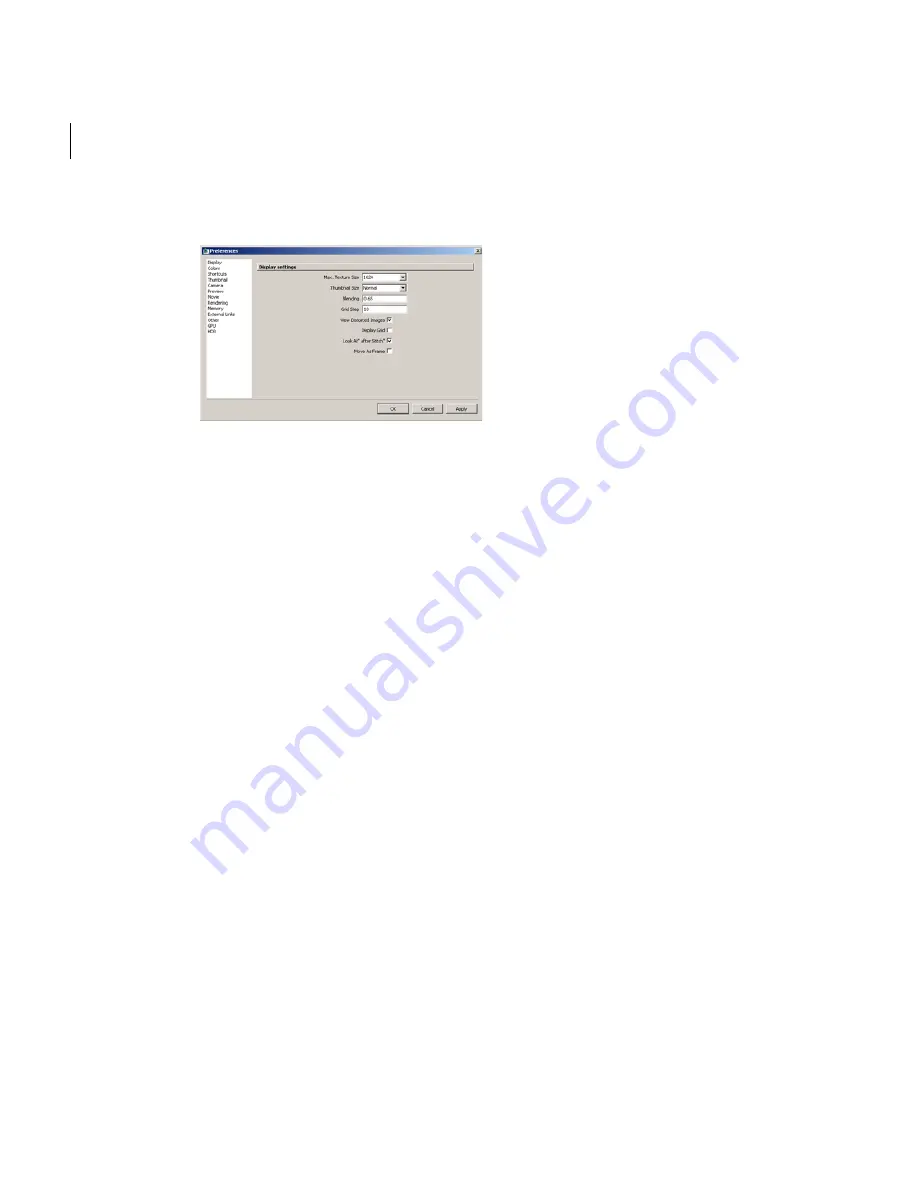
In the
Display
tab, uncheck the
“Look At” After Stitch
option.
3
Click
OK
.
Setting the camera orientation
To set the camera orientation:
1
Click
Edit
>
Properties
.
2
Click the
Stitching Camera
tab and in the
Rotation
fields, enter numerical values
for the X-, Y-, and Z-axes.
3
If needed, set the
Viewing angle
in degrees. Type a number between 1 and 179.
Bookmarking the current viewpoint
You can bookmark a viewpoint, modify the viewpoint, and revert back to the
bookmarked viewpoint.
To bookmark the current viewpoint, select
View > Set Bookmark
from the main
menu.
To Select the bookmarked viewpoint, select
View > Select Bookmark
.
Содержание 551A1-05B111-1001 - Stitcher Unlimited 2009
Страница 1: ...User Guide Autodesk Stitcher Unlimited 2009 ...
Страница 11: ...1 Introduction ...
Страница 12: ......
Страница 23: ...2 Quick Start to Stitcher Projects ...
Страница 24: ......
Страница 52: ...Chapter 2 Quick Start to Stitcher Projects 42 ...
Страница 53: ...3 User Guide ...
Страница 54: ......
Страница 135: ...StitcherTM User Guide 125 Cylindrical preview Spherical preview Cubical preview ...
Страница 147: ...StitcherTM User Guide 137 TIP Press G Windows or Command G Mac to toggle the grid ...
Страница 162: ...Chapter 3 User Guide 152 snapshot cylindrical spherical cubical ...
Страница 210: ...Chapter 3 User Guide 200 ...


