72
|
Chapter 6
Precision Drawing
Set Grid and Snap Values
The grid and snap features set up a framework that you can use as a guide while drawing.
■
Grid
displays a rectangular pattern of dots that extends over the area specified by the drawing
grid
limits
. The grid helps you align objects and visualize the distances between them. The grid does
not appear in the plotted drawing.
■
Snap
restricts the movement of the crosshairs to intervals that you have defined. When Snap is
on, the cursor seems to adhere, or “snap,” to an invisible grid. Snap is useful for specifying precise
points with the cursor.
Set Grid and Snap Spacing
The grid does not necessarily correspond to the current snap interval. You might set a wide grid
spacing to be used as a reference but maintain a closer snap spacing for accuracy in specifying points.
For example, you might set the grid spacing to 10 times the snap spacing in a metric drawing or 12
times the snap spacing in an imperial drawing.
Try it: Constrain the cursor with Snap
1
Start a new drawing.
2
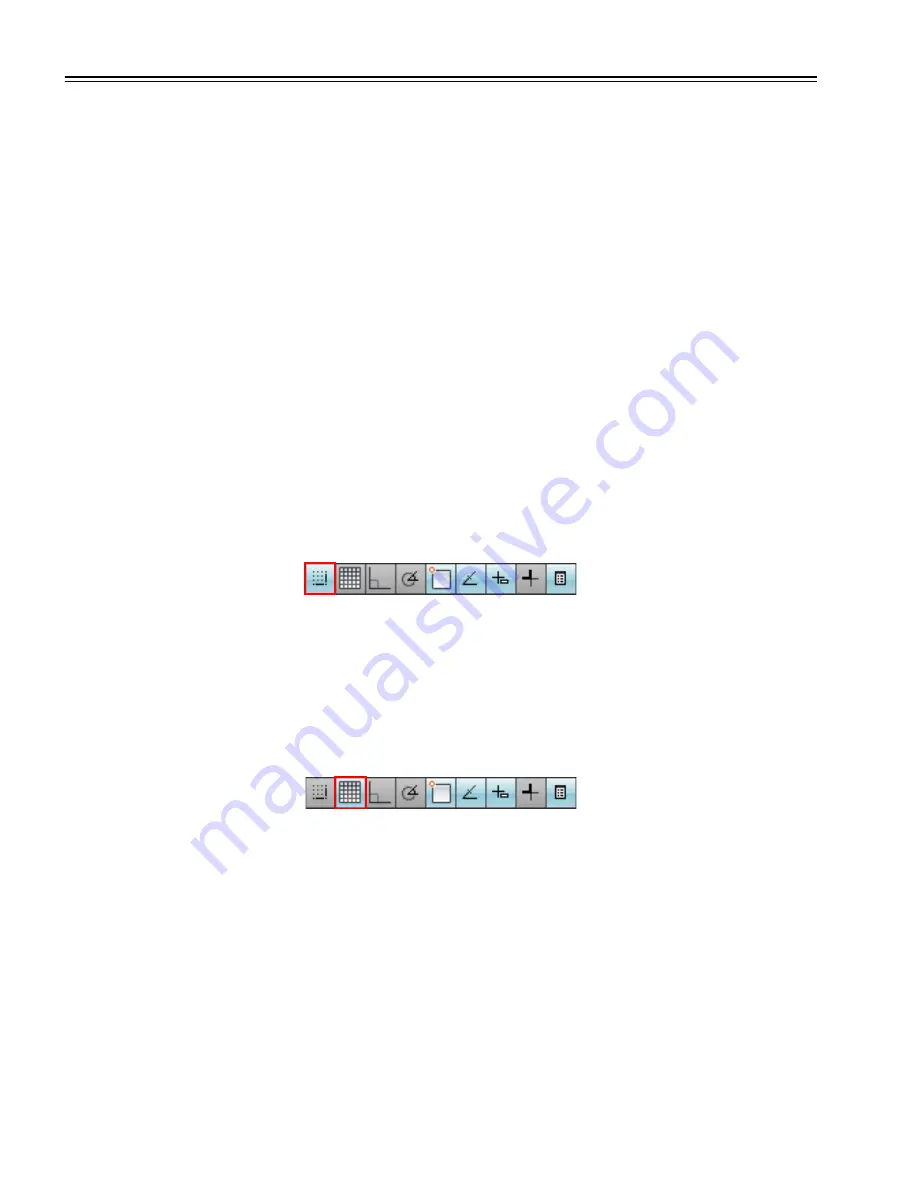
Click the Snap button on the status bar.
Notice that the button changes color to indicate that Snap has been turned on.
3
Move the pointer around in the drawing area while Snap is turned on.
Notice that the cursor seems to adhere, or “snap,” to points at equal intervals in the drawing area.
Try it: Display a grid
1
Click the Grid button on the status bar.
Notice that the grid dots cover a limited area, the grid limits.
2
Turn Grid and Snap off.
If you zoom in or out, you might need to adjust grid spacing to be more appropriate for the new
magnification.
Содержание 057A1-05A111-1001 - AutoCAD LT 2009
Страница 1: ...January 2008 Getting Started ...
Страница 6: ...vi ...
Страница 7: ...Make the Transition from Paper to CAD ...
Страница 8: ... 127 6 7 127 6 7 7 127 5 3 6 127 5 5 5 5 5 5 5 5 5 6 276 ...
Страница 10: ...352326 5281 225 3 1 352326 9 7 21 6287 ...
Страница 12: ......
Страница 14: ......
Страница 16: ......
Страница 18: ......
Страница 20: ......
Страница 22: ... ...
Страница 24: ......
Страница 26: ...20 ...
Страница 27: ...Introduction Why You Should Use this Guide 22 Tutorials and Command Access 22 Get Additional Information 23 ...
Страница 34: ...28 ...
Страница 35: ...Work with Commands Use the Mouse 30 Cancel a Command 30 Start a Command 30 Undo or Redo Commands 34 ...
Страница 41: ......
Страница 43: ...Change Views Zoom to Magnify a View 38 Pan to Reposition a View 39 ...
Страница 47: ......
Страница 61: ...Draw Objects Object Properties Overview 56 Draw Lines 64 Draw Circles and Arcs 67 ...
Страница 75: ......
Страница 89: ......
Страница 119: ......
Страница 129: ......
Страница 130: ......
Страница 131: ...Add Text to a Drawing Create and Modify Text 126 Work with Text Styles 128 Set Text Size for the Viewport Scaling 129 ...
Страница 137: ......
Страница 138: ...Continued Linear Vertical Linear Horizontal Aligned Baseline Center Mark Ordinate Diameter Angular Quick Leader Radius ...
Страница 151: ......
Страница 153: ...Create Layouts and Plots Work with Layouts 148 Choose and Configure Plotters 151 Plot from a Layout 153 ...
Страница 174: ...168 ...
Страница 184: ...178 Index ...


