AUTO
CRIB
Section 3 Commonly Performed Procedures – Hardware and Software
I.
Hardware Section
1.
Perform a Calibration Sequence
. (This will be done automatically every time you restart
the RoboCrib software.)
a.
Check the wind counter’s position.
b.
Restart the RoboCrib software.
c.
Select “OK” when prompted to calibrate the machine.
d.
Re-check the wind counter’s position.
2.
Exiting RoboCrib software
on the Touch Screen to access the Microsoft Windows
desktop
a.
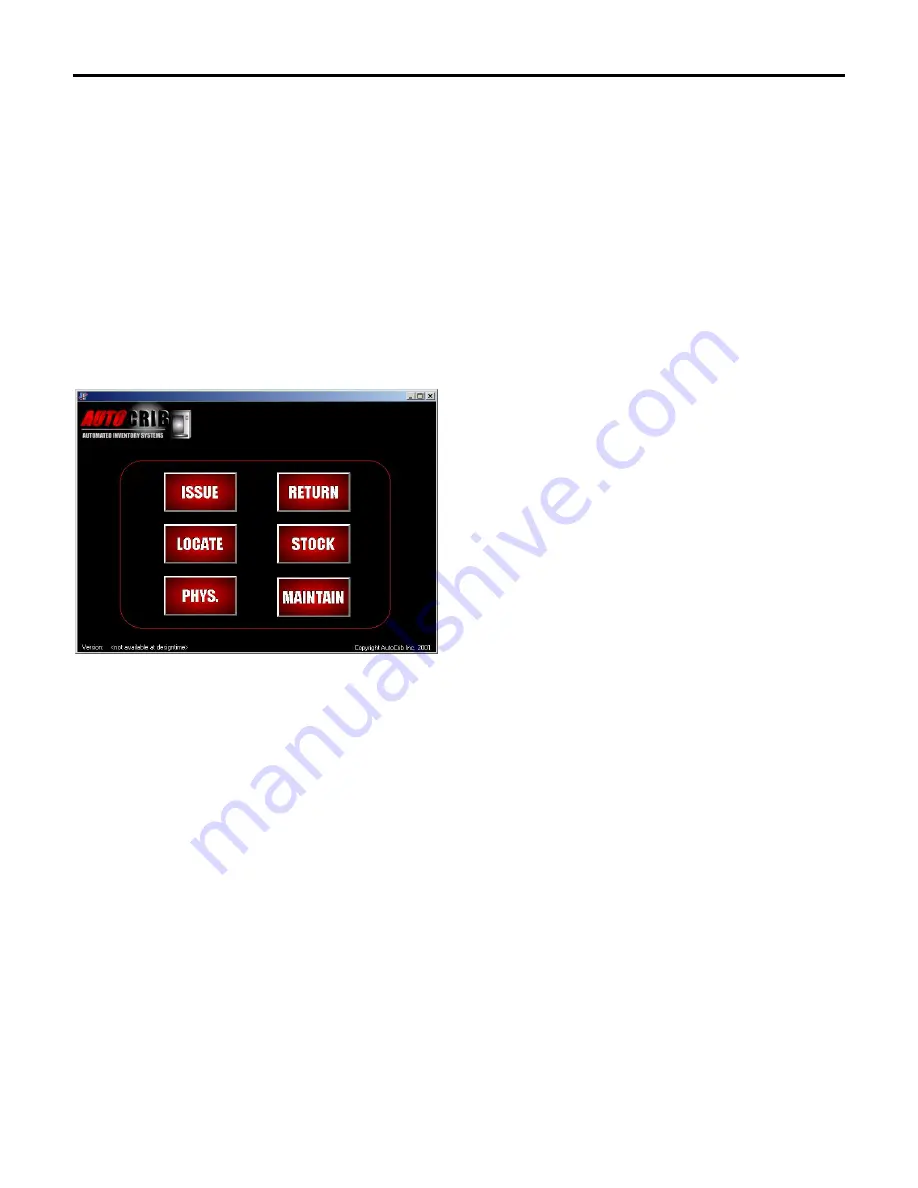
Ensure the RoboCrib software is in the “home” screen.
b.
Ensure the Caps Lock is not on.
c.
Type the supervisor password and then “Enter”. (The password is case sensitive).
d.
The Windows Desktop will appear.
3.
Proper Loading Procedure
a.
Before installing the RoboCrib, use the test pies to select a proper bin size for the
items.
b.
ITEMS MUST NOT PROTRUDE FROM BIN TRAY PERIMETERS! Therefore, if
an item does not fit easily into the bin, choose a larger bin size.
c.
Print the “Reorder by RoboCrib” report which is found in Standard Reports under the
Purchasing Category.
d.
Create a purchase order and a tag for the Robocrib.
e.
Print the “Inventory Input Sheet – RoboCrib” report which is found in Standard
Reports under the Purchasing Category.
f.
The proper bins will align to the door. The RoboCrib program will display the item
and the bin it is assigned to. Once the bin has been stocked, close the door. The
RoboCrib program will display the next item to be stocked and the bin it is assigned to.
Continue this process until the stocking procedure has been completed.
14


