71
Clock and Alarms
Automatically updating the clock
Your radio will normally update the clock automatically when connected to the internet. If you
enter a time setting manually, the radio will calculate a local time offset which is then stored in
memory. Whenever it synchronizes the clock using the internet, including after a power failure,
your radio will then set the clock automatically using this information. You may wish to use
the radio away from the internet, in which case you may specify that the unit sets its clock from
DAB or FM radio broadcasts. After a power failure the radio will then set its clock the next time
that you turn on the radio in DAB or FM mode. Alternatively you may specify that the time is not
automat cally updated. In this case the clock must always be set manually after a power
interruption.
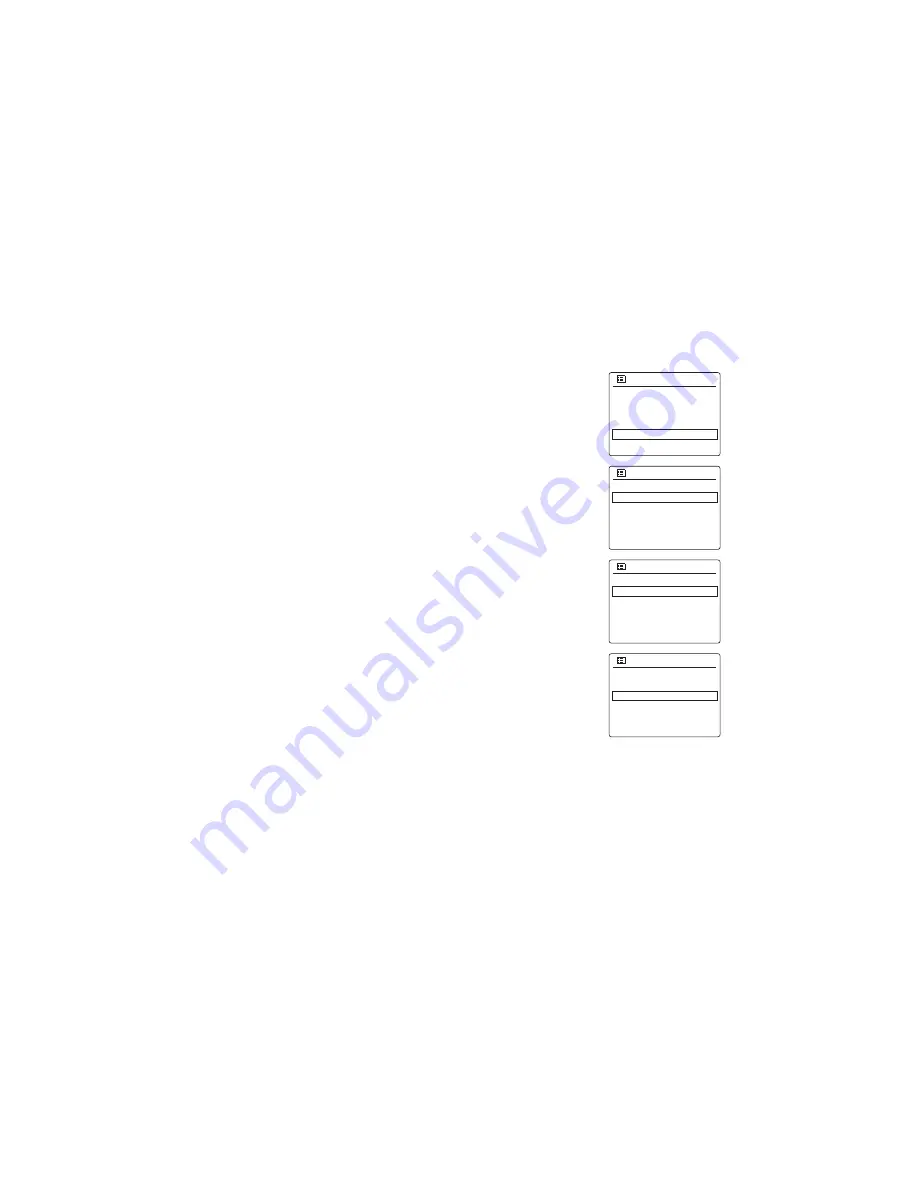
1. With your radio switched on, press and hold the
Info/
Menu
button to access the menu for the
current mode.
2. Rotate the
Tuning Control Rotary
until ‘System settings’ is highlighted on the display. Press
the
Tuning Control Rotary
to enter the system settings menu.
3. Rotate the
Tuning Control Rotary
until ‘Time/Date’ is highlighted on the display. Press the
Tuning Control Rotary
to enter the time setup.
4. Rotate
Tuning Control Rotary
until ‘Time auto update’ is highlighted on the display. Press
Tuning Control Rotary
to enter the setting menu.
5. Rotate the
Tuning Control Rotary
to choose an update option from ‘Update from DAB’, ‘U
date from FM’, ‘Update from Network’ or ‘No update’ as required. Press the
Tuning
Control Rotary
to confirm your choice. The radio will then exit to the previous menu display.
Main menu
Bluetooth
AUX-IN
Sleep timer
Alarms
System settings
>
System settings
Network
Time/Date
Backlight
Inactive Standby
Language
>
>
>
>
Time/Date
Set Time/Date
Time auto update
Set timezone
Daylight savigs
>
Time auto update
Update from DAB
Update from FM
Update from Network
No update
*


