background image

BTech DMR-6X2  CodePlug Programming Guide 

V-1.00/1.00 

Page  1 of 30 

© 

2017/8


 Trygve Svärd KD0PNQ


INTRODUCTION 

 
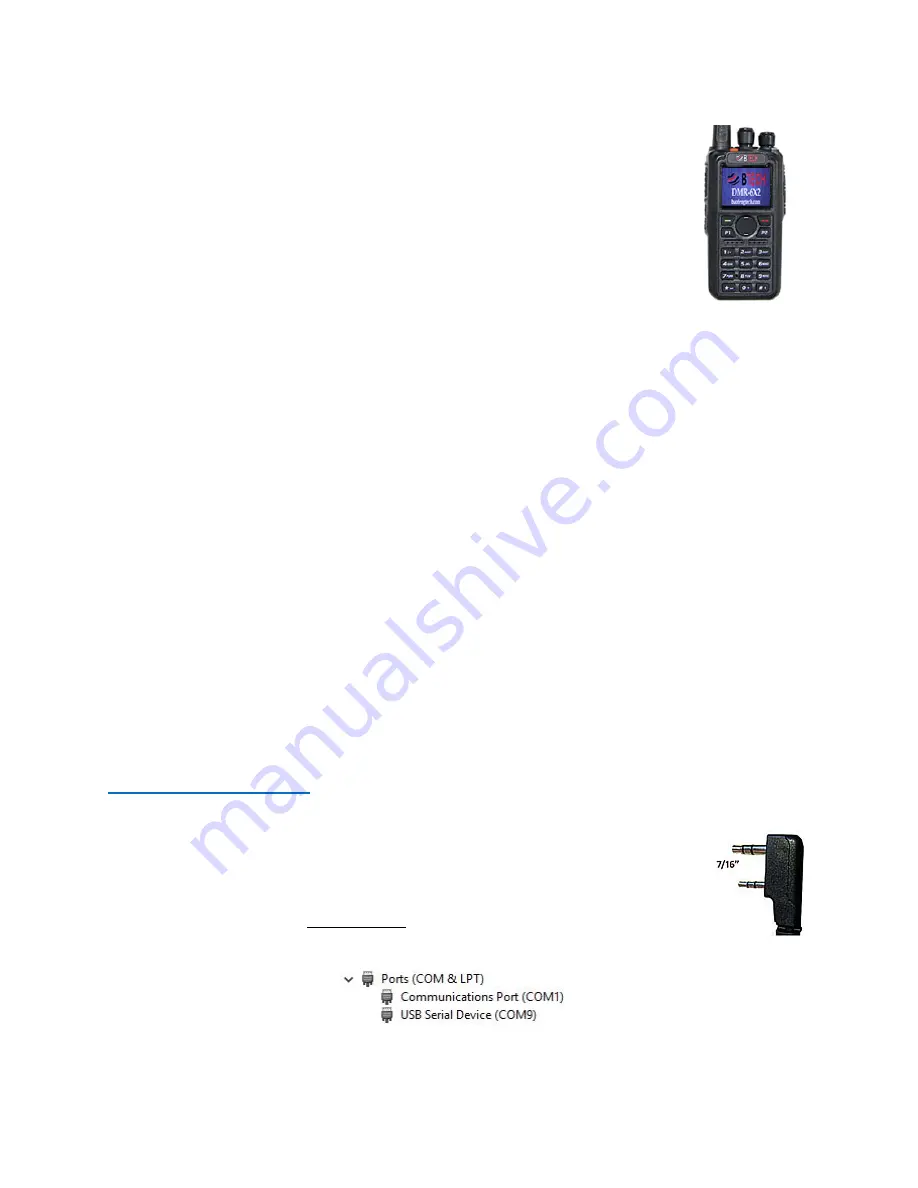
The BTech DMR-6X2 radio is a Dualband VHF and UHF radio with 
both Digital DMR (Tier I and II) and Analog capabilities. It offers 4,000 
channels (Analog and Digital), 10,000 Digital Talk Groups, and up to 
150,000 contacts, as well as multiple DMR ID numbers (Radio ID’s) 
for a single radio. With the enhanced capabilities of the DMR-6X2 
radio, this Programming Guide will help users to understand all 
aspects of how to program and set up the radio for maximum 
usability. 
 
Some of the extended features described include: 
-  Simplex Repeater (Digital Mode) 
-  Talk Group change (on-the-fly) 
-  Priority Channel Scanning 
These are described in Section 6 
 

Please note that the DMR-6X2 radio may have a locked key-board upon arrival. The 
FCC requires per 47CFR90.203 that an unauthorized user shall not be able to enter 
frequencies or transmit on an unauthorized frequency. Frequencies should only be 
entered by service or maintenance personnel. This Guide is provided for such service 
or maintenance personnel. To unlock keypad, press the “Menu” key and the “*” (star) 
key. 


The programming software (CPS) creates a file that contains the frequencies and 
operating parameters is called a “codeplug”. Creating a codeplug is a ‘bottom up’ 
process where the lowest (common) elements must be created first, then built upon 
until a fully functional codeplug has been created. The DMR-6X2 software can both 
create the codeplug and write it to the radio. This software (also called CPS) has the 
capability of both “importing” and “exporting” large data files, such as contact names. 


1.0 GETTING STARTED 


The programming cable for the DMR-6X2 radio is typically provided by 
BTech. The USB cable required programming cable has a two pin ‘K-1’ 
connector.  
There is no circuitry inside the cable. Similar appearing cables with 
circuitry inside the cable will not work. Make sure the computer has the 
correct driver for the cable – see the Device Manager on your PC. 


Содержание DMR-6X2

Страница 1: ... frequencies or transmit on an unauthorized frequency Frequencies should only be entered by service or maintenance personnel This Guide is provided for such service or maintenance personnel To unlock keypad press the Menu key and the star key The programming software CPS creates a file that contains the frequencies and operating parameters is called a codeplug Creating a codeplug is a bottom up pr...

Страница 2: ...m dmr 6x2 Note The Software version should always match the Firmware version i e Software version 1 00 should always be used with Firmware version 1 00 etc Do not mix FW and SW versions This firmware is specific to this model only Loading DMR 6X2 firmware to a different model radio will Not added extra features to that radio When reading writing data the software will ask to select Digital Contact...

Страница 3: ...oup Databases An Excel file will be downloaded To populate the Contact List open the Digital Contact Talk Group tab on the left side and double click on the first line No 1 The Digital Contact List contains the DMR Talk Groups to be used Regardless of the number of repeaters entered the TG information only needs to be entered once in the Contact list An easy way to populate the Talk Groups is to E...

Страница 4: ... V 1 00 1 00 Page 4 of 30 2017 8 Trygve Svärd KD0PNQ Spreadsheet will appear in the following format Sample Tool Import screen shown below NOTE Always sort the TG Contact list and remove duplicates They will cause the Import to Radio to Fail ...

Страница 5: ...the latest formatted DMR ID database Save this csv file and prepare to import the database to the software The downloaded DB will be in the following format Note If you decide to alter the information in the database do not change the column headings or delete any of the columns To enter the current DB Save the database generated from the link above Use the TOOL Import function to load the databas...

Страница 6: ...hannels that can be monitored when Scan is selected using one of the programmable side keys The DMR 6X2 has the capability of storing multiple Scan Lists per channel Select Scan List from the left column Double click on the first open line Enter a name for the new Scan List Highlight the channel name you want to appear in the list and press Up to 50 channels can be loaded into an individual list Y...

Страница 7: ...off Priority Channel 1 Sets which channel is priority 1 Priority Channel 2 Sets which channel is priority 2 Revert Channel During scanning if no station is being received pressing the PTT will transmit on this channel Look Back Time A During scanning it will scan the priority channel when check the look back time A every time Look Back Time B Analog only During scanning when the priority channel h...

Страница 8: ...ach channel group Each Zone can contain as few or as many channels as convenient Zones can be named to identify repeaters functions etc The channels in each zone can be sorted or rearranged in any order Once the Zone list is created the individual Zones can be re sequenced by using the green up and green down arrows shown below The example below shows the group of channels selected for the Shrewsb...

Страница 9: ...hen in the dual receive mode and listening to two channels A plus B The channel with the larger text A is the TX channel You can also see the channel numbers CH 106 and CH 1 Time Slot T2 and Repeater R On the top bar the Color Code C01 is displayed The date line may from time to time change and show sequentially the TG last call person name and time if you are in dual mode In single mode the botto...

Страница 10: ...p in the section below you select NONE for the Receive Group List Your receive TG will now default to the transmit TG If you want to listen to additional TG s on a channel add the TG in the Receive Group Call List Under Channel set up in the section below select the name of the Group List You can program up to 64 TG s per receive group Note If the Talk Group List contains a TG with the same number...

Страница 11: ...be explained below Channel Name the name of the channel typically name of repeater and TG Receive Freq the VHF or UHF frequency Transmit Freq the VHF or UHF frequency Channel Type Select Analog Digital Mixed Analog or Mixed Digital Transmit Power Select one of four levels 6W 2 5W 1W 0 5W Band Width Select the bandwidth of transmit TX Permit Selects PTT transmit criteria typically Same ColorCode Sc...

Страница 12: ...irmation Check if the receiver needs to transmit before accepting private calls Ranging Check if GPS ranging between two radios is desired Analog CTCSS DCS Decode Select Off or CTCSS or DCS and tone frequency CTCSS DCS Encode Select Off or CTCSS or DCS and tone frequency Squelch Mode Select how to use the squelch Optional Signal Select Off DTFM 2Tone or 5Tone DTFM ID Select DTFM ID 2Tone ID Select...

Страница 13: ...MEM for the A upper channel MEM Zone A Select the initial Zone to appear at power up VF MR B Select VFO or MEM for the B lower channel MEM Zone B Select the initial Zone to appear at power up Main Channel Set Select A or B as the main channel Sub Channel Mode Select OFF if only the A channel is to be used ON for both A B VOX VOX Level Select VOX sensitivity OFF 1 2 3 VOX Delay Select delay time in...

Страница 14: ... Key Select from function list for the P2 radio key Long Key Time Select time in seconds to hold the key for Long duration Other TOT Tx Time Out Timer Off 30s 60s 240s Frequency Step In VFO mode selects the frequency steps Language English SQL Level A Squelch level for the upper channel set at 1 SQL Level B Squelch level for the lower channel set at 1 TBST Tone Burst 1000 1450 1750 2100Hz repeater...

Страница 15: ...t Off or On Power on Password Ch Write in keyboard characters to unlock the radio Alert Tone SMS Alert Ring None Notification when receiving an SMS Call Alert Ring None Notification when receiving a digital call Dig Call Reset Tone Select Off On A digital call has a group call hold time and a private call hold time to prevent voice missing after the call When set Digi Call Reset Tone is On it will...

Страница 16: ...l still active CO Carrier Operation Scan stops when signal detected Scan resumes when signal disappears SE Search Operation Scan stops when signal detected Scanning will not resume VFO Scan Start UHF Start frequency for a UHF Analog scan VFO Scan End UHF Stop frequency for a UHF Analog scan VFO Scan Start VHF Start frequency for a VHF Analog scan VFO Scan End VHF Stop frequency for a VHF Analog sc...

Страница 17: ...ced Sound Qual Set to On for increased high pitch voice or Off for normal Once all the parameters have been programmed click on OK to save OTHER SET UP OPTIONS ALARM SETTING Analog and Digital alarm settings can be programmed via above set up LOCAL INFORMATION With the radio attached to the USB port on your computer you can access Embedded Message information about the radio To change or add any o...

Страница 18: ... zone accordingly Optionally you can also create scan lists for your analog channels and assign a scan list to a group of channels or an entire zone STEP 9 ANALOG ADDRESS BOOK The radio allows a set of addresses for the Analog mode Open the Analog Address Book and click on the first line to open the Analog Address Book Edit window The Call ID reference the DTMF or 5Tone number programmed under its...

Страница 19: ...SMS messages in advance and store them in the radio This can be done in the Prefabricated SMS window STEP 11 ENCRYPTION CODE This function should not be used in the USA STEP 12 ALARM SETTING The radio offers a comprehensive alarm system to protect the user of the radio under several conditions Open the Alarm Setting to gain access to the Emergency Information Edit window Analog Alarm ...

Страница 20: ...s the No on the Channel Menu line for the selected frequency Work Alone Response Time Select the time for the radio to respond to an Alarm trigger Warning Time Select the duration if a warning transmission Response Select Key or Voice for a response to reset Digital Alarm Emergency Alarm Select one of 4 options for how to initiate an Alarm Alarm Time Select after what time to initiate the Alarm Du...

Страница 21: ...lows text messages to be entered and made available for digital calls and can be selected when using the Function Keys Hot Key The Hot Key window allows set up of a keyboard key to access a function See page 12 in your DMR 6X2 Operating Manual for more details STEP 14 ANALOG PROGRAMMING To program Analog channels select A Analog as the Channel Type This will block out the digital fields during dat...

Страница 22: ...activated via a preprogrammed button or via a keypad Menu Tool Record option When selected the radio can record up to 8 hours of on the air conversations on transmission at a time Recordings can also be played back directly from the radio using a Menu Tool Record 2 2 IMPORT and EXPORT This feature allow importing to an excel spreadsheet each of the programming features so that all the features of ...

Страница 23: ...VERSION FILE This function is used to export the codeplug to a format dcf which can be read by the Contact Manager described in section 6 0 below where it can then be fully manipulated 2 9 MODEL INFO The Model pull down menu shows the 11 possible frequency range options for the radio Changes can only be done by the manufacturer 3 0 RADIO LCD DISPLAY On the top row of the LED display the following ...

Страница 24: ...8 hours GPS symbol gray no GPS signal received red GPS signal received A indicates a set up for Automatic Power Off CC11 for Digital reception shows the Color Code for the primary channel DCS or CTC for Analog reception indicates a tone signaling squelch The date line changes and shows sequentially date last heard current TG DIG ANA CH 796 shows the channel type and number of the channel T1 or T2 ...

Страница 25: ...load DMR 6X2 firmware to a different model radio Loading this firmware to a non 6X2 radio will Not add extra features to that radio and could cause negative effects Procedure Select Tool Firmware Upgrade from the top toolbar Set the COM speed to 921600 Place a checkmark in the Duplex box Click on Open Update File Open DMR 6X2_xxxxx spi file downloaded from support site You will see File Open Succe...

Страница 26: ...e radio will display the setting for time zone the date and the time Use the up down key to set the current time zone Move to the year by pushing the P1 key Set the year and use the P1 key to move forward each step When complete click the Menu key to save the time zone date and time You may now see the Chinese language If it starts with Chinese Click Menu Scroll down to the grey cogwheel Settings ...

Страница 27: ...X2 or the D868UV you will be able to download the entire DMR ID database formatted for direct entry to the radio To upload the formatted DMR DB Select Tool Import from the top menu Select Digital Contact List Point the software to the downloaded database file Select Import This will load the DB to the software image Once loaded you now need to send the DB to the radio Select Program Write to Radio...

Страница 28: ... frequency The DMR 6X2 also has the capability Cross Band VHF UHF repeat The repeat combinations can be any of the following Simplex VHF VHF UHF UHF VHF UHF UHF VHF Setup Procedure Under Optional Settings Auto Repeater Simplex Repeater ON Simplex Relay Slot CH Slot Spkr During RX of Repeater ON or OFF Off will mute the radios speaker Under Optional Settings Record Assign Record Function to ON Unde...

Страница 29: ...en using a hotspot Setup Procedure Under Optional Settings Key Function Assign a Programmable Key to Dial Under Optional Settings Digital Func Set Group Call Hold Time Unlimited Set Person Call Hold Time Unlimited Operation Select a channel that is already set to the proper Freq and Time Slot Activate the Dial function Private ID will appear on the LCD Press the key Group ID will now appear on the...

Страница 30: ...the caller direction and distance of the incoming caller if both radios are receiving GPS information The Optional Settings tab GPS ON Get GPS Positioning ON Ranging Intervals 5 Ranging Display Feet GPS Template Info ON 6 4 Priority Channel Scanning When Creating a Scan List there is an option to select two priority channels These are channels that scan between each of the normal scan channels Thi...

Отзывы: