


User’s Manual
50
PIP, 2x2, 1+5, 1+7, 3x3, 4x4
Selecting , ,
,
, or (PIP, 2x2, 1+5, 1+7, 3x3 or 4x4) in the Mouse Display menu displays
the cameras
in the selected multiview screen mode (PIP, 2x2, 1+5, 1+7, 3x3 or 4x4). Selecting each display mode is the same as
pressing the
DISPLAY
button or scrolling the mouse wheel up and down when in one of the multiview formats (i.e.,
2x2, 1+5, 1+7, 3x3 or 4x4).
NOTE: The location of camera screen can be changed by using the mouse. When in one of the multiview formats,
click the left mouse button on the camera screen and dragging it to where you want it located, and the
location of two camera screens will be switched each other.
The PIP, 1+5, and 1+7 display modes will not be supported in the search mode.
In the 1+5 or 1+7 display mode, the main channel indicates the channel displayed on the large screen
which is displayed in the top-left. You can select the camera you want to display on the main channel
screen. Select a channel on the screen and click the right mouse button to display the Camera Menu.
Selecting Go To Main swaps the selected channel with the main channel. This function is supported
only in the 1+5 and 1+7 display modes and can be activated from any of channel screens except the main
channel screen.
You can change the location of the PIP (Picture-in-Picture) counterclockwise or clockwise by pressing
the
Up
and
Down
arrow buttons and change its size by pressing the
Left
and
Right
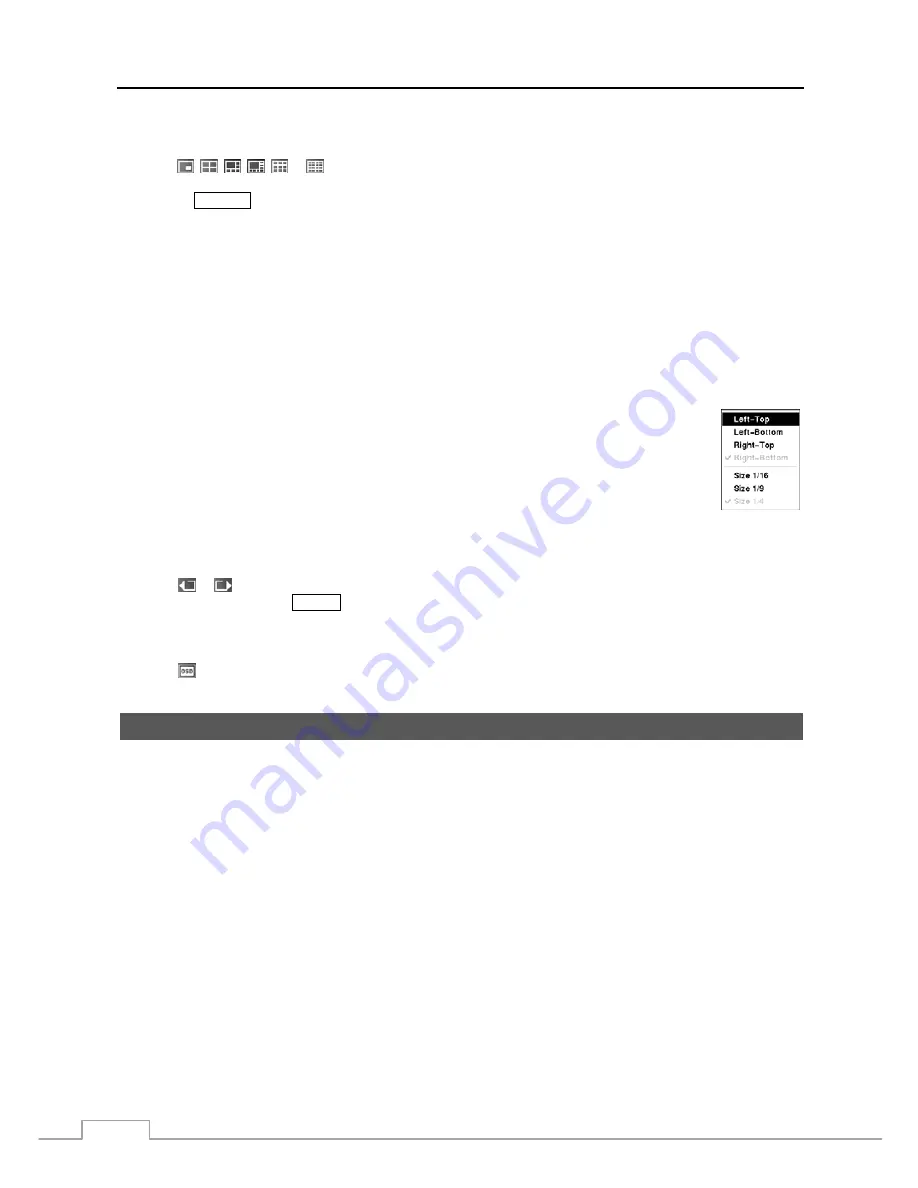
arrow buttons. To
change its location and size by using the mouse, select the PIP and then click the right mouse button to
display the following menu. Select the options you want.
You can also change the location of the PIP
by clicking the left mouse button on the PIP window and dragging it to where you want it located, and
change the size of the PIP by clicking the left mouse button at the corner of the PIP window and dragging
it until it is the desired size.
Previous Group, Next Group
Selecting
or
(Previous Group or Next Group) in the Mouse Display menu moves to the previous or next page.
It is the same as pressing the
GROUP
button.
OSD
Selecting
(OSD) in the Mouse Display menu toggles OSD On and Off.
Recording Video
Once you have installed the DVR following the instructions in
Chapter 2 — Installation
, it is ready to record. The DVR
will start recording based on the settings you made in the
Record
setup screen. See
Chapter3 — Configuration.
Recycle On
or
Recycle Off
. The factory default is
Recycle On
. It does this by recording over the oldest video once
the hard disk is full. Setting the DVR to
Recycle Off
causes it to stop recording once the hard disk is full.
Standard (CIF)
,
High (Half D1)
or
Very High (D1).
The factory default resolution is
Standard
. When set to
Standard
,
the DVR has a maximum recording speed of 480 ips. When set to
High
, the DVR has a maximum recording speed of
240 ips. When set to
Very
High
, the DVR has a maximum recording speed of 120 ips.
Although you will be able to record without changing the unit from its original factory settings, you will want to take
advantages of the DVR’s many tools. See
Chapter 3 — Configuration
for detailed descriptions of the recording mode
options.
Содержание VLDVR Series
Страница 1: ......
Страница 9: ...User s Manual 2 Figure 1 Typical DVR installation...
Страница 75: ...User s Manual 68 Map of Screens...


