


User’s Manual
36
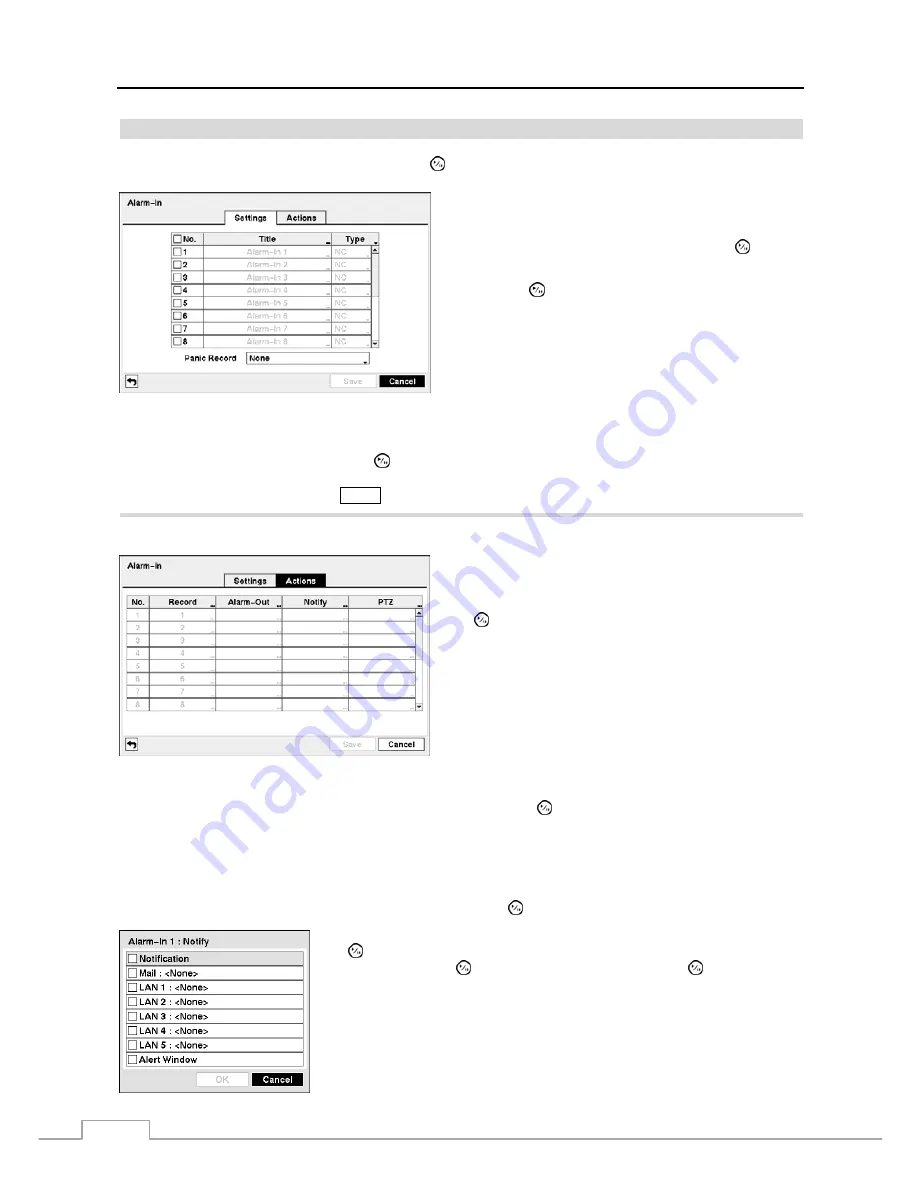
Alarm-In
Highlight
Alarm-In
in the Event menu and press the button. The
Alarm-In
setup screen appears.
Figure 45 — Alarm-In Settings screen.
The alarm terminal strip on the back of the DVR has inputs
associated with each alarm. You can set up each input on the
Alarm-In
screen. You can turn each input On or Off by
highlighting the alarm number and pressing the button.
Each input can be given a title. Highlight the desired Title box
and press the button. A virtual keyboard appears allowing
you to enter a title name.
Each input can be set as
NO
(normally open) or
NC
(normally
closed).
You can set up the DVR to start panic recording whenever it senses an input on one of its alarm input connectors. Highlight
the box beside
Panic Record
and press the button. A list of Alarm Inputs appears, and you can select which alarm
input you want associated with panic recording. The DVR will continue panic recording until an input on the selected
alarm input is released as long as the
PANIC
button is not pressed to stop the panic recording.
Highlight the
Actions
tab, and the Alarm-In Actions setup screen appears.
You can set the actions the DVR will take whenever it senses
an input on one of its alarm input connectors.
Highlight the desired box under the
Record
heading, and press
the button. A list of cameras appears. Select the cameras
that you want the DVR to record whenever it detects an input
on the associated alarm input.
NOTE: For the Record action, the camera you select should
be set to the Event or Time & Event recording mode
in the Record Schedule setup screen.
Figure 46 — Alarm-In Actions screen.
Highlight the desired box under the
Alarm-Out
heading, and press the button. A list of Alarm Outputs and Beep
appear. Select the Alarm Output connectors that you would like to activate whenever the DVR detects an input on the
associated alarm input. You can also set the DVR’s internal buzzer to sound.
NOTE: For the Alarm-Out action, the alarm output and beep you select should be set to the Event mode in the
Alarm-Out setup screen (Schedule tab).
Highlight the desired box under the
Notify
heading, and press the button. The
Alarm-In Notify
menu appears.
You can toggle the entire list On and Off by highlighting
Notification
and pressing
the button. You can toggle the individual items On and Off by highlighting that
item and pressing the button. Highlight
OK
and press the button to accept
your changes.
NOTE: For the Notify action, the notify item you select should be enabled in
the Notification setup screen and the DVR should be registered in the
ATVision (Remote Management Software).
Содержание VLDVR Series
Страница 1: ......
Страница 9: ...User s Manual 2 Figure 1 Typical DVR installation...
Страница 75: ...User s Manual 68 Map of Screens...


