


Atrie DB-120 User Manual
User Manual
24
network portion, and which portion is the host portion. For a full Class C Subnet, the Subnet Mask is
255.255.255.0. The Gateway IP address should be the IP address of the gateway device that allows
for contact between the Gateway and the remote network or host. The Hop Count determines the
maximum number of steps between network nodes that data packets will travel. A node is any device
on the network (such as a router or switch)
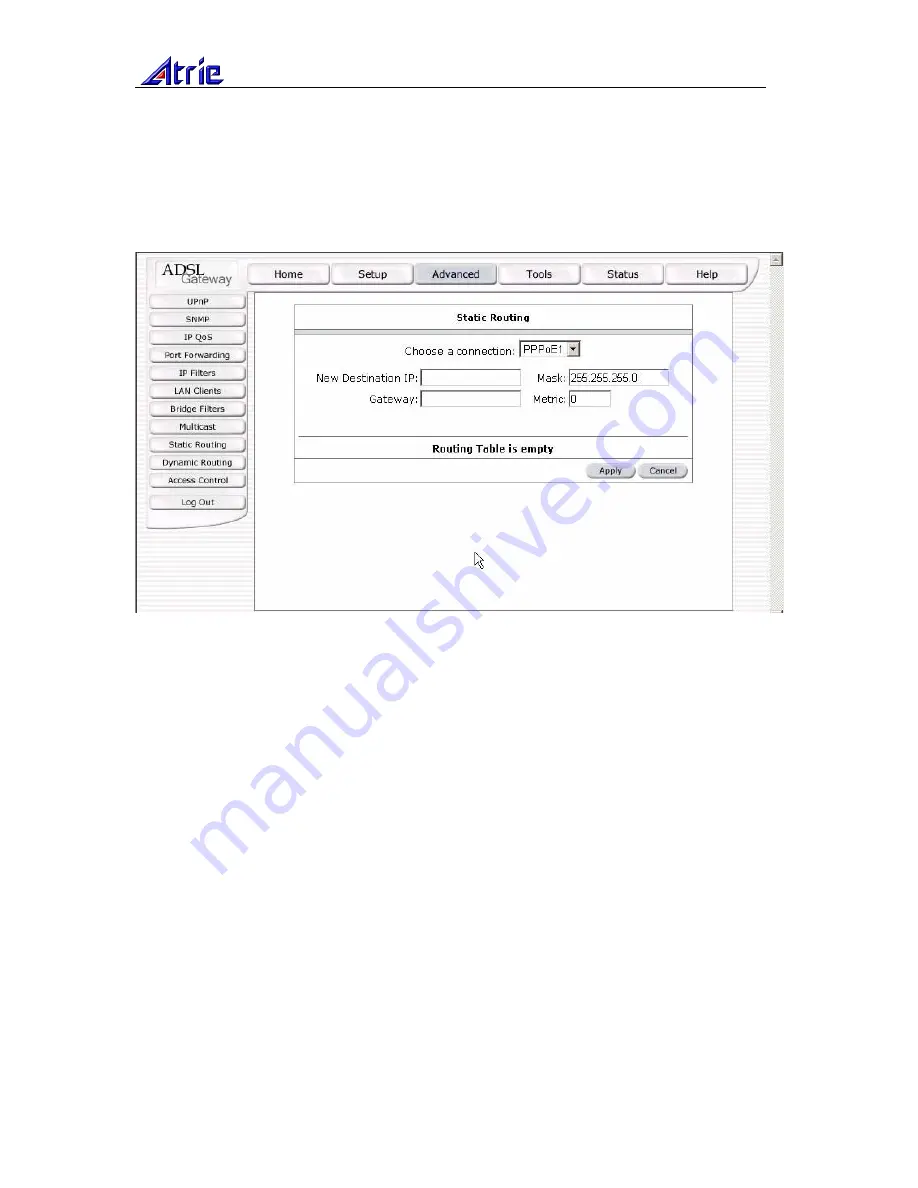
To enable Static Routing, from the Home screen, click Advanced and under Advanced, select Static
Routing. Figure 17 illustrates a typical Static Route.
Figure 17 (Static Routing)
The apply button will temporarily save this connection. To make the change permanent you need to
click on
Tools
(at the top of the page) and select
System Commands
. At the system commands page,
click on
Save All
.
3.6.8
DYNAMIC ROUTING
Dynamic Routing allows the Gateway to automatically adjust to physical changes in the network. The
Gateway, using the RIP protocol, determines the network packets’ route based on the fewest number
of hops between the source and the destination. The RIP protocol regularly broadcasts routing
information to other routers on the network.
The Direction determines the direction that RIP routes will be updated. Selecting In means that the
Gateway will only incorporate received RIP information. Selecting Out means that the Gateway will
only send out RIP information. Selecting both means that the Gateway will incorporate received RIP
information and send out updated RIP information.
The protocol is dependent upon the entire network. Most networks support Rip v1. If RIP v1 is
selected, routing data will be sent in RIP v1 format. If Rip V2 is selected, routing data will be sent in
RIP v2 format using subnet broadcasting. If Rip V1 Compatible is selected, routing data will be sent
in RIP v2 format using multicasting.
To enable Dynamic Routing, from the Home screen, click Advanced and under Advanced, select
Dynamic Routing. Figure 18 illustrates a typical Dynamic Route.


