17
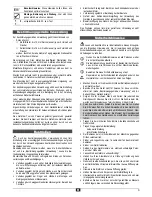
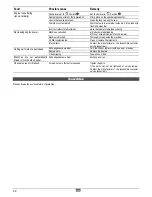
4.
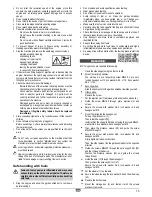
Put the ignition switch (30) to the position
Î
ON
5.
Grasp and slowly pull the cranking rope handle (22) until you
feel a resistance.
6.
Pull the cranking rope (23) quickly and then guide it back
slowly.
Do not fully pull out the cranking rope and do not allow that
the rope handle strikes against the engine.
7.
Put the choke lever (25)
to the position
Y
Î
open as
soon as the engine has started.
8.
Put the throttle (24) slowly toward the position
Î
.
Warm start of the engine
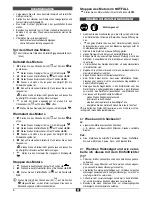
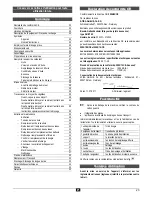
1.
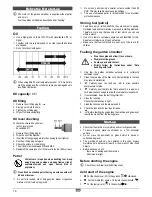
Put the choke lever (25) to the position
Y
Î
open.
2.
Put the throttle (24) approx. 1/3 toward the position
Î
.
3.
Put the fuel valve (2)
to the position
Î
ON.
4.
Put the ignition switch (30) to the position
Î
ON
5.
Grasp and slowly pull the cranking rope handle (22) until you
feel a resistance.
6.
Pull the cranking rope (23) quickly and then guide it back
slowly.
Do not fully pull out the cranking rope and do not allow that
the rope handle strikes against the engine.
7.
Put the throttle (24) slowly toward the position
Î
.
Stopping the engine
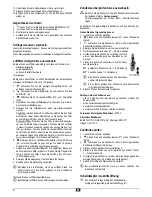
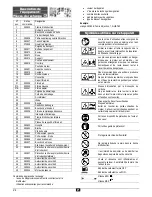
1.
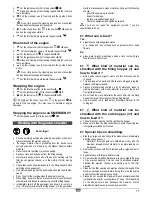
Put the throttle lever (24) to the position
Î
.
2.
Put the ignition switch (30) to the position
Î
OFF.
3.
Put the fuel valve (2)
to the position
Î
OFF.
Do NOT put the choke lever (25)
to the position
X
Î
closed to stop the engine. This may result in backfire or engine
damages.
Stopping the engine in an EMERGENCY
Put the ignition switch (30) to the position
Î
OFF.
W
W
o
o
r
r
k
k
i
i
n
n
g
g
w
w
i
i
t
t
h
h
t
t
h
h
e
e
g
g
a
a
r
r
d
d
e
e
n
n
s
s
h
h
r
r
e
e
d
d
d
d
e
e
r
r
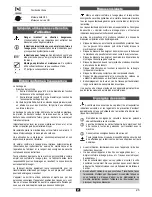
Do not forget!
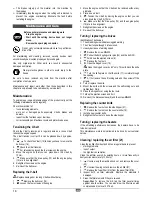
Choose a working position alongside the equipment or behind it.
Never stand near the ejection opening.
Longer material that is protruding from the device could
spring back when it is drawn in by the blades!
Observe safety
distance!
Never reach into the filling or ejection opening.
Keep your face and body away from the filling opening.
Never place hands, other parts of the body or clothing into the
filler funnel, ejection channel or in the vicinity of other moving
parts.
Check that no chopped residues are in the filling hopper before
switching on the equipment.
Only start shredding when the petrol engine has reached its max.
speed.
Do not tip or tilt the machine when the engine is running.
When filling, be careful that no pieces of metal, stones, bottles or
other objects unintended for processing, enter the filling hopper.
Immediately switch off the equipment and allow it to come to a
stop, if foreign objects enter the filling hopper or if the equipment
starts to make unusual noises or vibrates. Carry out the following
checks:
−
pull off the spark plug connector,
−
inspect for damage,
−
replace or repair damaged parts,
−
check the equipment and tighten loose parts.
You must not repair the equipment yourself if you are
unauthorized to do so.
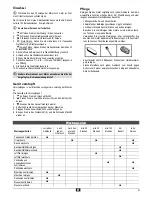
What can I shred?
Yes:
•
organic household and garden waste
e. g. hedge and tree cuttings, bushes, perennial herb, dead
flowers
No:
•
glass, metal, plastic, plastic bags, stones, cloth, roots with soil,
food left-overs, fish or meat.
What kind of material can be
shredded with the filling hopper (1) and
how to feed it ?
¾
Shrub parts, leaves, organic waste and thin branches can be
chopped.
¾
Thin and long shrub parts and branches are dragged in rapidly.
Release the material quickly.
¾
Process material which contains a lot of water and tends to
sticking alternately with woody material to prevent the device
from getting blocked.
¾
Do not feed too much material at the same time into the filling
hopper to prevent the cutting tool from getting blocked.
¾
Use a wooden rod to feed hardly accessible material to the
cutting tool.
What kind of material can be
shredded with the side hopper (31) and
how to feed it ?
¾
Thicker branches must be fed through the side hopper.
¾
Make sure to feed the branches slowly to avoid the cutting tool
from getting overloaded or blocked .
Special tips on shredding:
¾
Branches, twigs and wood should be broken down immediately
after they have been cut.
−
Material of this kinds gets very hard when it is dry, and the
maximum allowed branch diameter to be processed has to
be reduced.
¾
Remove any side shoots from branches with a large number of
twigs.
¾
Feed branches with larger diameter slowly.
¾
Do not allow the shredded material to pile up too high in the area
of the ejection opening. This can lead to shredded material
blocking the ejection channel, and backing up to the filler
opening.
¾
Clean out the filler opening and ejection channel thoroughly if the
machine becomes blocked.
Before doing this, stop the engine
and disconnect the spark plug connector.
¾
Please do not exceed the maximum branch diameter specified
(cutting fresh wood) for your appliance (
∅
see p. 22).
D
epending
on the wood’s nature and freshness the maximum branch
diameter the machine can process may be smaller.

