


6-22
Chapter 6: RAID configuration
8.
Repeat step 6 to add the second disk to the volume.
9.
When done adding the required disks, press <C> to create the volume then select
Save changes then exit this menu
.
10. Wait for the utility to finish creating the volume.
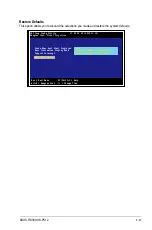
7.
A warning screen appears. Press any key to continue.
Press <M> to keep existing data on the first disk. If you choose this option, data on
the first disk will be mirrored on the second disk that you will add to the volume later.
Ensure the data you want to mirror is on the first disk.
Press <D> to overwrite any data and create the new IM array.
Esc = Exit Menu F1/Shift+1 = Help
SPACE/+/- = Select disk for volume C = Create array
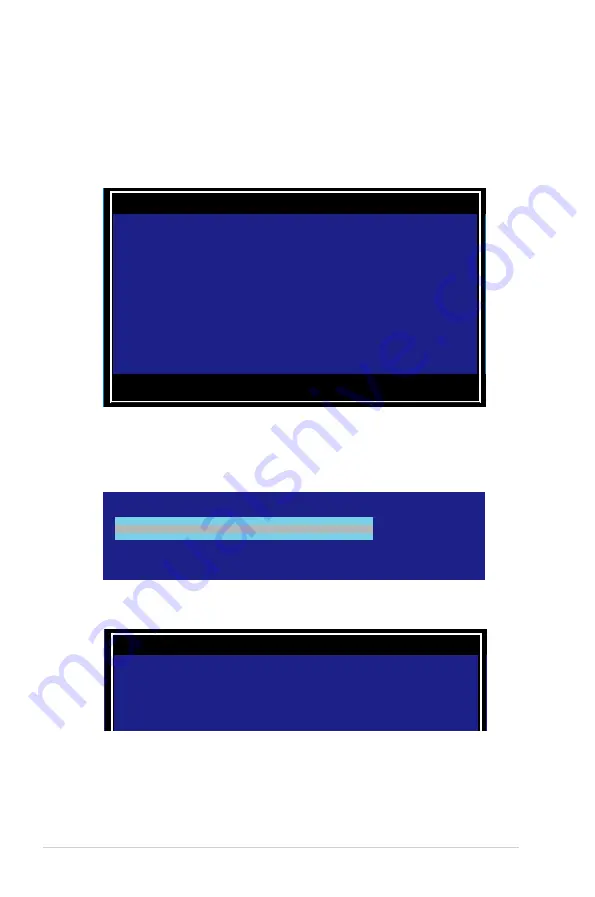
LSI Corp Config Utility v7.29.00.00 (2012.11.12)
Create New Volume -- SAS2308-2
WARNING! Data was found on the selected disk, this data will be lost
when the volume is created!
Choose Discard configuration or Cancel Exit on the next screen to abort.
Create and save new volume?
Cancel Exit
Save changes then exit this menu
Discard changes then exit this menu
Exit the Configuration Utility and Reboot
LSI Corp Config Utility v7.29.00.00 (2012.11.12)
Create New Volume -- SAS2308-2
Processing...may take up to 1 minute
Creating RAID Volume...
Содержание RS300-H8-PS12
Страница 1: ...1U Rackmount Server RS300 H8 PS12 User Guide ...
Страница 12: ...xii ...
Страница 29: ...2 7 ASUS RS300 H8 PS12 4 Secure the airduct cover to the motherboard with a screw ...
Страница 72: ...Chapter 4 Motherboard information 4 24 ...
Страница 110: ...5 38 Chapter 5 BIOS setup ...
Страница 148: ...6 38 Chapter 6 RAID configuration ...
Страница 175: ...ASUS RS300 H8 PS12 7 27 8 Click Install to continue 9 When done click Finish to complete the installation ...
Страница 186: ...7 38 Chapter 7 Driver installation 7 Click Install to start installing the drivers 8 When done click Finish ...
Страница 188: ...7 40 Chapter 7 Driver installation 8 When done click Finish ...
Страница 192: ...A 4 Appendix ...


