Designing and Printing Labels
QL-850 User Guide
37
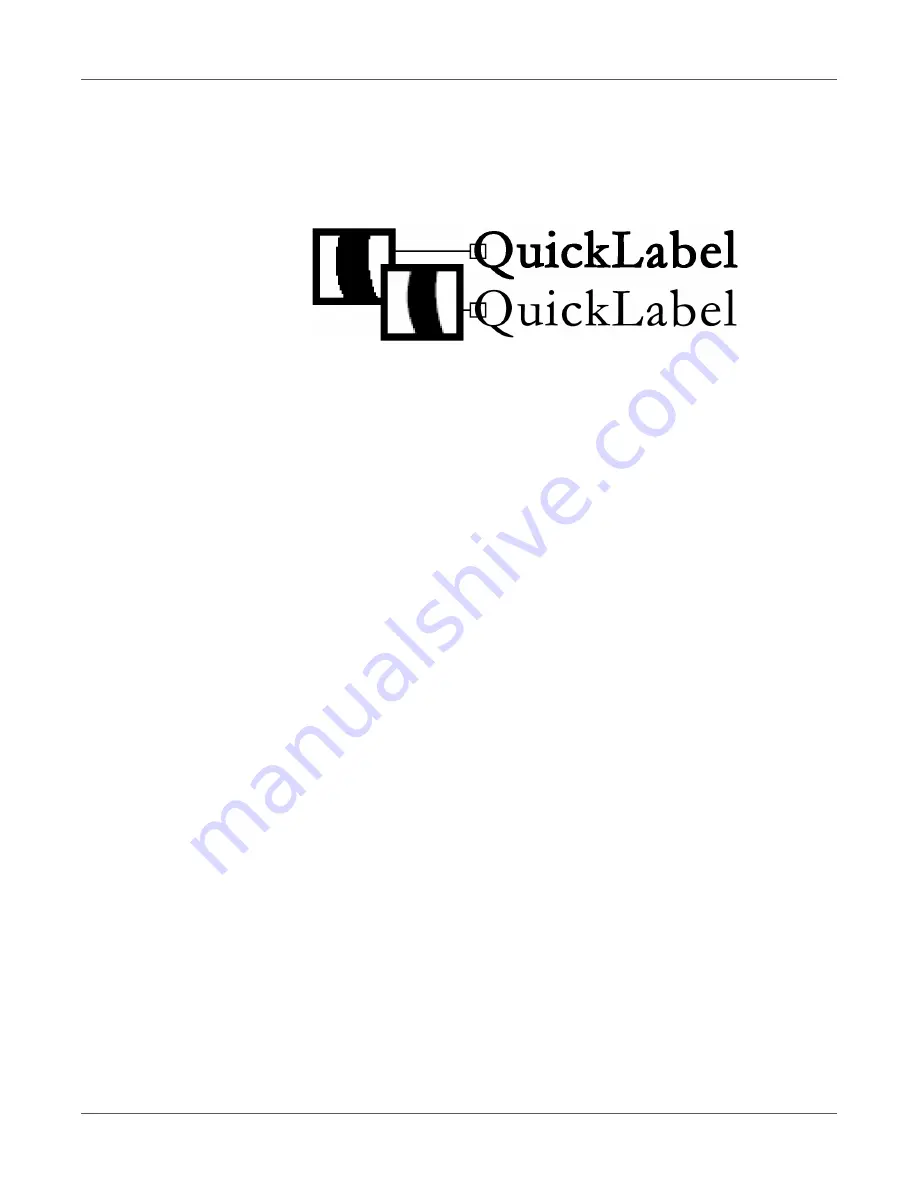
Disabling Anti-aliasing
Most graphic design software applications provide anti-aliasing features that result in the
appearance of smooth color transitions. The following illustration shows text with anti-aliasing
disabled (top) and enabled (bottom). Note the smooth color transitions when anti-aliasing is
enabled.
When designing labels that will be printed on the QL-850, do not use anti-aliasing. This is
especially important if you are printing text or barcodes. For example, an anti-aliased barcode
may not scan correctly due to the color transitions between lines.
The process for enabling/disabling anti-aliasing varies based on the graphic design application.
Refer to the documentation for your application for details.
Planning Full-Bleed and Non-Bleed Labels
In full-bleed labels, color prints up to the edge of the label. With non-bleed labels, color stops
at a margin before the edge of the label.
Use the following guidelines when setting up a file for a
full-bleed label
.
•
If you are using media with the matrix removed, you can print all the way to the edge of
die-cut labels, but doing so may cause a small amount of ink to deposit onto the liner. In
the event excess ink deposits on the liner, it will not dry and may smear onto other
surfaces, including hands and other printed labels.
•
The height and width of the label file “canvas” should be 0.04 to 0.08” (1-2 mm) larger
than the height and width of the physical label.
Excessive width and length will result in increased ink on the liner. You may need to
experiment to determine the optimal balance of bleed quality while minimizing ink depos-
ited on the liner. As a guideline, no more than 0.02” (0.5 mm) of ink should be printed onto
the liner.
•
Design elements that will run to the edge of the label are the parts of the design that will
“bleed” across the edge. Your bleed will most commonly be a solid color, pattern, or
gradient background running off the edge of the label.
Use the following guidelines when setting up a file for a
non-bleed label
.
•
The height and width of the label file “canvas” should be the same as the height and width
of the physical label.
•
All design elements should be placed inside a 0.063” (1.5 mm) border of the canvas. This
will ensure such design elements never run to or over the edge of the label.
Содержание QuickLabel QL-850
Страница 1: ...U S E R G U I D E...
Страница 127: ...Index QL 850 User Guide 127 W Wing Nut 31...


