


47
BIOS Setup Utility (Peripherals)
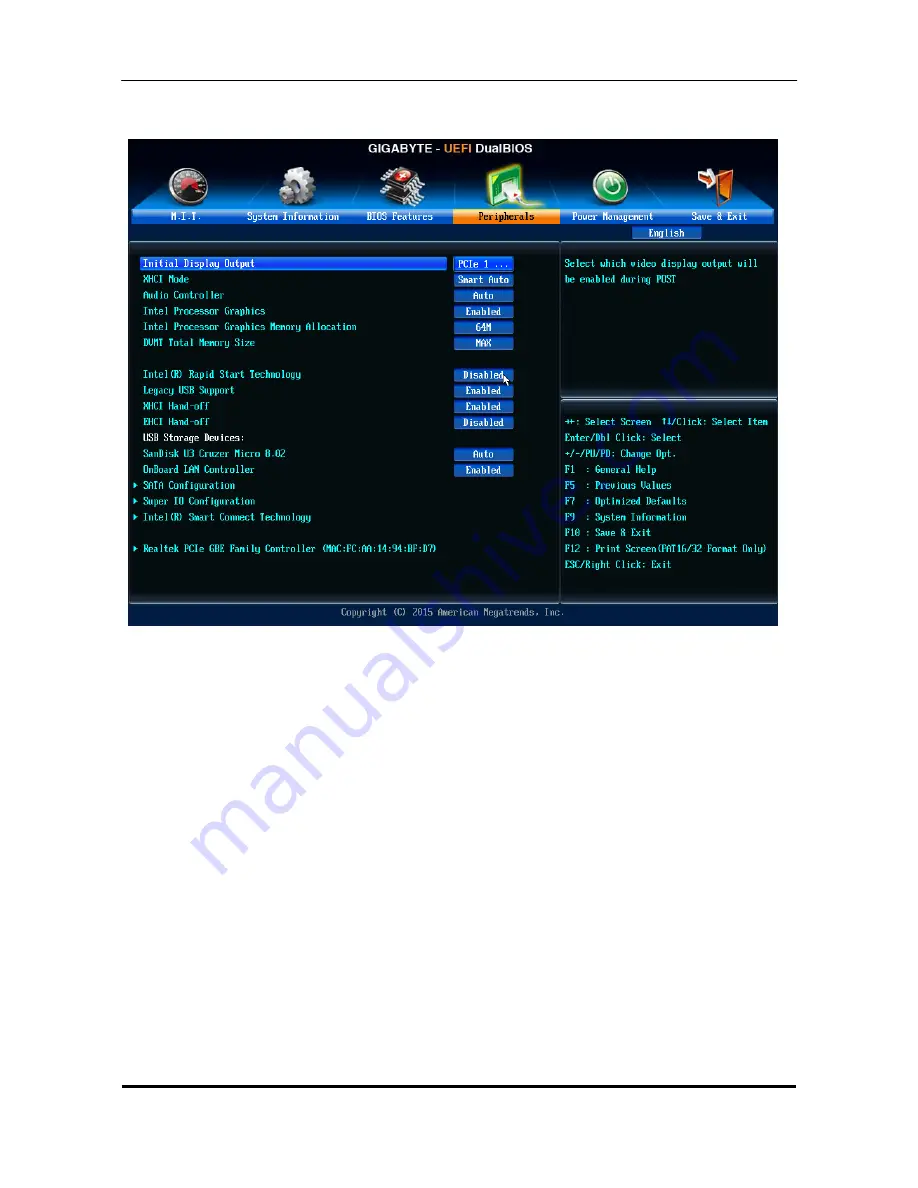
Initial Display Output
Specifies the first initiation of the monitor displays from the installed PCI graphics card, PCI Express
graphics card or the onboard graphics.
IGFX Sets the onboard graphics as the first display.
PCIE 1 Slot Sets the graphics card on the PCIEX16 slot as the first display. (Default)
PCIE 2 Slot Sets the graphics card on the PCIEX4 slot as the first display.
PCI Sets the graphics card on the PCI slot as the first display.
XHCI Mode
Allow you to determine the operating mode for the xHCI controller in OS.
Smart Auto This mode is available only when the BIOS supports the xHCI controller in the pre-boot
environment. This mode is similar to Auto, but it adds the capability to route the ports to xHCI or
EHCI according to setting used in previous boots (for non-G3 boot) in the pre-boot environment.
This Allow the use of USB 3.0 devices prior to OS boot. xHCI controller enabling and rerouting
should follow the steps in Auto, when previous boot routs ports to EHCI.
Note: This is the recommended mode when BIOS has xHCI pre-boot support. (Default)
Auto BIOS routes the sharable ports to EHCI controller. Then it uses ACPI protocols to provide an
option to enable the xHCI controller and reroute the sharable ports.
Note: This is the recommended mode when BIOS does NOT have xHCI pre-boot support.
Enabled All shared ports are eventually routed to the xHCI controller during the BIOS boot process. If
BIOS does not have pre-boot support for the xHCI controller, it should initially route the sharable
ports to the EHCI controller and then prior to OS boot it should route the ports to xHCI controller.
Note: OS has to provide support for the xHCI controller in this mode. If the OS does not provide
support, all sharable ports won't work.
Disabled The USB 3.0 ports are routed to the EHCI controller and the xHCI controller is turned off. All
USB 3.0 devices function as High Speed devices regardless of xHCI software support/availability.
Содержание TC-651
Страница 13: ...7 Block Diagram...
Страница 28: ...22 Press F12 Key Boot Menu Page...
Страница 29: ...23 Press ALT F10 Key Copy Main BIOS to Backup BIOS Non Acer Recovery Function Page1 Page2...
Страница 32: ...26 Press F1 Key Page General Help...
Страница 33: ...27 Press F5 Key Page Previous Values...
Страница 34: ...28 Press F7 Key Page Optimized Default...
Страница 35: ...29 Press F9 Key Page System Information...
Страница 36: ...30 Press F10 Key Page Save Exit...
Страница 37: ...31 Press ESC Key Right Click Mouse Exit...
Страница 46: ...40 Page1...
Страница 50: ...44 Page...
Страница 64: ...58 2 Setting the Motherboard 2 1 Motherboard view 2 2 Install the CPU...
Страница 71: ...65 8 Install the front bezel 8 1 Install the bezel 8 2 Link the HDD LED power cable 9 Cable ties position...
Страница 72: ...66 10 Overview...
Страница 114: ...108...
Страница 115: ...109 FRU List The FRU list will be updated later...


