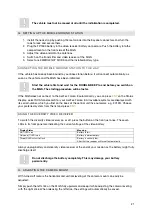
20
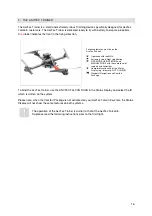
Flying back to home position does not mean the system flies in a perfectly straight line.
Especially when there is wind, the flight path might be curved.
When the system is flown in HEIGHT MODE or MANUAL MODE and the EMERGENCY
MODE is activated, the system will automatically switch to GPS MODE.
When the EMERGENCY MODE is activated and you reestablish connection to the UAV, the
system will stop and go into the flight mode selected on the MGS.
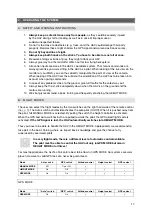
DIRECT LANDING
In case the UAV loses contact with the MGS, the system will wait 10 seconds, and then
start a controlled descend with 1 m/s at its current position till it lands. If no GPS is
available, the UAV will keep itself leveled and immediately start to land.
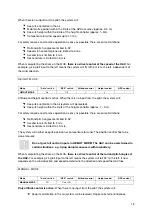
COMEHOME STRAIGHT
In case the UAV loses contact with the MGS, the system will stop at its current position,
wait for 10 seconds and then fly back to home position at its current height. If the UAV
is flying lower than 20 m, the system will stop at its actual position, wait for 10 s then
ascend to approx. 20 m above take off height and then fly back to home position.
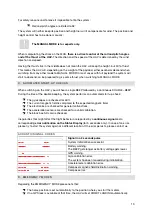
COMEHOME HIGH
In case the UAV loses contact with the MGS, the system will stop at its current position,
wait for 10 seconds, ascend to the highest height the UAV has reached during this flight
and then fly back to home position. This mode prevents crashing into obstacles, but
can be critical towards the end of the flight time, since ascending drains the battery.
The HOME POSITION is automatically set at the spot where you start the motors.
E.
CHOOSE BATTERY TYPE
See p. 27.
F.
SETTING UP THE UAV
1.
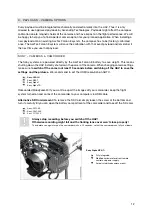
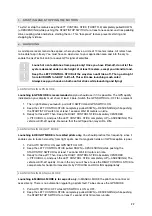
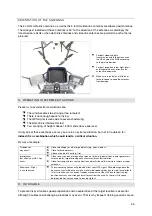
Slide the battery into the battery compartment. Make sure to install the battery with the “This
side up” sticker facing upwards!
Otherwise the compass might get interfered with.
2.
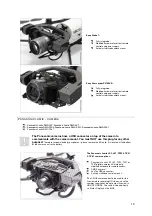
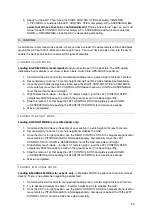
Plug in the battery connector all the way. Pay attention that the flat side of the plug is facing
upwards. With too much force you might overcome the protection against reverse polarity.
3.
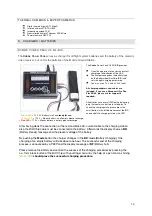
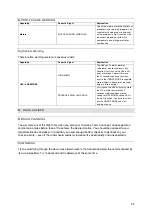
Choose a static platform to get the vehicle started unmoved. For initialization about 15
seconds are required. Flick the power switch to turn the system on and wait for the signal.
The camera mount will align the camera horizontal.
4.
Switch on the camera and remove the lens cap.
The system is ready to take-off as soon as the calibration has successfully finished and the link to the
MGS has been established. A GPS signal is not essential for flying the AscTec Falcon 8. However, we
recommend any inexperienced pilots to take-off and land in GPS MODE. Good GPS reception
(> 75 % = 4 bars) is mandatory in this case. Choose a take-off and landing area where good GPS
signal is available. But it is not critical, if the ground is level or inclined.

