Chapter 3 Installing the switch
35
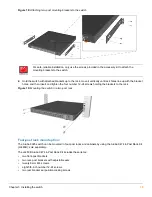
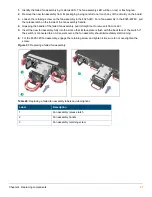
Figure 18:
Attaching two-post mounting brackets to the switch
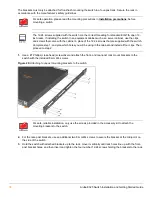
2.
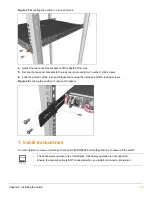
Hold the switch with attached brackets up to the rack, move it vertically until rack holes line up with the bracket
holes, and then insert and tighten the four number 12-24 screws holding the brackets to the rack.
Figure 19:
Mounting the switch in a two-post rack
Four-post rack mount option:
The Aruba 8325 switch can be mounted in four-post racks and cabinets by using the Aruba X474 4-Post Rack Kit
(JL483B); sold separately.
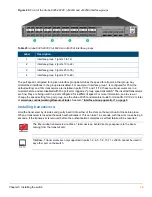
The JL483B Aruba X474 4-Post Rack Kit includes these items:
•
two front-post brackets
•
two rear-post brackets with adjustable ears
•
twenty 8-mm M4 screws
•
eight 5/8-inch number 12-24 screws
•
two rear bracket ear position-locking screws
For safe, reliable installation, only use the screws provided in the accessory kit to attach the
mounting brackets to the switch.
Содержание 8325 Series
Страница 6: ...6 Aruba 8325 Switch Installation and Getting Started Guide...
Страница 48: ...48 Aruba 8325 Switch Installation and Getting Started Guide...
Страница 58: ...58 Aruba 8325 Switch Installation and Getting Started Guide...
Страница 62: ...62 Aruba 8325 Switch Installation and Getting Started Guide...


