


PiCUS TreeQinetic Manual
28
Enter the tree diameter transverse to the pulling direction, at 1 m height, in [cm].
Enter the bark thickness at 1 m height, in [cm].
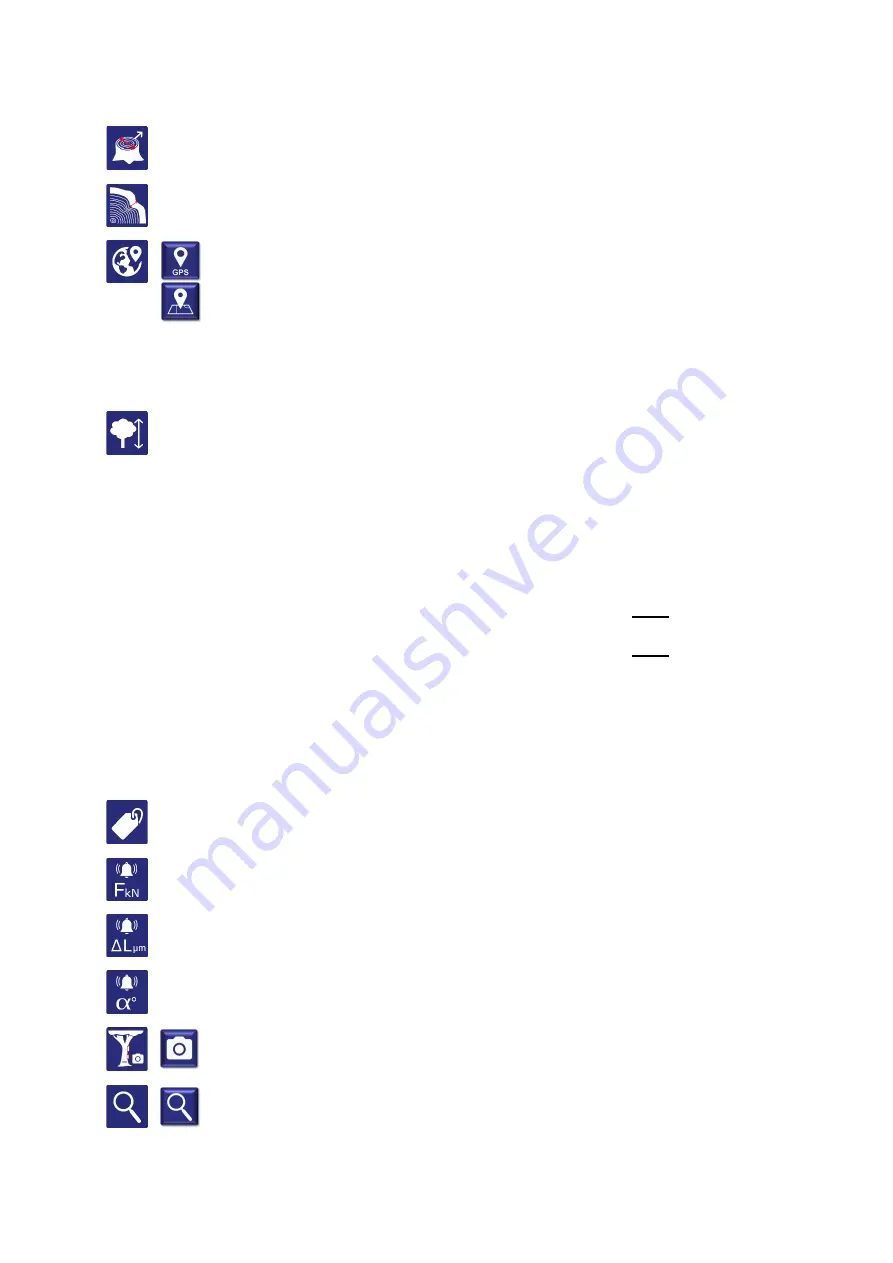
With this button the app determines the position of the tree using the GPS of
your mobile device.
This button displays the recorded position on a map.
The color of the measured position gives an indication of the accuracy of the
measurement. (dark green: < 10m, light green: < 30m, orange: < 100m, red:
> 100m)
Specify the height of the tree in [m].
In order to fully investigate a tree often several pulling tests, each with different pulling
directions and sensor positions, have to be performed. Therefore the data set of the
measurement setup is subordinated to the project.
A list of all measurement setups created within this project follows, with each list element
showing the name, as well as the number of measurements performed with this setup.
•
Create a new measurement setup by tapping on the first list entry
Create New Setup
→
the view automatically switches to the next page
Test Setup
•
Open a saved test setup by tapping on one of the other list entries
→
the view automatically switches to the next page
Test Setup
•
Delete a saved setup via the context menu of the respective list entry
5.5.3 Page
– Test Setup
On this page all relevant data on the measuring setup and the sensor modules used are
entered or displayed after loading a measuring setup.
Give your test setup a name by which you can identify it again later.
Enter the limit value in [kN] at which all forcemeters used should trigger an overload
alarm.
Enter the limit value in [µm] at which all elastometers used should trigger an overload
alarm.
Enter the limit value in [°] at which all inclinometers used should trigger an overload
alarm.
Use this button to take photos of the test setup, which are automatically stored
in the project.
Use this button to start a search for available sensor modules. The modules
found appear in the following device list.


