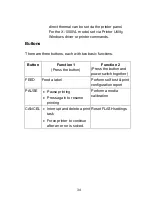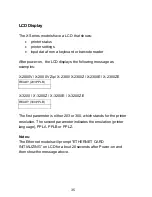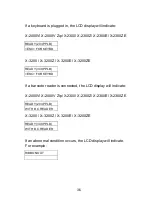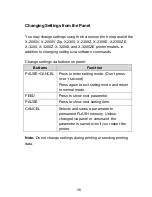
39
LCD Function Setting Procedure
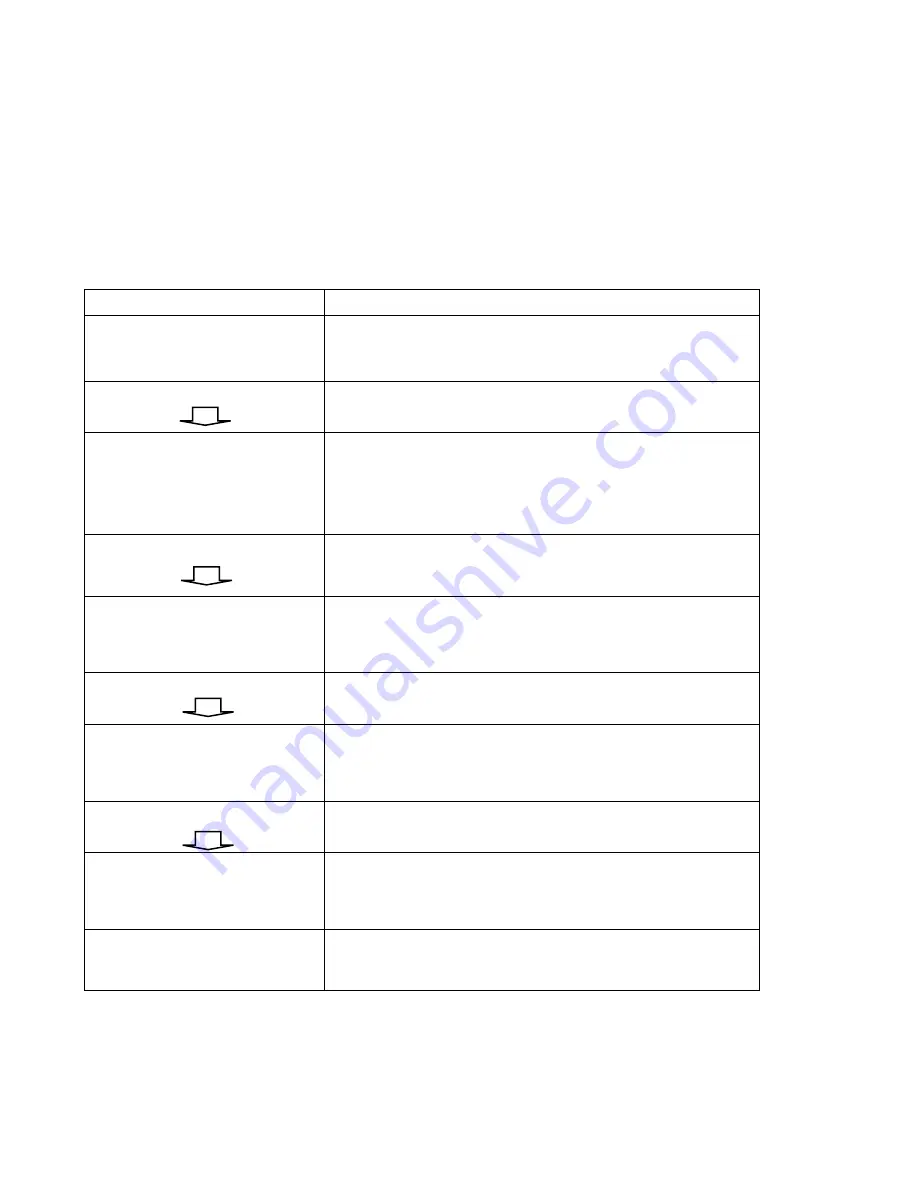
The following procedure is an example of setting procedure to
direct thermal printing mode:
LCD indicating
LCD setting steps
READY (203,PPLB)
After printer power in on, LCD will indicate
as shown at the left.
Step 1
Press both PAUSE + CANCEL buttons.
Then release the buttons to enter settings.
PRINT MODE
THERM. TRANSFER*
LCD will then prompt LCD function
selections; default settings include the “*”
sign. For example, the first option of print
modes is thermal transfer.
Step 2
Keep press FEED button until LCD
prompts the function setting needed.
PRINT MODE
DIRECT THERMAL
For example, the second option of print
modes is direct thermal.
Step 3
Press CANCEL button to store the setting.
PRINT MODE
DIRECT THERMAL *
The option selected will now include the “*”
sign.
Step 4
Press PAUSE button to continue the other
settings.
Back to standard
printing mode
After LCD function settings are completed,
press both PAUSE + CANCEL and then
release them to exit from settings.
READY (203,PPLB)
Now printer is in normal printing mode.
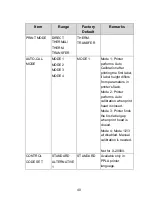
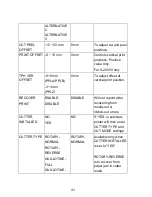
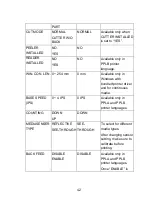
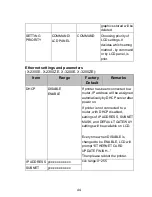
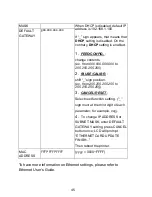
Printer LCD function settings and parameters:
Содержание X-2300
Страница 9: ...9 Connect the power cord as below ...
Страница 11: ...11 Standard Mode Head Latch Paper Sensor Guide Paper Roller Thermal Print Head ...
Страница 12: ...12 Peel Off Mode Cutter Mode ...
Страница 47: ...47 accuracy especially for small labels less than 1 5 high ...
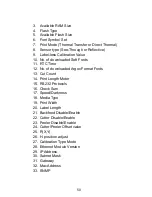
Страница 49: ...49 1 Firmware Version Information 2 Standard RAM Size ...
Страница 64: ...64 The driver should now be installed ...
Страница 66: ...66 3 Assign the directory to keep Seagull driver for example C Seagull and click Next 4 Click Finish ...
Страница 82: ...82 Figure 1 ...
Страница 83: ...83 Figure 2 Figure 3 ...
Страница 85: ...85 Figure 1 Figure 2 ...
Страница 98: ...98 5 Insert the left side of dispenser bracket and secure the three screws to the print module ...
Страница 106: ...106 ...
Страница 119: ...119 Types Data Matrix ECC 200 only QR code Composite Codes Aztec Barcode Micro PDF417 Graphics GRF Hex and GDI ...


