30
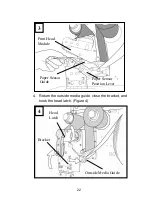
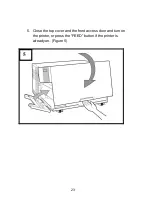
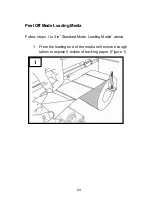
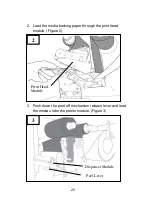
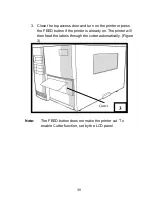
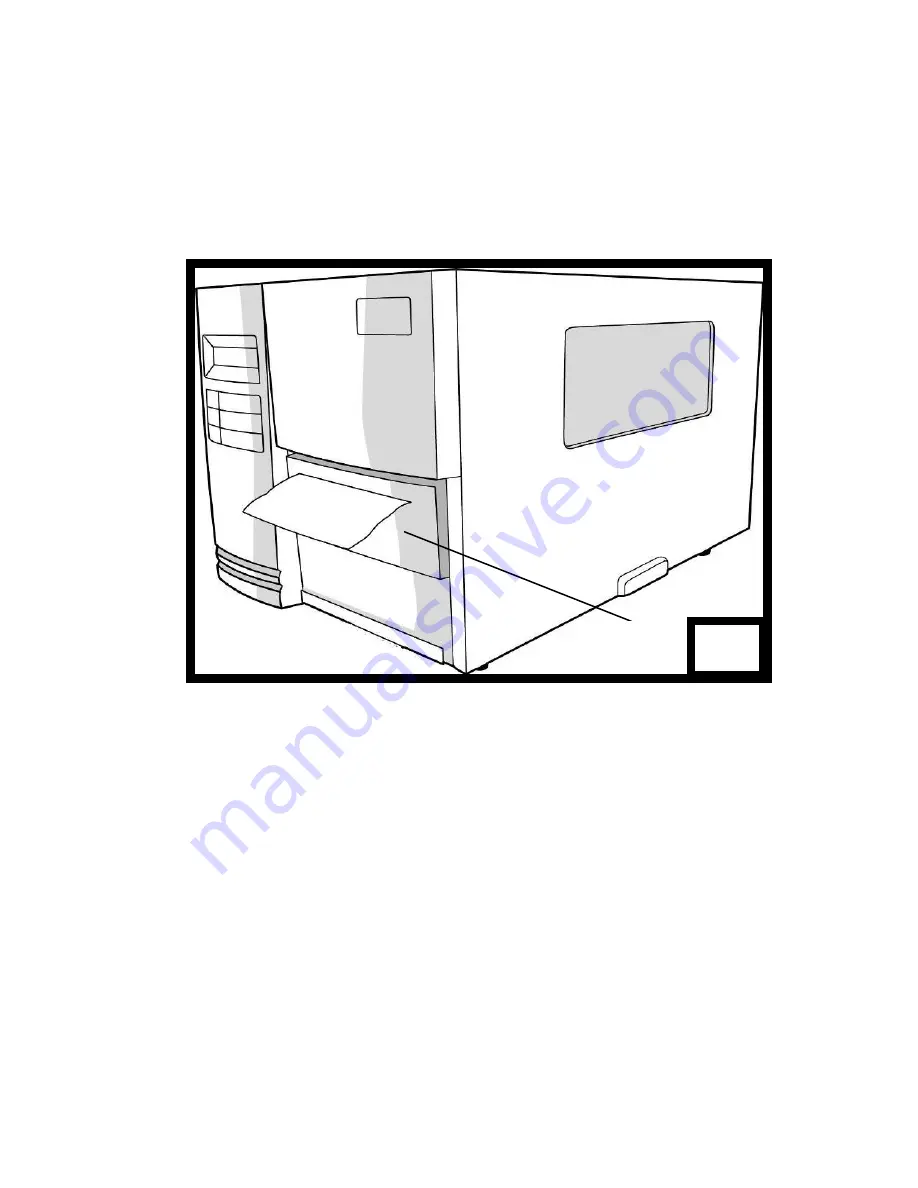
3. Close the top access door and turn on the printer or press
the FEED button if the printer is already on. The printer will
then feed the labels through the cutter automatically. (Figure
3)
Note:
The FEED button does not make the printer cut. To
enable Cutter function, set by the LCD panel
3
Cutter
Содержание X-2300
Страница 9: ...9 Connect the power cord as below ...
Страница 11: ...11 Standard Mode Head Latch Paper Sensor Guide Paper Roller Thermal Print Head ...
Страница 12: ...12 Peel Off Mode Cutter Mode ...
Страница 47: ...47 accuracy especially for small labels less than 1 5 high ...
Страница 49: ...49 1 Firmware Version Information 2 Standard RAM Size ...
Страница 64: ...64 The driver should now be installed ...
Страница 66: ...66 3 Assign the directory to keep Seagull driver for example C Seagull and click Next 4 Click Finish ...
Страница 82: ...82 Figure 1 ...
Страница 83: ...83 Figure 2 Figure 3 ...
Страница 85: ...85 Figure 1 Figure 2 ...
Страница 98: ...98 5 Insert the left side of dispenser bracket and secure the three screws to the print module ...
Страница 106: ...106 ...
Страница 119: ...119 Types Data Matrix ECC 200 only QR code Composite Codes Aztec Barcode Micro PDF417 Graphics GRF Hex and GDI ...

