25
L
Motor
1. Remove the lower rear access panel (B) and drive belt (K).
2. Disconnect the motor wiring connection plug and earth wire.
3. Disconnect the heater and NTC.
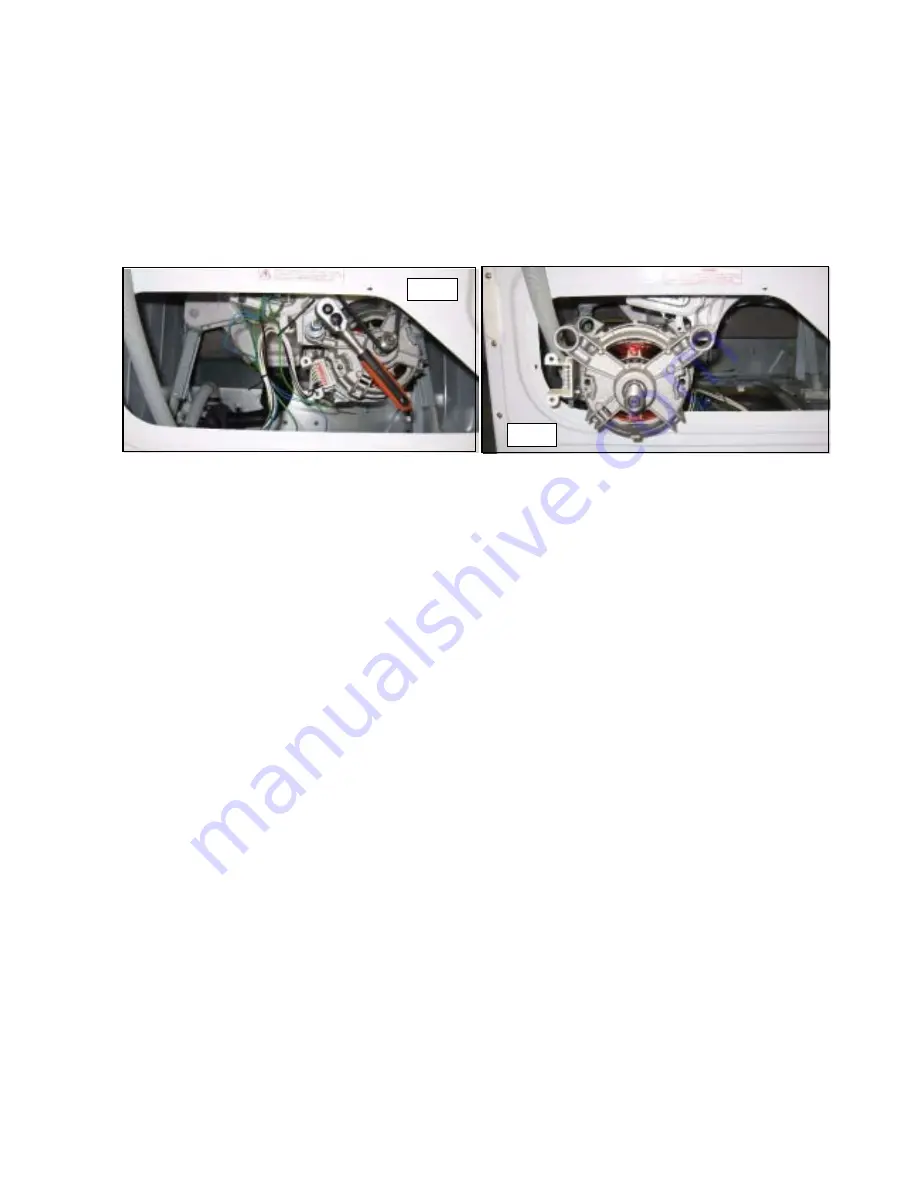
4. Using a 10 mm socket, remove both motor mount fixing screws. Fig. 7.
5. Carefully ease the motor off the drum mountings.
6. Slide the motor to the left and lift out of the back of the aperture. Fig. 8.
7. When replacing the motor fixing screws ensure that they are tightened to 9 Nm.
M(a) Lower Balance Weight
1. Remove the table top (A), dispenser drawer (C) and console panel (D).
2. Remove the door seal restraint (G), door interlock (H) and front panel (J).
3. Using a 13 mm socket or spanner, remove three balance weight fixing screws.
4. Pull the weight forward off its mounting lugs.
5. When refitting the balance weight it is essential to ensure that the thread forming screws are
tightened to 24Nm (using a suitable torque-wrench) and that the screws find their original
threads, otherwise the thread can be stripped from the plastic drum lug.
M(b) Top Balance Weight
1. Remove the table top (A).
2. Using a 13 mm socket or spanner, remove three balance weight fixings screws.
3. Lift the weight off the drum mountings.
4. When refitting the balance weight it is essential to ensure that the thread forming screws are
tightened to 24Nm (using a suitable torque-wrench) and that the screws find their original
threads, otherwise the thread can be stripped from the plastic drum lug.
Fig. 7
Fig. 8


