24
J
Front Panel
1. Remove the table top (A), dispenser drawer (C) and console panel (D).
2. Remove the door seal restraint (G) and door interlock (H).
3. Grip the appliance kickstrip at both ends tilt forwards, and pull it off in a forward direction.
4. Remove 4 front panel fixing screws (2 bottom and 2 top).
5. Lift the front panel upwards to disengage the four cabinet fixing pegs, and lift off.
K Drive Belt
1. Remove the table top (A).
2. Remove the lower rear access panel (B).
3. Carefully peel the belt off the motor pulley taking care not to trap fingers and using suitable
protection against sharp edges.
4. To refit the belt, place it round the motor pulley first, tie-wrap the belt onto the drum pulley, and
rotate the drum from the door aperture to move the belt into position.
5. Ensure any remaining tie-wraps are removed.
It is essential for continued safety that only a genuine spare is fitted. The belt is electrically
conductive and provides an electrical earth to prevent static built up on the inner drum assembly.
I
Door Assembly
1. Open the door through 180° and remove four
screws securing the hinges to the front panel.
Ease the hinges from the panel.
2. The door trims can now be split. Lay the door
assembly face down on a suitably protected
surface and remove 6 screws securing the two
halves of the door.
3. Unclip the two halves at the hinge end and
separate a sufficient distance to slide out the
door glass.
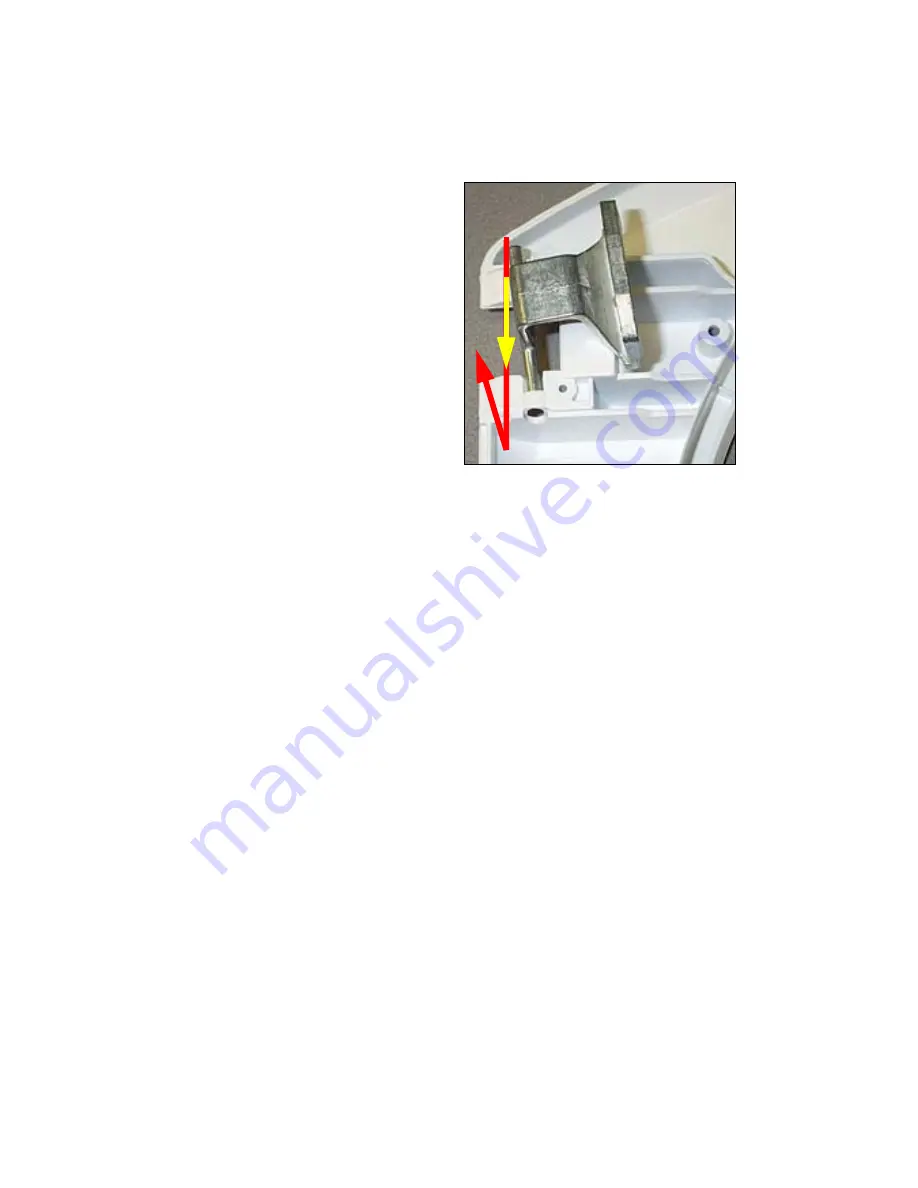
4. When removing the hinges, note the orientation.
To remove, fold hinges inward, slide towards
each other to release other end. See photo.
Reassemble in reverse order.
5. To fully separate the halves, slide the front away
from the handle.
6. To remove the handle or latch, slide securing pin
out noting the position of the spring and latch.
Top Hinge removal
(shown below) -
Slide towards lower hinge, twist to the left and
slide up to release.
Lower Hinge removal
- Slide upwards, twist to
the right and slide down to release.


