NiteHAWK Internet Jukebox
LED Lighting & Bill Acceptor
22022613 Rev A
5-5
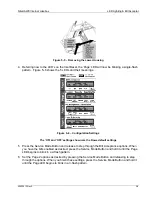
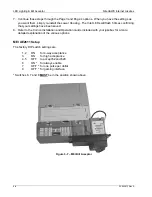
Figure 5–5 – Removing the Lower Housing
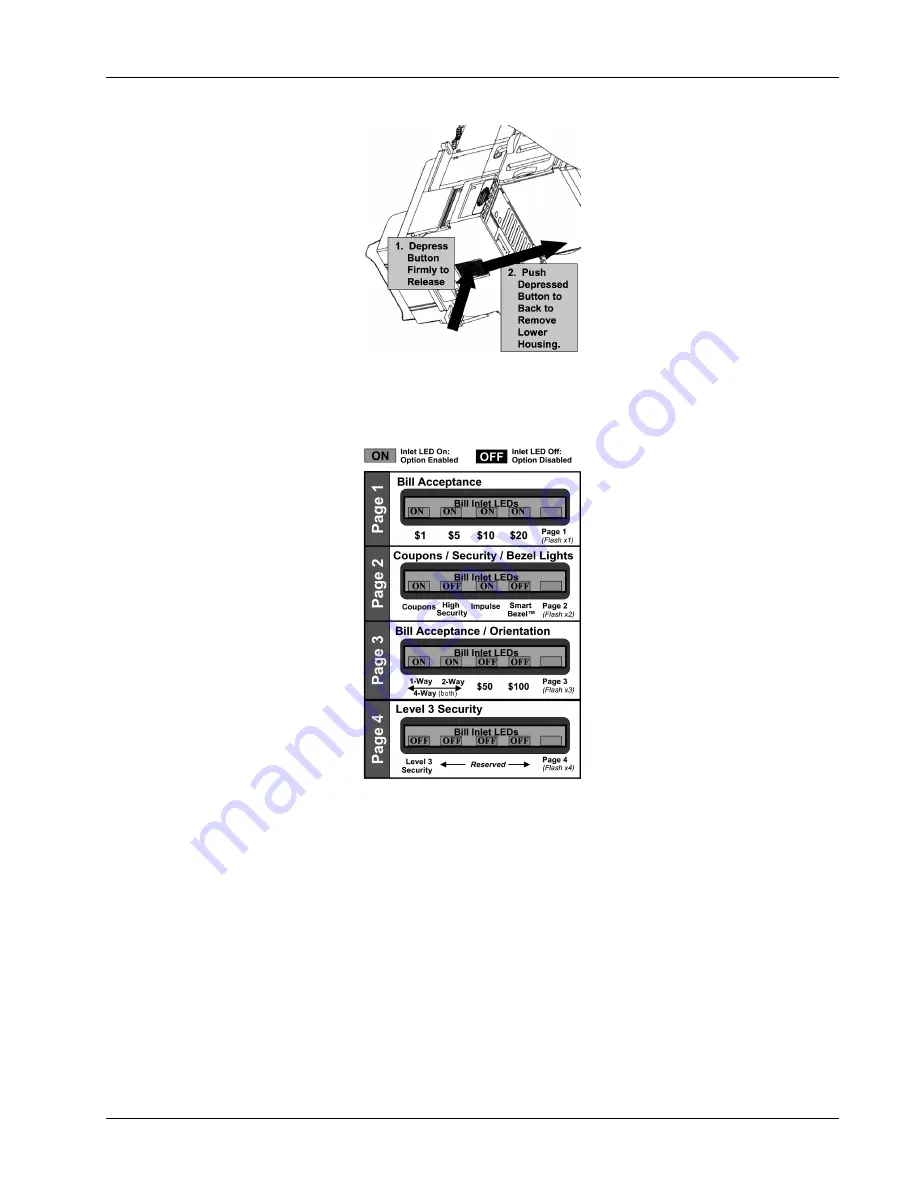
4. Referring now to the LED’s on the Inlet Bezel, the ‘Page’ LED will now be blinking a single-flash
pattern. Figure 5–6 shows the 5 LEDs and their meanings
.
Figure 5–6 – Configuration Settings
The ‘ON’ and ‘OFF’ settings shown are the Rowe default settings
5. Press the Service Mode Button and release to step through the Bill Acceptance options. When
you have the bills enabled as desired, press the Service Mode Button and hold it until the Page
LED begins to blink in a 2-flash pattern.
6. Set the Page 2 options as desired by pressing the Service Mode Button and releasing to step
through the options. When you finish these settings, press the Service Mode Button and hold it
until the Page LED begins to blink in a 3-flash pattern.
Содержание NiteHAWK
Страница 2: ......
Страница 12: ...This page intentionally left blank ...
Страница 26: ...This page intentionally left blank ...
Страница 35: ...This page intentionally left blank ...
Страница 37: ...NiteHAWK Internet Jukebox Sound System Setup 22022613 Rev A 3 11 ...
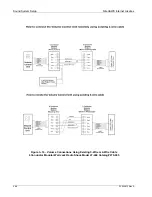
Страница 40: ...Sound System Setup NiteHAWK Internet Jukebox 3 14 22022613 Rev A Figure 3 4 Speaker Connections Rock Ola ...
Страница 41: ...NiteHAWK Internet Jukebox Sound System Setup 22022613 Rev A 3 15 ...
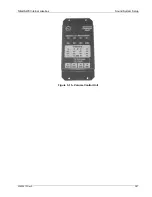
Страница 53: ...NiteHAWK Internet Jukebox Sound System Setup 22022613 Rev A 3 27 Figure 3 15 Volume Control Unit ...
Страница 58: ...This page intentionally left blank ...
Страница 68: ...This page intentionally left blank ...
Страница 73: ...This page intentionally left blank ...
Страница 86: ......
Страница 89: ...This page intentionally left blank ...

