


92
o
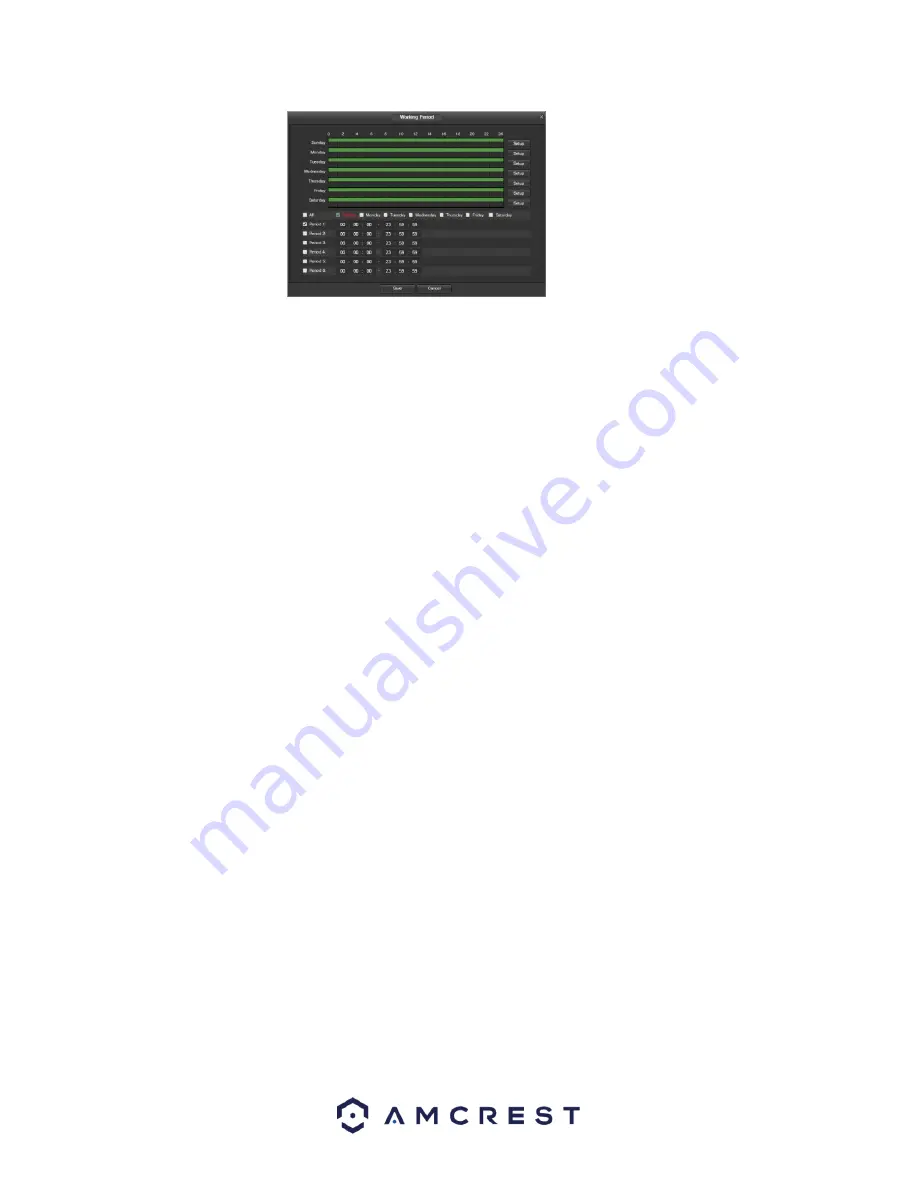
Click and drag to set alarm activation for certain days of the week. Also, periods of relay activation can
be set for each day and enabled using the period settings on the bottom half of the screen. There are
a total of 6 periods that can be set.
•
Anti-Dither
: This field allows the user to set the anti-dither time. The values in this field can range from 5 to
600 seconds. This time value controls how long the alarm signal lasts. Based on relay activation, a buzzer can
go off, a snapshot can be taken, or the camera can begin recording.
o
For example, if the anti-dither time is set to 10 seconds, each alarm may last 10 seconds if the local
alarm is activated. During the process, if the system detects another local alarm signal at the fifth
second, the buzzer, snapshot, record channel functions will begin another 10 seconds while the screen
prompt, alarm upload, email will not be activated again. After 10 seconds, if system detects another
alarm signal, it can generate a new alarm since the anti-dither time has expired.
•
Sensor Type
: This dropdown box allows the user to select which sensor type to use. The options are
Normally Open (NO) and Normally Closed (NC).
•
Record
: This checkbox allows the user to enable the camera to record video when an alarm is activated.
•
Record Delay
: This field specifies in seconds how long the delay between alarm activation and recording
should be.
•
Relay Out
: This checkbox allows the user to enable the camera to trigger a connected alarm (connected to
the alarm port on the back of the camera) when a relay activation alarm is triggered.
•
Alarm Delay
: This field specifies in seconds how long the delay between alarm activation and Relay alarm
activation should be.
•
Send Email
: This checkbox allows the user to enable the camera to send an email when an alarm is
activated.
•
Snapshot
: This checkbox allows the user to enable the camera to take a snapshot when an alarm is
activated.
To reset to default settings, click the Reset Defaults button. To refresh the page, click the Refresh button. To save
the settings, click the Save button.
Содержание IP3M-943
Страница 1: ...1 Amcrest IP3M 943 3MP WiFi Bullet Camera User Manual ...
Страница 23: ...23 4 Tap WiFi Camera 5 Tap Ethernet WiFi Setup ...
Страница 43: ...43 8 After the progress bar completes if you see a Windows Security Alert popup click Allow access ...
Страница 100: ...100 ...
Страница 119: ...119 Copyright Amcrest 2018 ...


