


47
2.
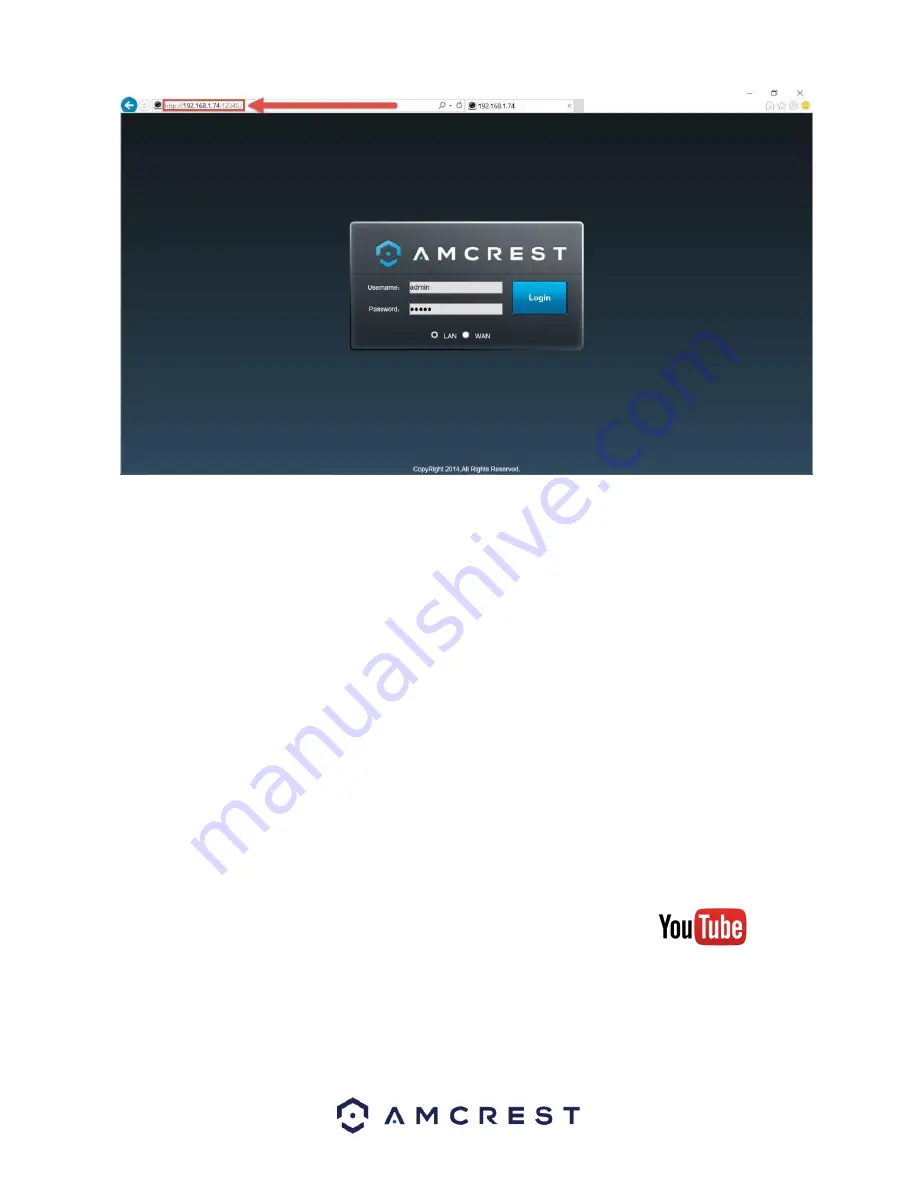
Enter your login credentials. You may be prompted to change your password.
3.
(Optional) Save this web page as a Favorite for easy access in the future.
The camera is now successfully set up for live viewing and playback!
To setup WiFi (optional), navigate to
Setup
>
Network
>
WiFi
, then double-click the line that shows your WiFi
network. If necessary, enter your WiFi network's password. The camera may take up to 2 minutes to connect to
the WiFi network. Click the Refresh button after the process is complete. Once the camera has successfully
connected to your WiFi, you should see the word "Connected" in green display next to your WiFi network's name
in the WiFi Network information table under the WiFi List table.
Note that the IP address may have changed once connected to WiFi. Be sure to use the IP Config tool to access the
camera using its updated IP address.
After configuring the camera to connect to WiFI, use the P2P Setup method on section 4.3.3 to connect the camera
via your smartphone or your tablet.
For quick and easy remote access on your PC or Mac, please use AmcrestCloud.com (section 4.5) or
AmcrestView.com (section 4.6).
To setup advanced remote access via UPnP/DDNS or Port Forwarding see section 4.7.
If you are still having trouble and would like to watch a video on how to setup the WiFi
Bullet camera for local access on a computer/laptop, go to
Содержание IP3M-943
Страница 1: ...1 Amcrest IP3M 943 3MP WiFi Bullet Camera User Manual ...
Страница 23: ...23 4 Tap WiFi Camera 5 Tap Ethernet WiFi Setup ...
Страница 43: ...43 8 After the progress bar completes if you see a Windows Security Alert popup click Allow access ...
Страница 100: ...100 ...
Страница 119: ...119 Copyright Amcrest 2018 ...


