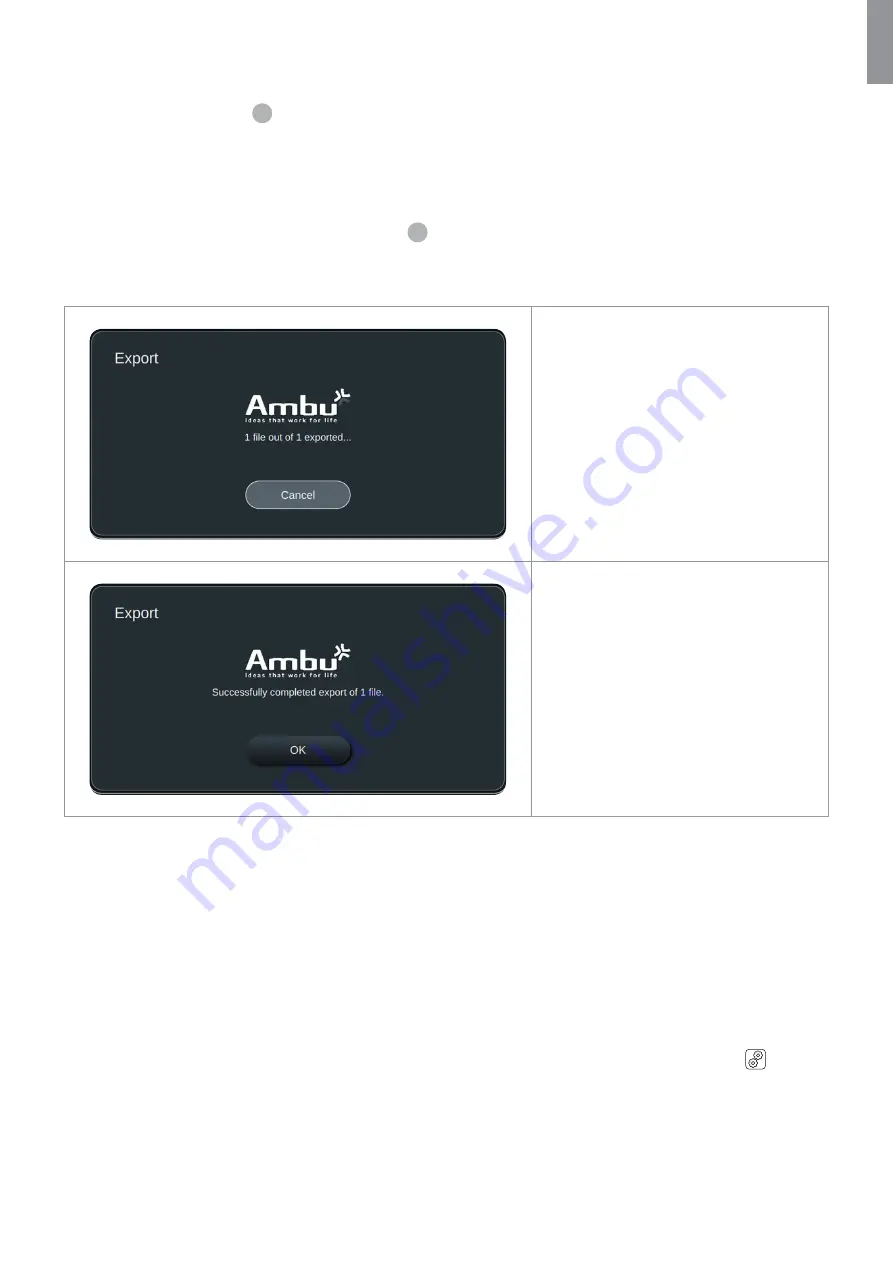
To export in DICOM format to a PACS or USB (for manual transfer to PACS):
•
Press on
DICOM
(if view not selected already)
•
Enter patient information
13
.
All fields must be filled out. Choose the first field, fill it out, and use the
arrows >
to go to the next field.
Patient ID
(e.g. the patients social security number or other ID code)
First name
of the patient
Last name
of the patient
The patient’s
Date of Birth
.
•
Select gender by pressing
Male, Female
or
Other
14
.
•
Select a connected
USB
or
PACS
server in the right side of the screen.
•
Double check your entered patient data prior to exporting.
When you are ready to export, press
Export
in the lower right corner. While the files are
being exported a pop up is shown to inform
in the progress. If you need to stop the
export, press
Cancel
.
A pop-up window will indicate that
exporting has completed. Press
OK
to
finalize exporting.
NOTES:
•
Always check that the entered patient data is correct when exporting to PACS.
•
Protected Health Information (PHI) for the patien is not stored on the displaying unit. They are only used to send with
the DICOM files to the PACS for correct identification and storage.
•
Always use a secure network when exporting files from the displaying unit.
•
You will not be able to export images and videos to PACS if the displaying unit is not connected to the network (Wi-Fi
or LAN). If a network error occurs in your organization while exporting, the export will be canceled. You can instead
export files to a USB device or wait till the network is recovered before exporting to PACS.
6. System information and upgrade
You can find system information and get access to the system upgrade menu in
About
under the
Settings
tab in
the toolbar.
6.1. Device information page
In
Device Info
under the
About
menu you can get an overview of the system information and conditions.
35
EN


