Chapter 5: Installing the Switch in an Equipment Rack
124
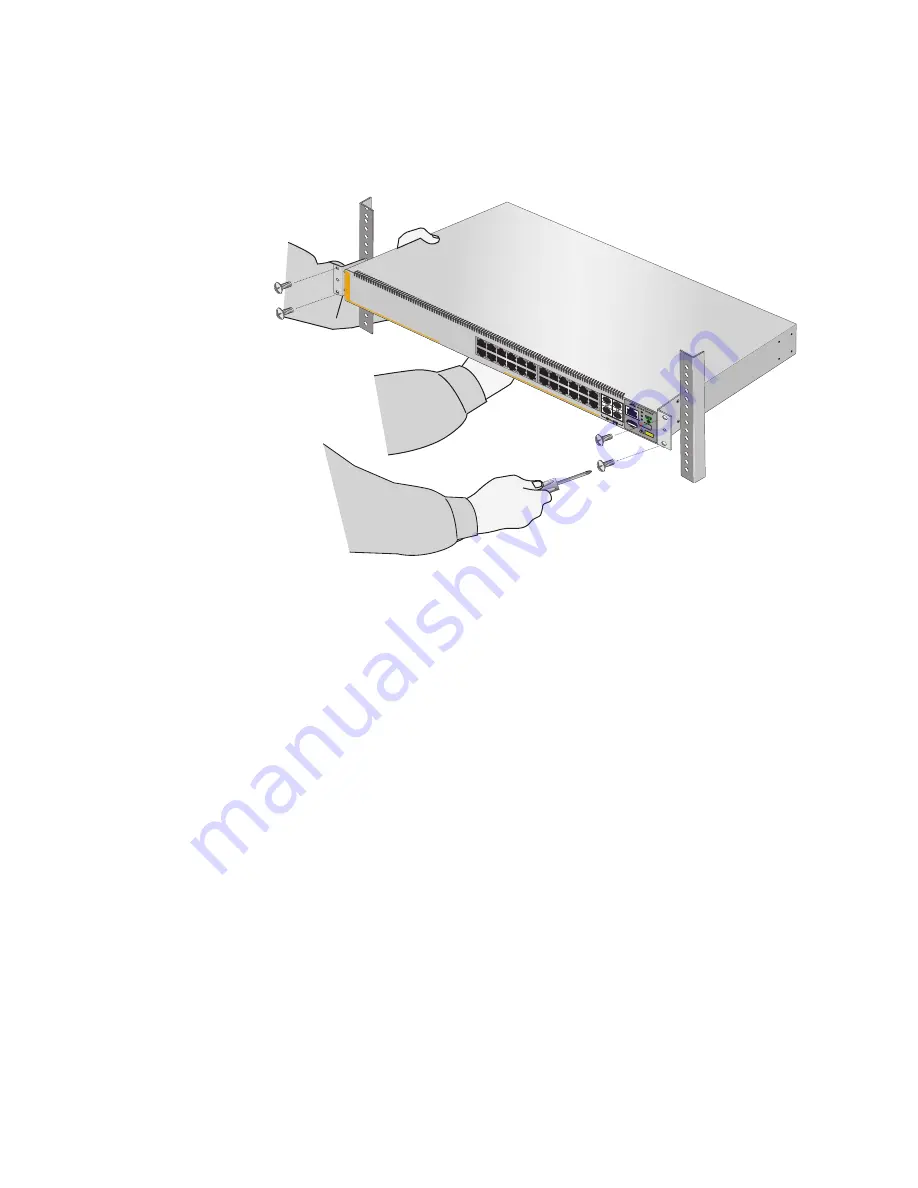
3. Have another person hold the switch at the desired location in the
equipment rack while you secure it using four standard equipment rack
screws (not provided). Refer to Figure 67.
Figure 67. Installing the Switch in an Equipment Rack
4. After installing all the switches of the stack:
To build the stack with the default stacking ports, refer to Chapter
7, “Building the Trunk with the Default 10Gbps Stacking Ports” on
page 141.
To build a stack of x530L-10GHXm or x530L-18GHXm switches
using 5Gbps ports for the trunk, refer to Chapter 8, “Building the
Stack Trunk with 5Gbps Multi-Speed Ports” on page 161.
51
52
49
SFP
50
1G
/
100
FAULT
POWER
USB
ON
AC
T
ERR
CLAS
S 1
LASER
PRO
DUC
T
CONSOLE
A
T-x530-2
8GTXm
Содержание x530L Series
Страница 8: ...Contents 8 ...
Страница 12: ...Tables 12 ...
Страница 16: ...Preface 16 ...
Страница 56: ...Chapter 1 Overview 56 ...
Страница 60: ...Chapter 2 Virtual Chassis Stacking 60 When using a multi speed port as a stack port it supports 1 to 8 links ...
Страница 88: ...Chapter 2 Virtual Chassis Stacking 88 ...
Страница 140: ...Chapter 6 Installing the Switch on a Wall 140 ...
Страница 202: ...Chapter 8 Building the Stack Trunk with 5Gbps Multi Speed Ports 202 ...
Страница 210: ...Chapter 9 Cabling the Networking Ports 210 ...
Страница 228: ...Appendix A Technical Specifications 228 ...


