68
ALLEN
&
HEATH
iLive
Reference Guide AP6526 iss.3
SURFACE setup
Once the MixRack audio architecture has been configured using the
MIXRACK SETUP
screen, you can
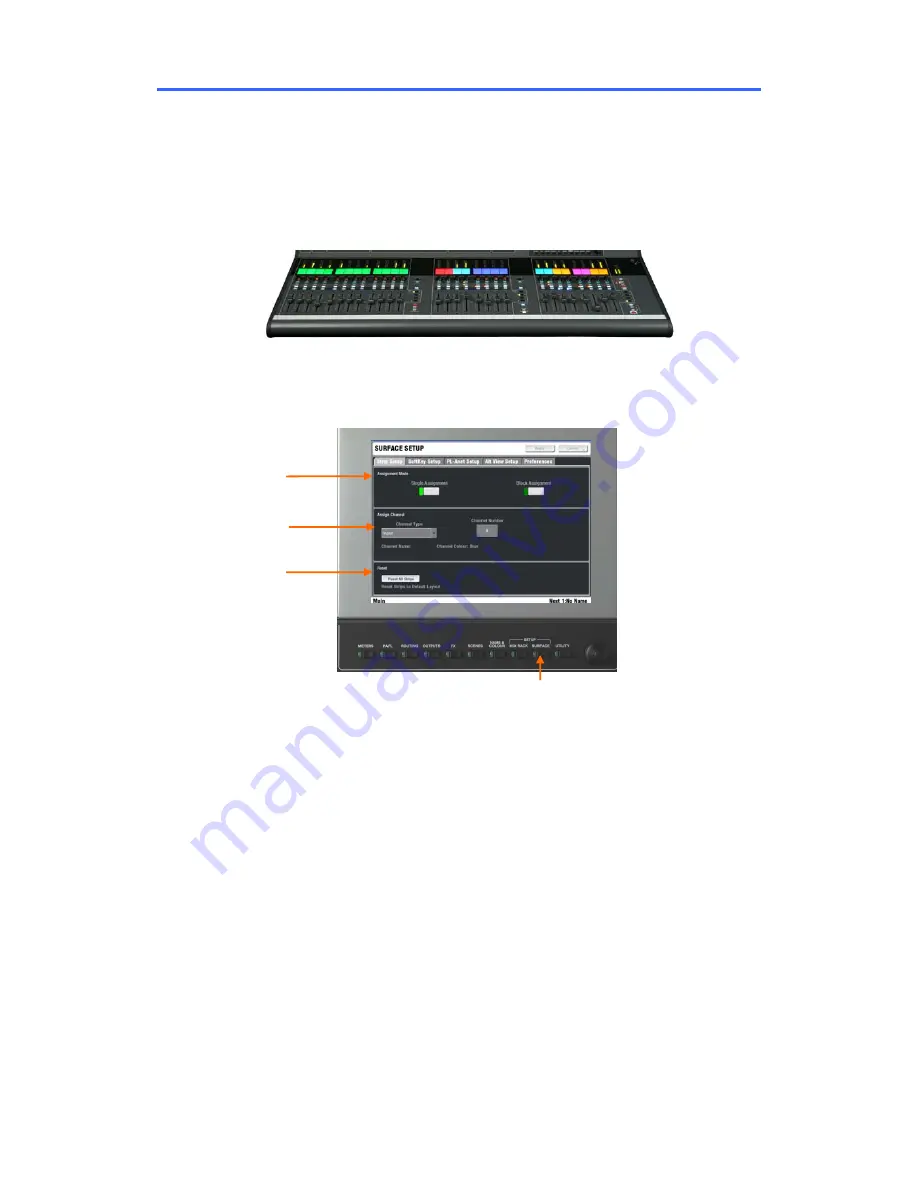
assign the channels, mix masters, DCA group masters and Wedge/IEM masters to the Surface strips.
These are assigned to the strips within the fader banks and across the 4 layers, either one at a time or
across a range of strips. This is a quick process and changes to the strip assignments can be made on
the fly during the show. Assignments can be stored in the Scene memories for different ‘layouts’ for
different bands or scenes. Being able to assign the strips in any combination you choose lets you
‘design’ your own console layout. Together with the ability to name and colour the channels this gives
iLive its unique flexibility and makes the mixing experience very visual and intuitive.
To access the Surface setup
press the
SURFACE SETUP
key below
the TouchScreen.
Note:
To give you a quick starting point you can choose from a selection
of factory ‘Template’ Show memories.
These configure the whole system
including audio architecture and strip assignments as classic formats that
emulate the familiar layout of traditional analogue consoles. Start with a
Template show and recall the Scene associated with your Surface size if you
do not want to configure the strip layout from scratch. Once loaded you can
edit the format and archive it as a User Show for recall again later.
To work with the Show memories go to the
UTILITY / Configuration / Show
Manager
page.
Note:
The SURFACE SETUP screen takes over the function of the control
strip
SEL
keys
.
Do not leave the TouchScreen in SURFACE SETUP mode.
Once you have made changes to the strip assignments exit SETUP mode by
turning off the key below the screen.
Assign single
strips or a
range within a
bank of faders
Channel type
Reset all
strips to
MixRack
config
SURFACE


